Little House, Big Question

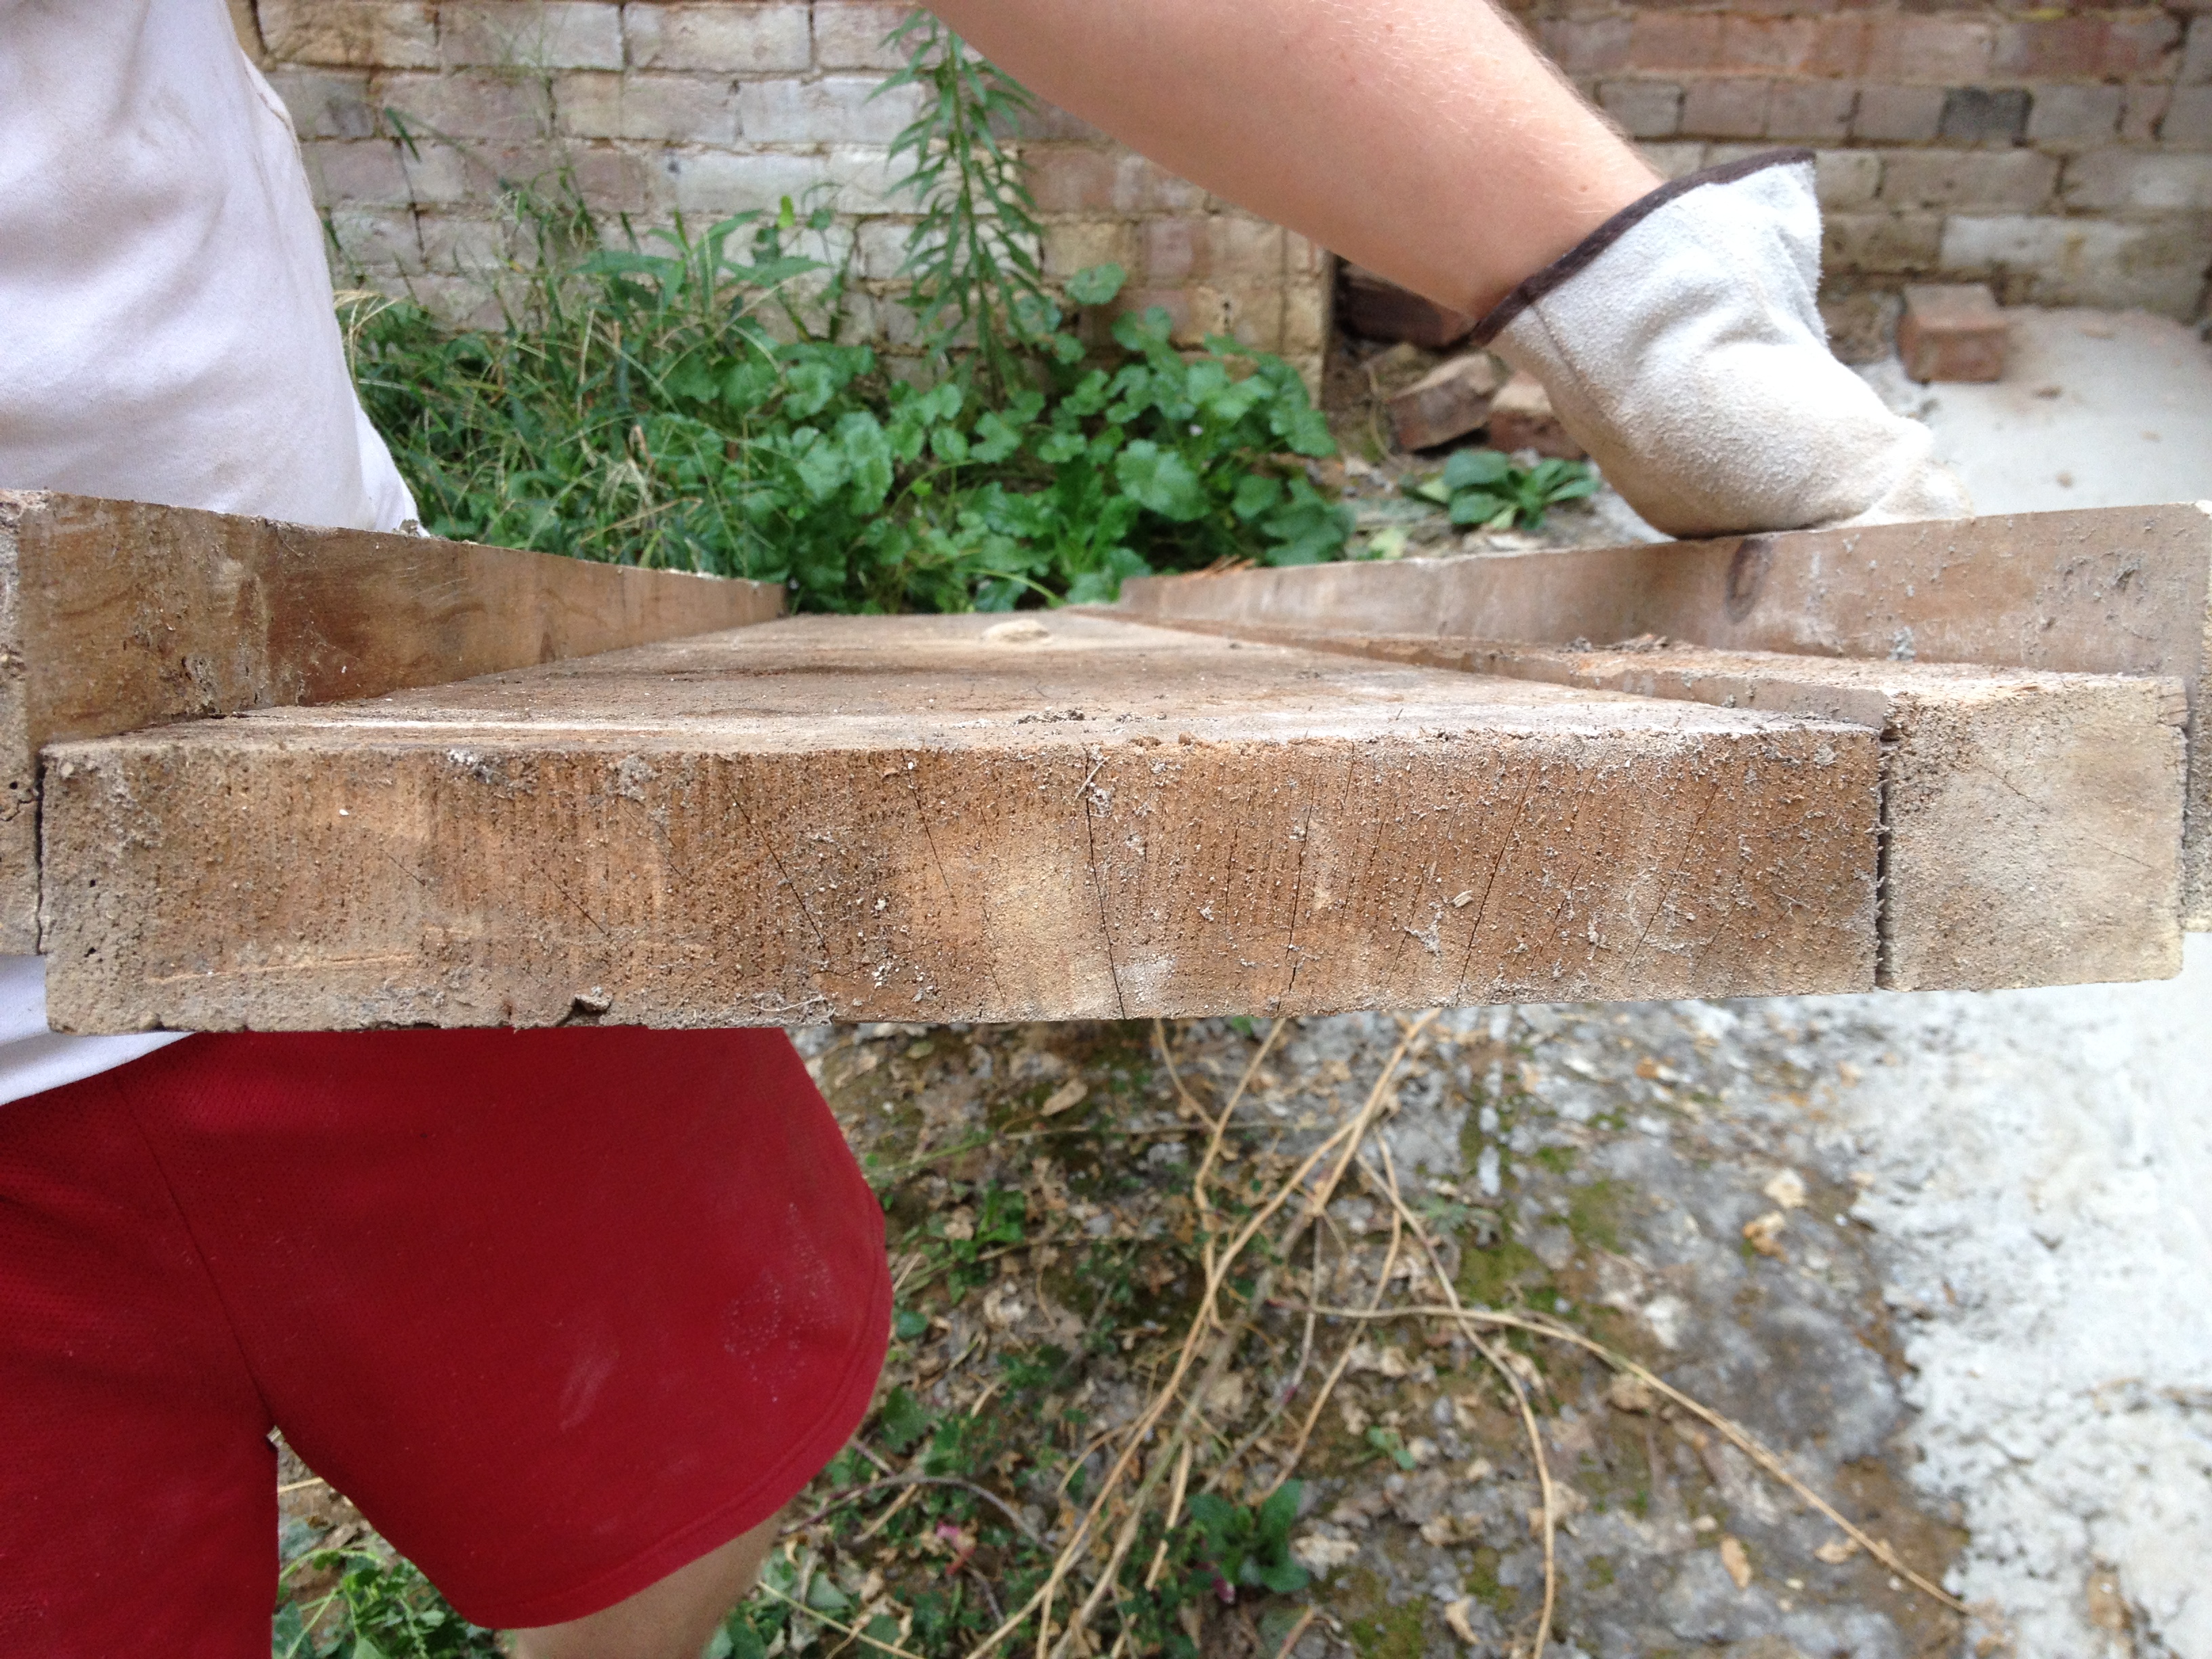
Loyal Blog Readers-  Thanks for your patience!  We’ve had to exercise some patience ourselves as our fears of a winter slow-down have come true.  But nevertheless, we have made SOME progress.  When we last left off, we had gotten the house exterior walls all framed up, and were hoping to plow forward with framing the roof with yellow pine.  Unfortunately, the weather these last couple of months have been difficult for harvesting the timber we need for the roof.  We are currently exploring our options on that front, so, in other news…

In taking apart the last bits of the little house for the framing, we made some interesting discoveries.  If you recall the original layout of the little house, there were two rooms on the first floor, and two rooms on the second.  In the rendering below, the original structure is the two rooms to the north.  Our new kitchen will be on the left, and the living room with the original stairs in the corner is the room to the right.

Downstairs Floor Plan

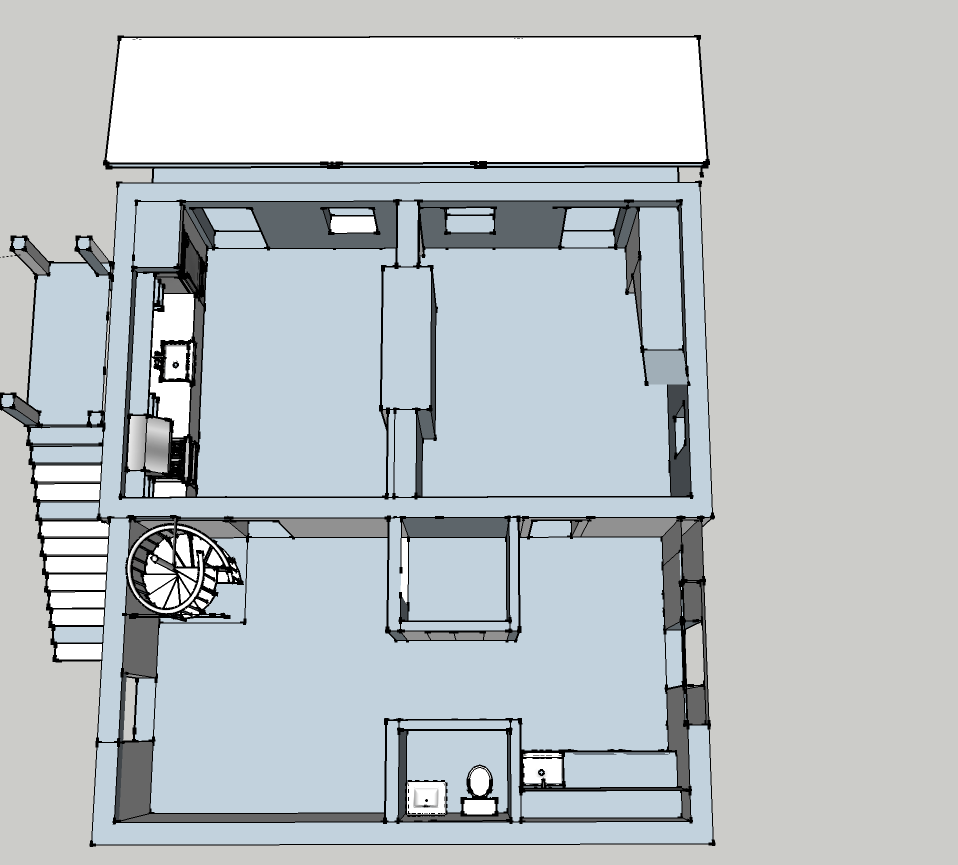
Those two rooms connect via a doorway to the north of the fireplace in the rending above, shown below:

IMG_0269

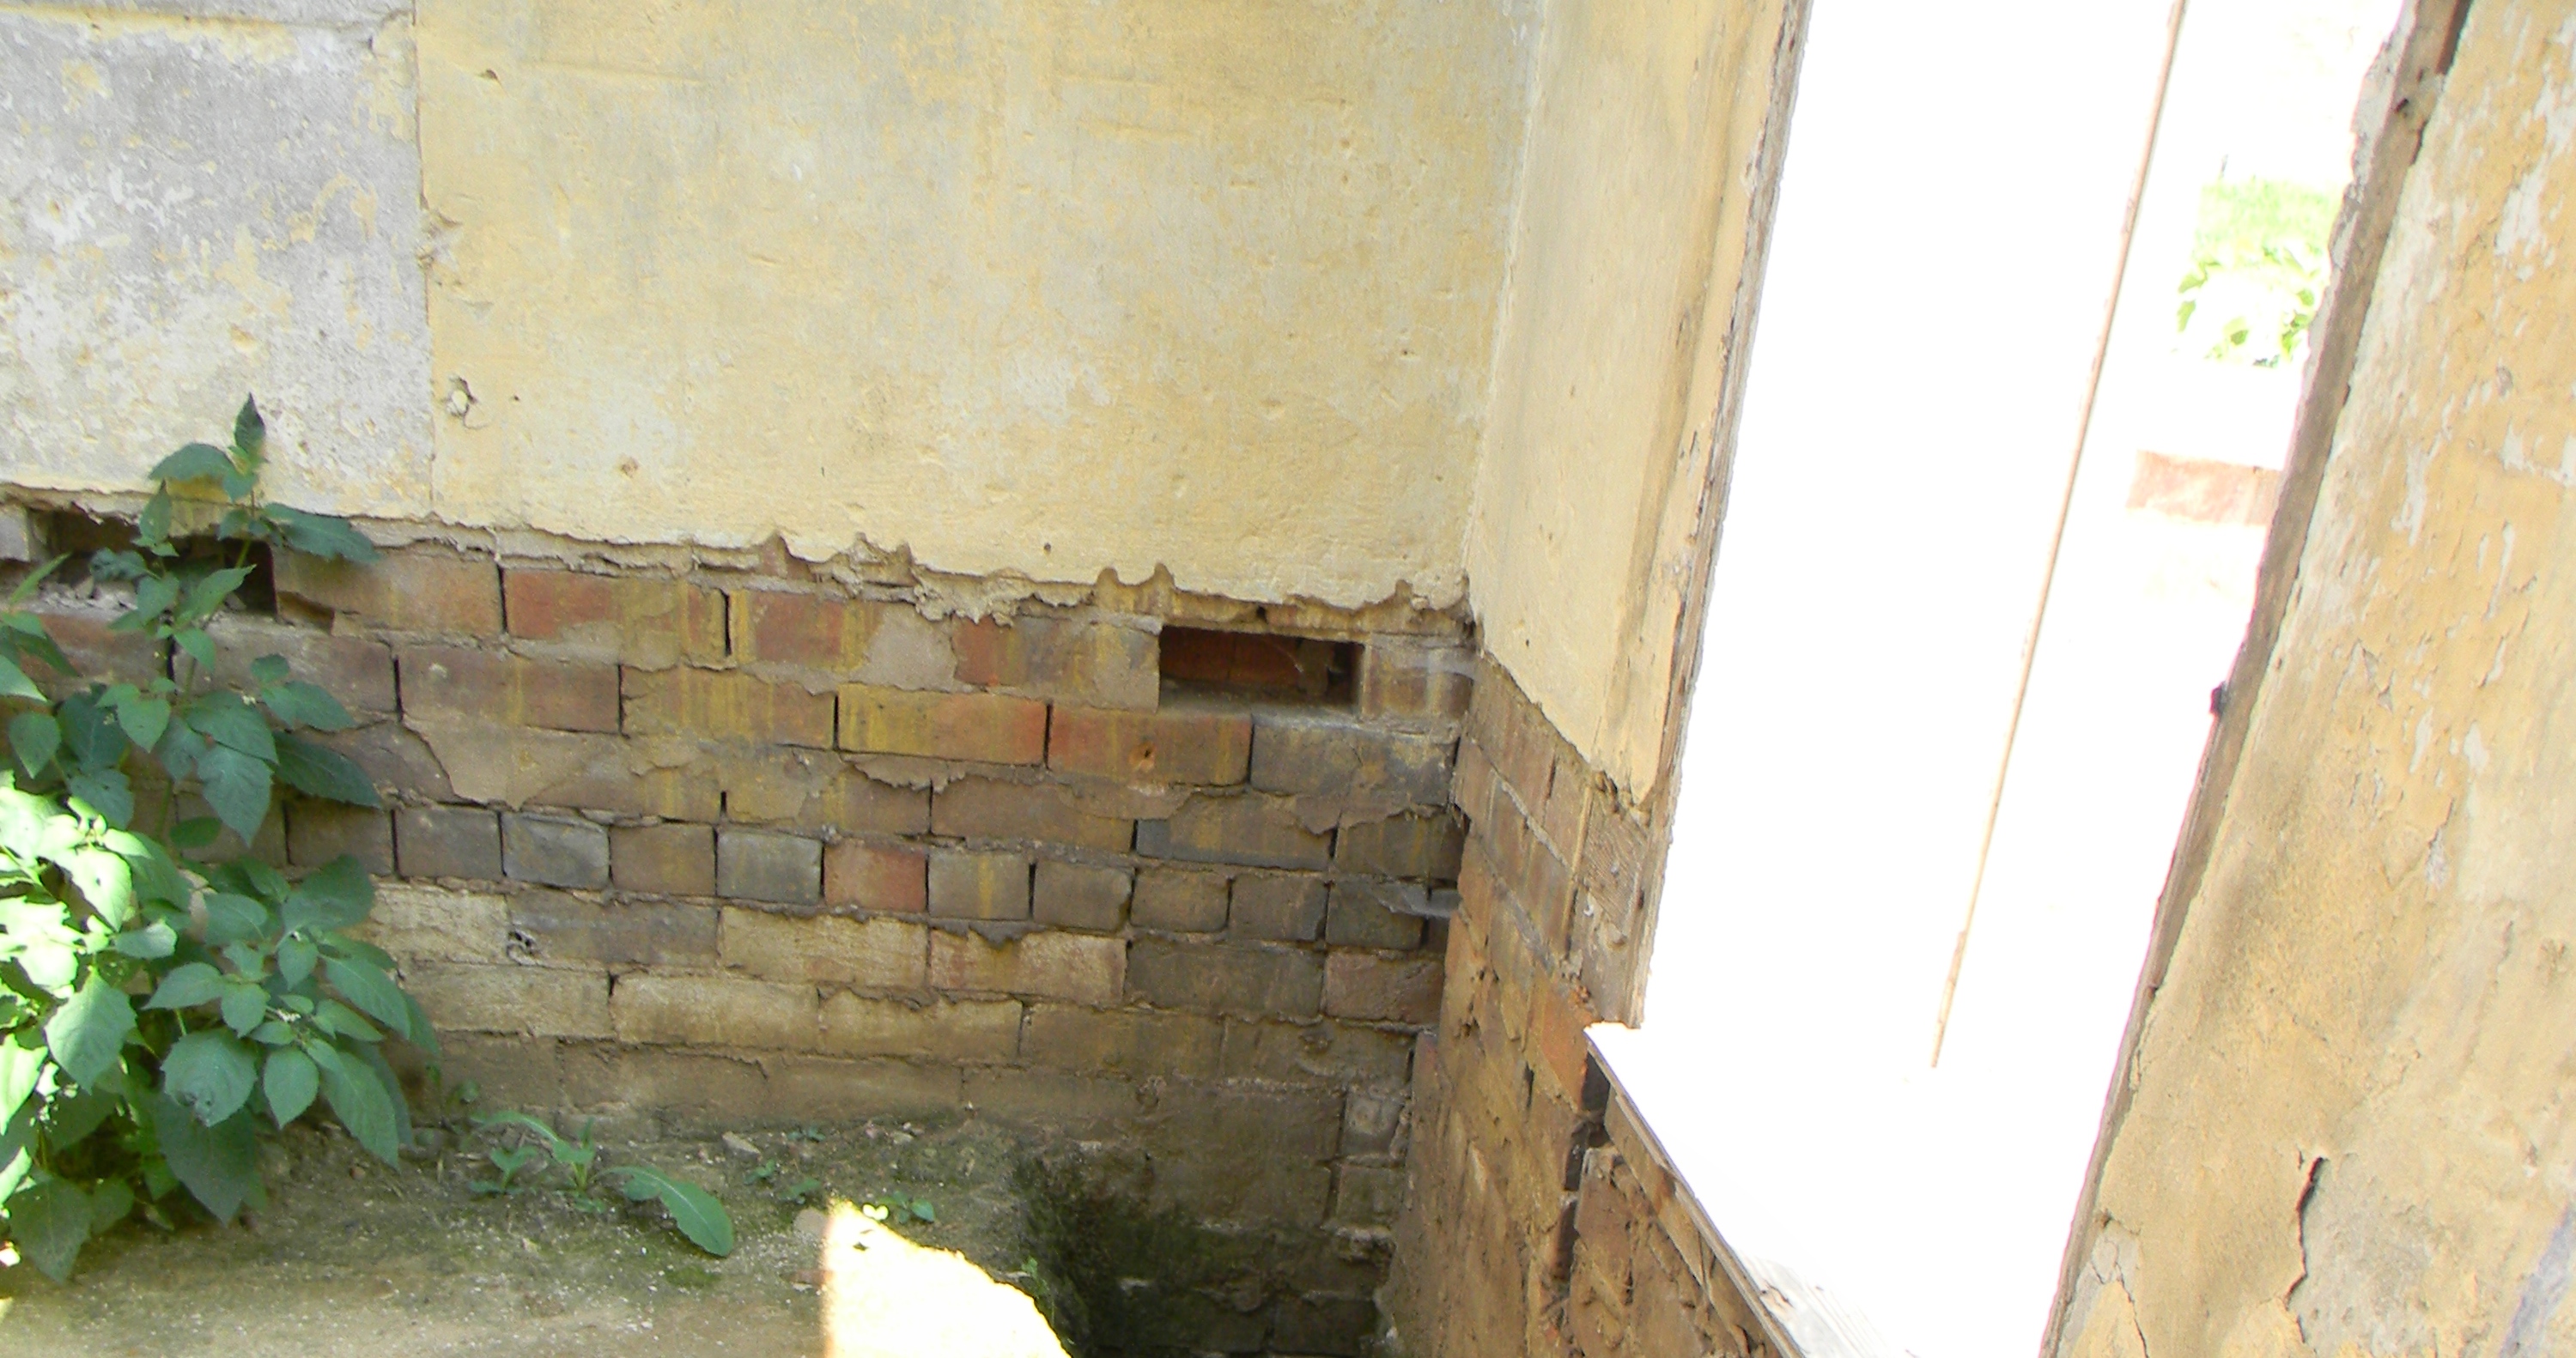
We have always assumed that this doorway was original, connecting the two rooms of the downstairs.  However, when we got to demoing, we began seeing ghosts!  Architectural ghosts, that is.  We actually found our first clues from the other doorways in the structure.  By examining the brickwork around a door frame or window, we can clearly see where a door was in the original design of the building.  The bricks that form the door openings are all smooth, and there are distinct notch outs where a brick is missing:

IMG_0448

During demo, we found wooden, brick-shaped blocks wedged into those notches, and then the frames of the doors were nailed into those wooden blocks; nails into brick and mortar tend to fail quickly.  This wood block system was also used on the downstairs baseboard.  You can see the perfectly missing brick voids below in the course just below where the plaster ends (the wooden blocks came out with the baseboard when we removed them for storage and restoration).

DSCN0645

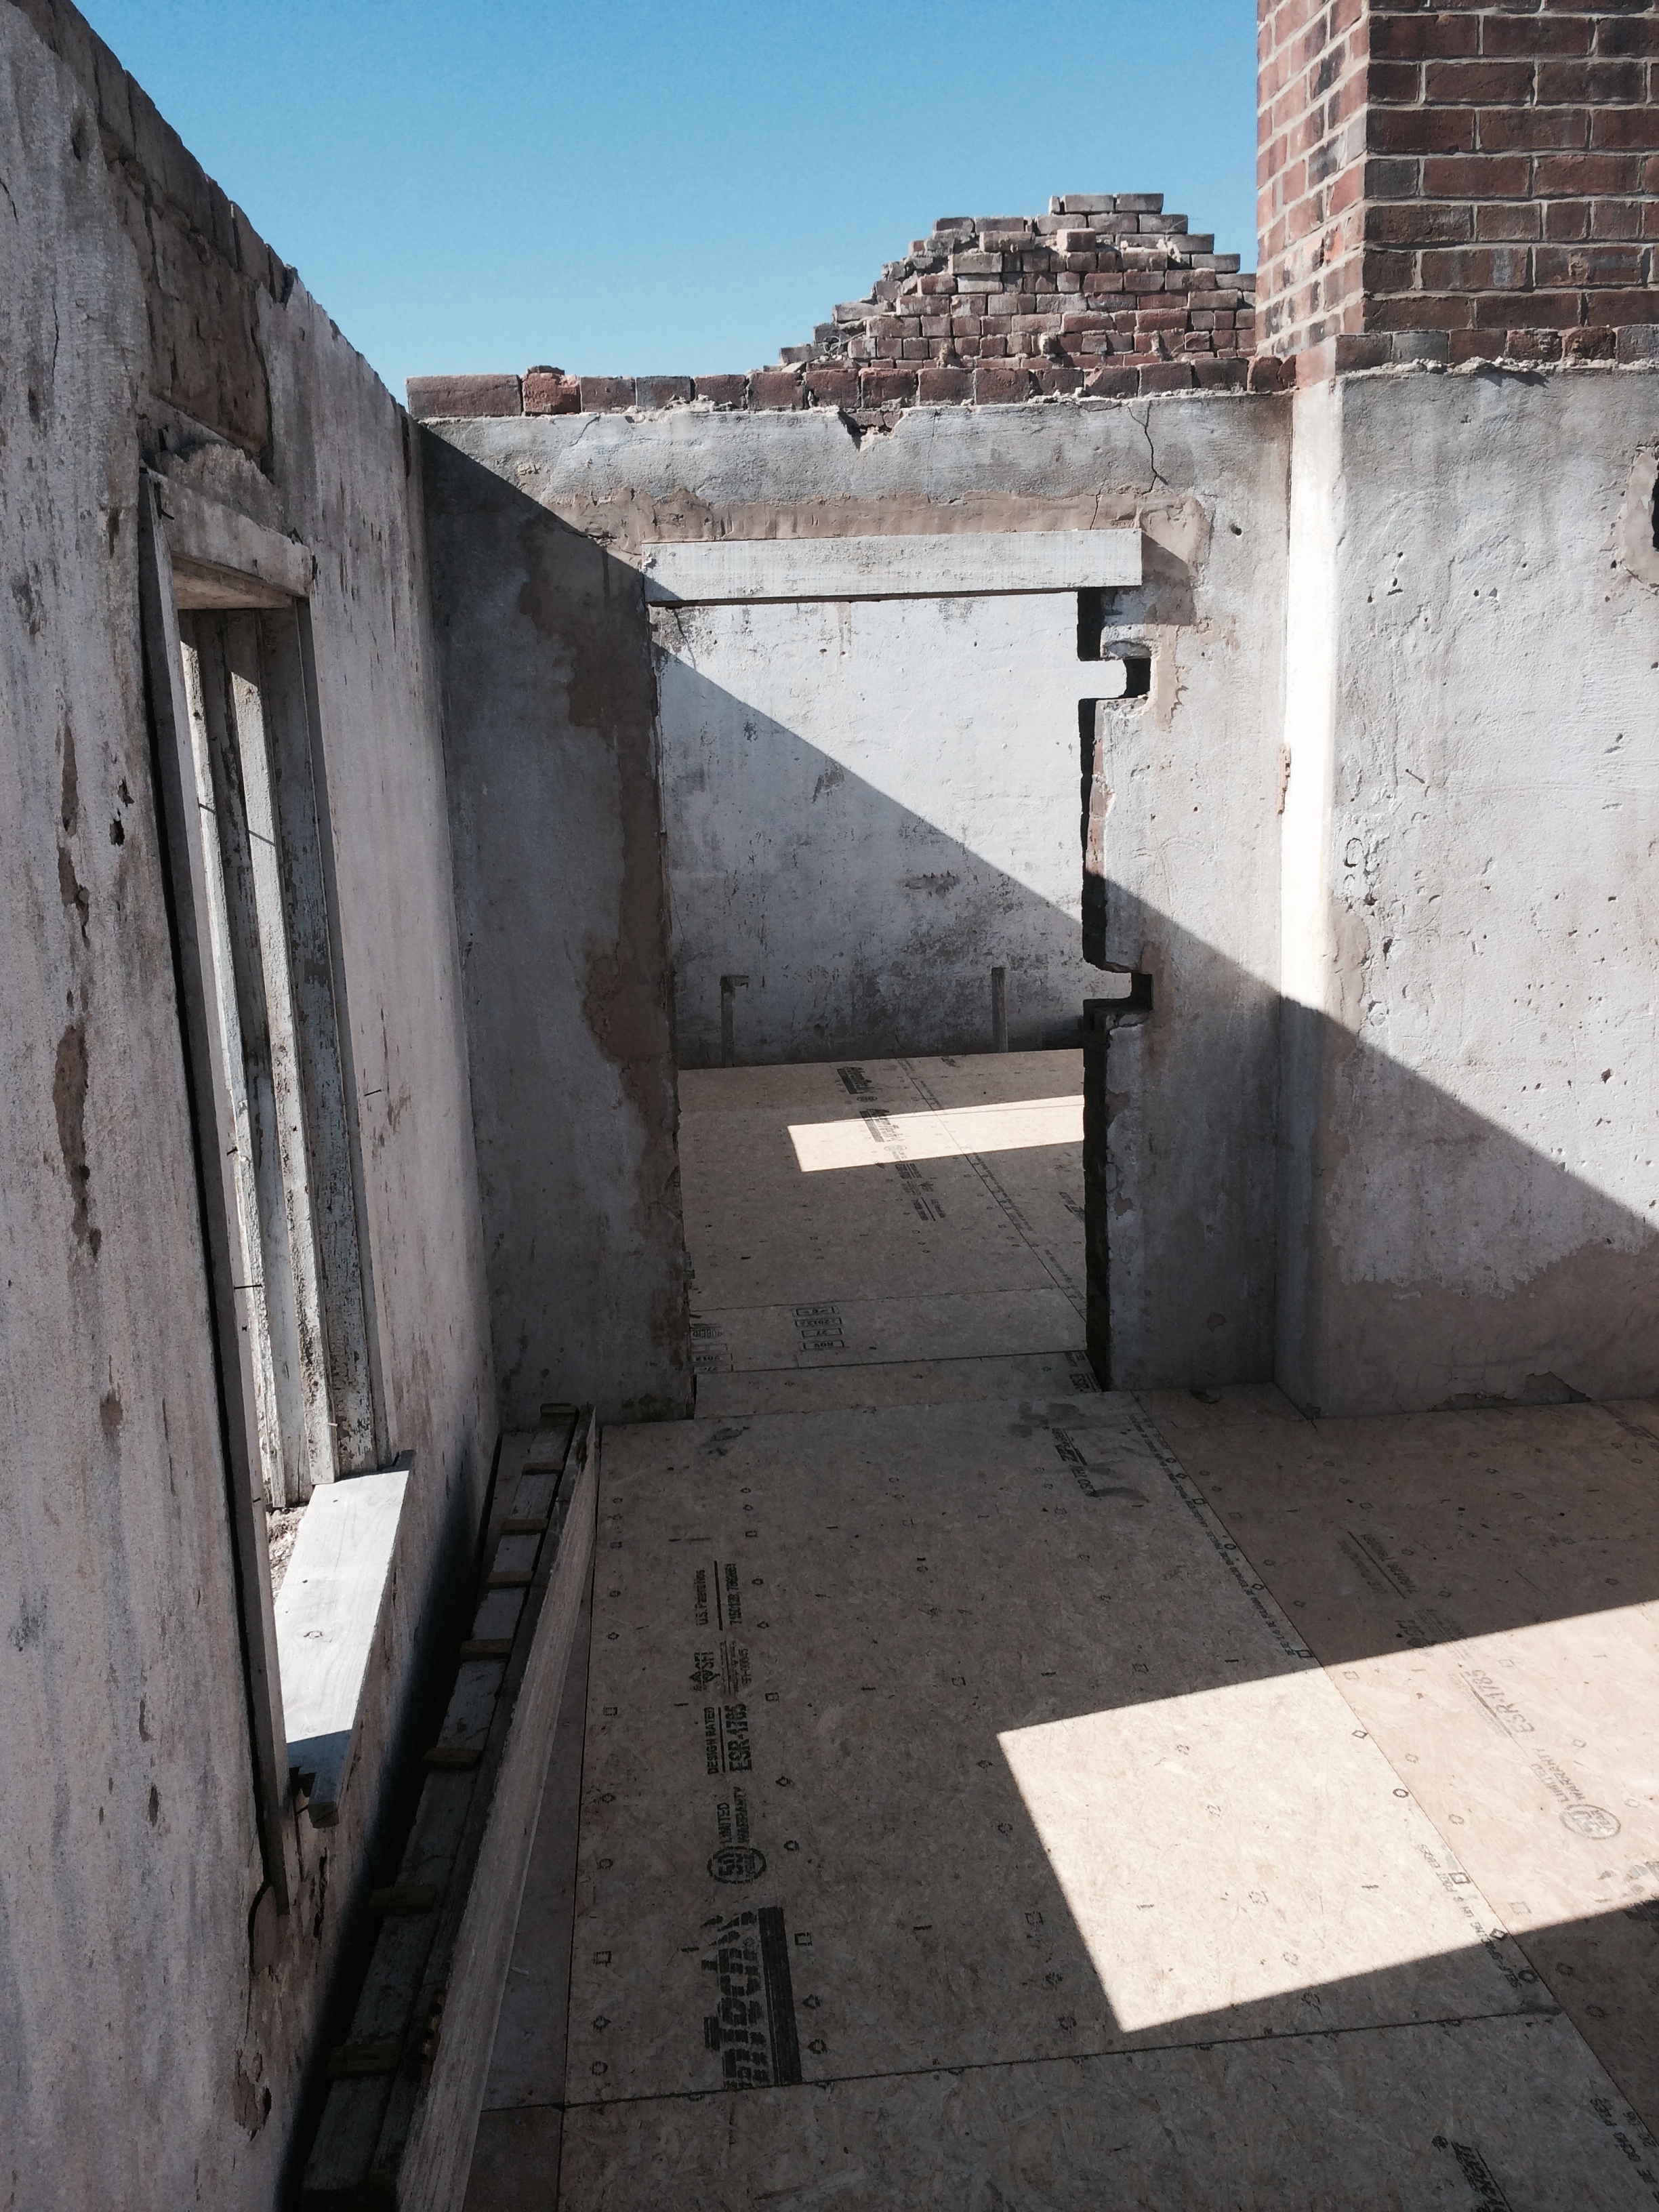
In moving to the other doors and windows in the house, it became clear that the two doors that connected the original brick structure to its 1940s addition (shown in an older photo, below):

IMG_0004

And here is a shot of one of the connecting doorways, sans door frame and 1940s addition:

IMG_0062

And here is where the distinction between original and added-later becomes clear:

IMG_0063

As noted above, the bricks along the top portion of this doorframe are smooth-edged, indicating that they were part of the plan from the start.  The lower half of the doorway has bricks that were clearly broken out.  Thus, it is our theory that there were originally windows on the back walls of the downstairs rooms, and that when the 1940s addition was constructed, those windows were expanded into doors!  Also, the wood used on those later door frames is about 1/2 inch thick, whereas the wood on the original doors is at least 1 inch thick (shown below):

IMG_0257

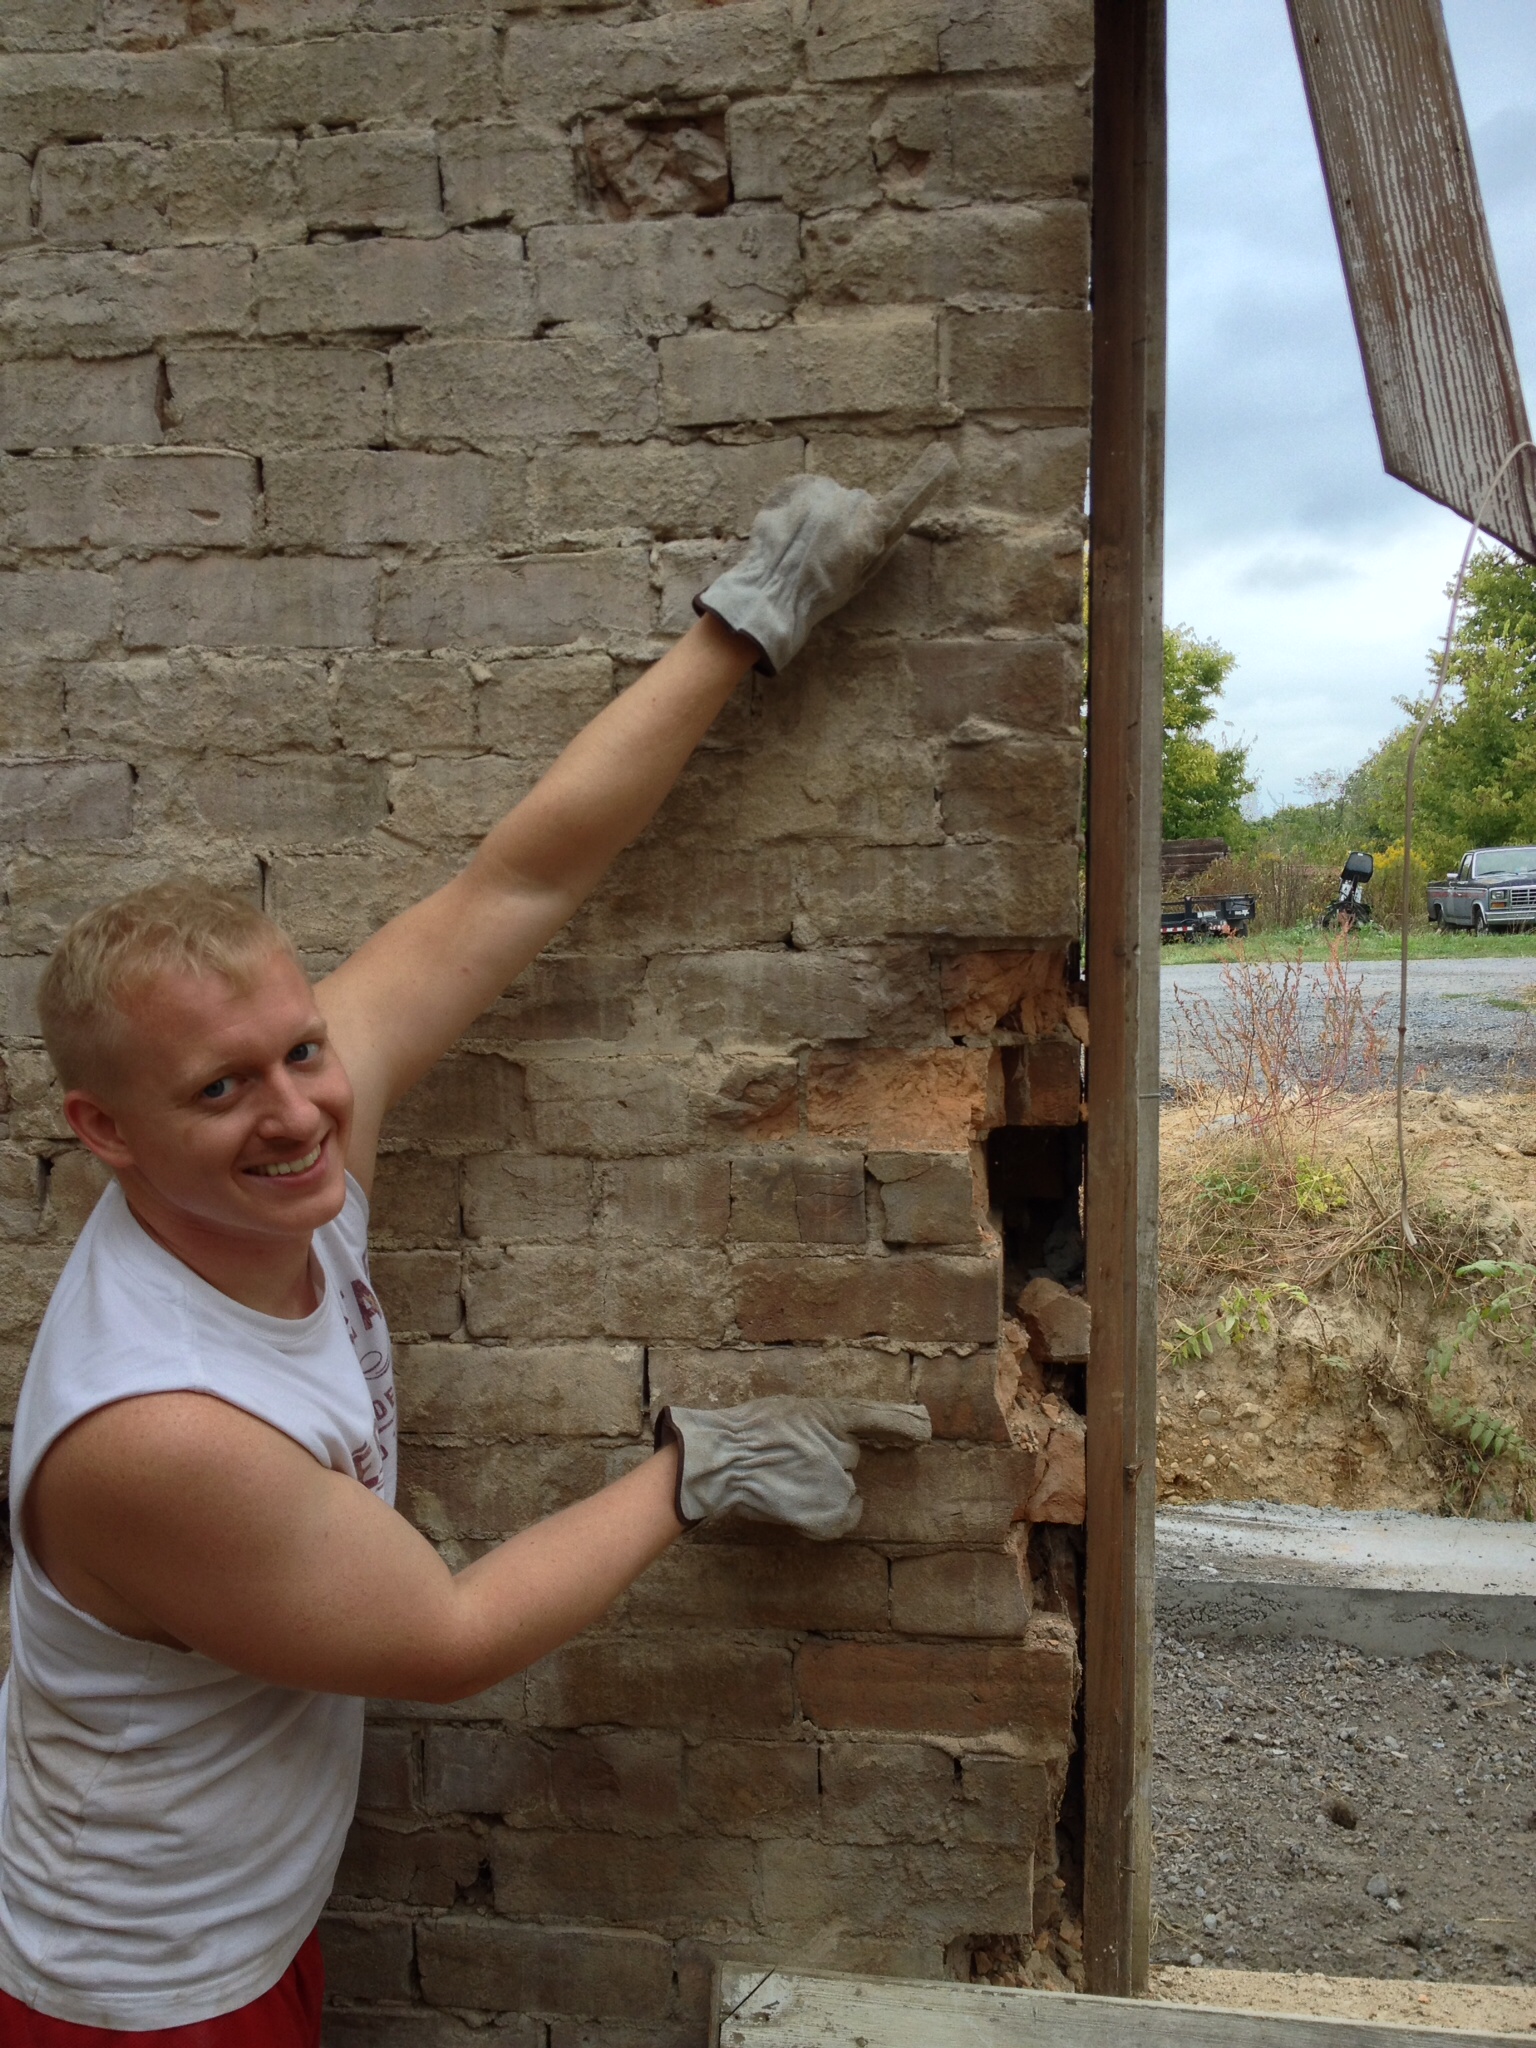
Now, returning to the door connecting the two original downstairs rooms, the edges of those brick are ALL roughly hacked.

IMG_0285

Thus, our theory is that this interior connecting door was added later.  This theory is also supported by the fact that the little house has two original front doors, which would provide independent access to each downstairs room:

IMG_0122

Also interesting: during our demo, we discovered that the stairs are physically built right into the baseboard of the downstairs living room, and their upstairs railing and pine paneling attach directly to the upstairs floor joists, above where the lath and plaster ceiling originally hung, having never been painted!

DSCN0649

Thus, we have a high degree of confidence that the stairs are also original to the structure.  So, here is the big mystery, what was the little house originally used for?!?

Our current theory is that it was a combination of a laundry/kitchen and sleeping/living quarters.  This seems to fit with the general description of laundries as being close to the main house.  This need for proximity might also explain why this structure, partially used for housing workers, is made out of brick rather than timber.  It seems that the builders of Edge Hill, having already gone to the luxury of building a brick smoke house, may have similarly spared no expense on this structure that needed to be close to the main house.

What do you think?

In closing, I want to thank all of our readers who have followed our progress!  There is so much more to come in 2014 and beyond, and in times when it seems that the going is slow, I look at these few pictures:

IMG_4407

Chad & Rachel DA-108

IMG_0634

IMG_0637

We have already come so far!

Windows Restorations

As promised, here is the next round of the window process (see Part I, here).

This post covers steps 4-6:

4) Remove all of the old paint and window glazing putty from the de-glassed window sashes.

5) Using wood epoxy liquid and compound, restore the integrity to any damaged/soft/rotting wood.

6)  Sand the cleaned and repaired sashes and dry-fit the glass.

At the outset, I need to send a big thanks out to Nancy and Comer, who loaned me their copy of Working Windows by Terry Meany, an excellent resource with over 200 pages of window advice.  Where was this when I started out?!

Down to business.  When I last left you, I had gotten the glass out of the windows, but the frames were untouched.  Untouched, aside from 200 years of Mother Nature hammering away with all she had.  This left the frames in pretty poor shape: IMG_0880

OMG!  This window was actually one of the worst, thank goodness, but it is a good example and really covers all of the bases when it comes to restoration requirements.  As shown above, this window had severe rot, and as shown below, the wooden pins were coming out of the mortise and tenons:

IMG_0882

Additionally, the joints were deteriorating and had whole pieces missing.

IMG_0883

The first step in the process was to remove all of the old paint and any remaining putty to be able to really see what I was working with.  First, I went to Lowes and got paint stripper; that’s basic, right?  Wrong.  I tried both of the brands they offered, and both wound up with me just scraping at the paint and trying not go gouge the wood.

IMG_0884

Next step: Amazon.  I’ve found that when I don’t know how to best tackle a product, the reviews on Amazon can generally point you in the right direction.  I searched and searched, and kept coming back to one product, Soygel, which (*bonus*) is soy-based!  No awful toxic mess.  But, it was about three times the price…this soy stuff better be good.  I got just one quart to start out.  In reading the reviews, everyone noted that there are no miracles; Soygel works best over about 24 hours of setting in, not right away.  Additionally, some reviewers noted that covering the Soygel with plastic wrap prevents evaporation and makes it work “better.”  My scientist side again comes out!  I tried putting it on thin, thick, covered thin, and covered thick.

IMG_0934

IMG_0935

IMG_0936

IMG_0937

Regardless, it all came off like this!

IMG_0941

There was still a little scraping and clean up to, but I was able to get most of the paint off…for residuals, I employed the heat gun (again, in full respirator mask), which seems to work on the stubborn areas where the Soygel doesn’t help, or, if you don’t have the 24-hour lead time!

Next, I had to tackle the parts of the wooden frames that went sans paint for a decade (or four).  The weathered wood was particularly spongy, especially on the muntins where moisture had seeped behind the putty and was trapped there, providing the perfect mold and insect habitat.  Enter the rehab tools.  Abatron makes my “products of choice” list for historic restoration projects, and is noted in Working Windows.  Though the stuff can be a little expensive, it works miracles:

IMG_0919

Pictured above are Abatron’s LiquidWood and WoodEpox, and some denatured alcohol, which is the universal solvent for these products.  They both come in two parts that only activate when they are mixed together.  The LiquidWood infiltrates the voids that develop in the wood through the rot process and solidifies there, reinforcing the structural integrity of the wood, and it doesn’t rot any further!  When I’m tackling a couple of windows, I thoroughly mix a good amount in a clear condiment bottle (I bought 12 off of Ebay for $7.00); the squirt nozzle allows you to apply the LiquidWood right where you need it and not make a mess of things.

IMG_0926

Once the LiquidWood is on the desired surface, I use a paint brush to apply it evenly and ensure full penetration. LiquidWood, however, is just for where the wood is weathered or slightly “spongy.”  For the parts where the wood has already rotted off or where voids, insect boreholes, or breakages have occurred, you need the big guns: WoodEpox.  To start out, you again mix equal parts, but this time it’s like play-dough!

IMG_0928

IMG_0929

Once it is all mixed together, I prime the target surface with LiquidWood, which infiltrates down into the base, the wood around the areas is usually pretty bad itself, and then I slather on the WoodEpoxy.  I have found that the denatured alcohol makes this product a lot easier to work with and helps keep it from sticking to your gloves, etc., while you are applying it.

IMG_0930

It is important to put on more than you really need, because once it is all dry, you sand it down to get the profile and surface you want; if you skimp you might find yourself having to go back and add more – a real pain due to the drying time required.

IMG_0931

Once it is done, it has to set for a couple of days.

IMG_0932

IMG_0933

IMG_0955

And when it is dry, you just sand it down until it is flush with the existing frame.  Voila!

IMG_0956

Muntins and rabbits are particularly tricky; again, the key is to put on more than you need and sand down when it is dry.

IMG_0958

All trimmed down!

IMG_0957

After it has set thoroughly, I sand the wood all over one last time to ensure that the surface is smo0th and free of imperfections.  After sanding, I take each piece of glass and dry-fit it back into the frame.  This process is essential to do before you add putty, as you don’t want to try and force the glass into the frames, and the dimensions have changed since the muntins have been restored with putty.  I found that this step took extra time with the sander to ensure that each piece of window glass had a nice snug fit.

Next up, window putty!  Or, the process of separating the men from the boys.