Raise the Roof

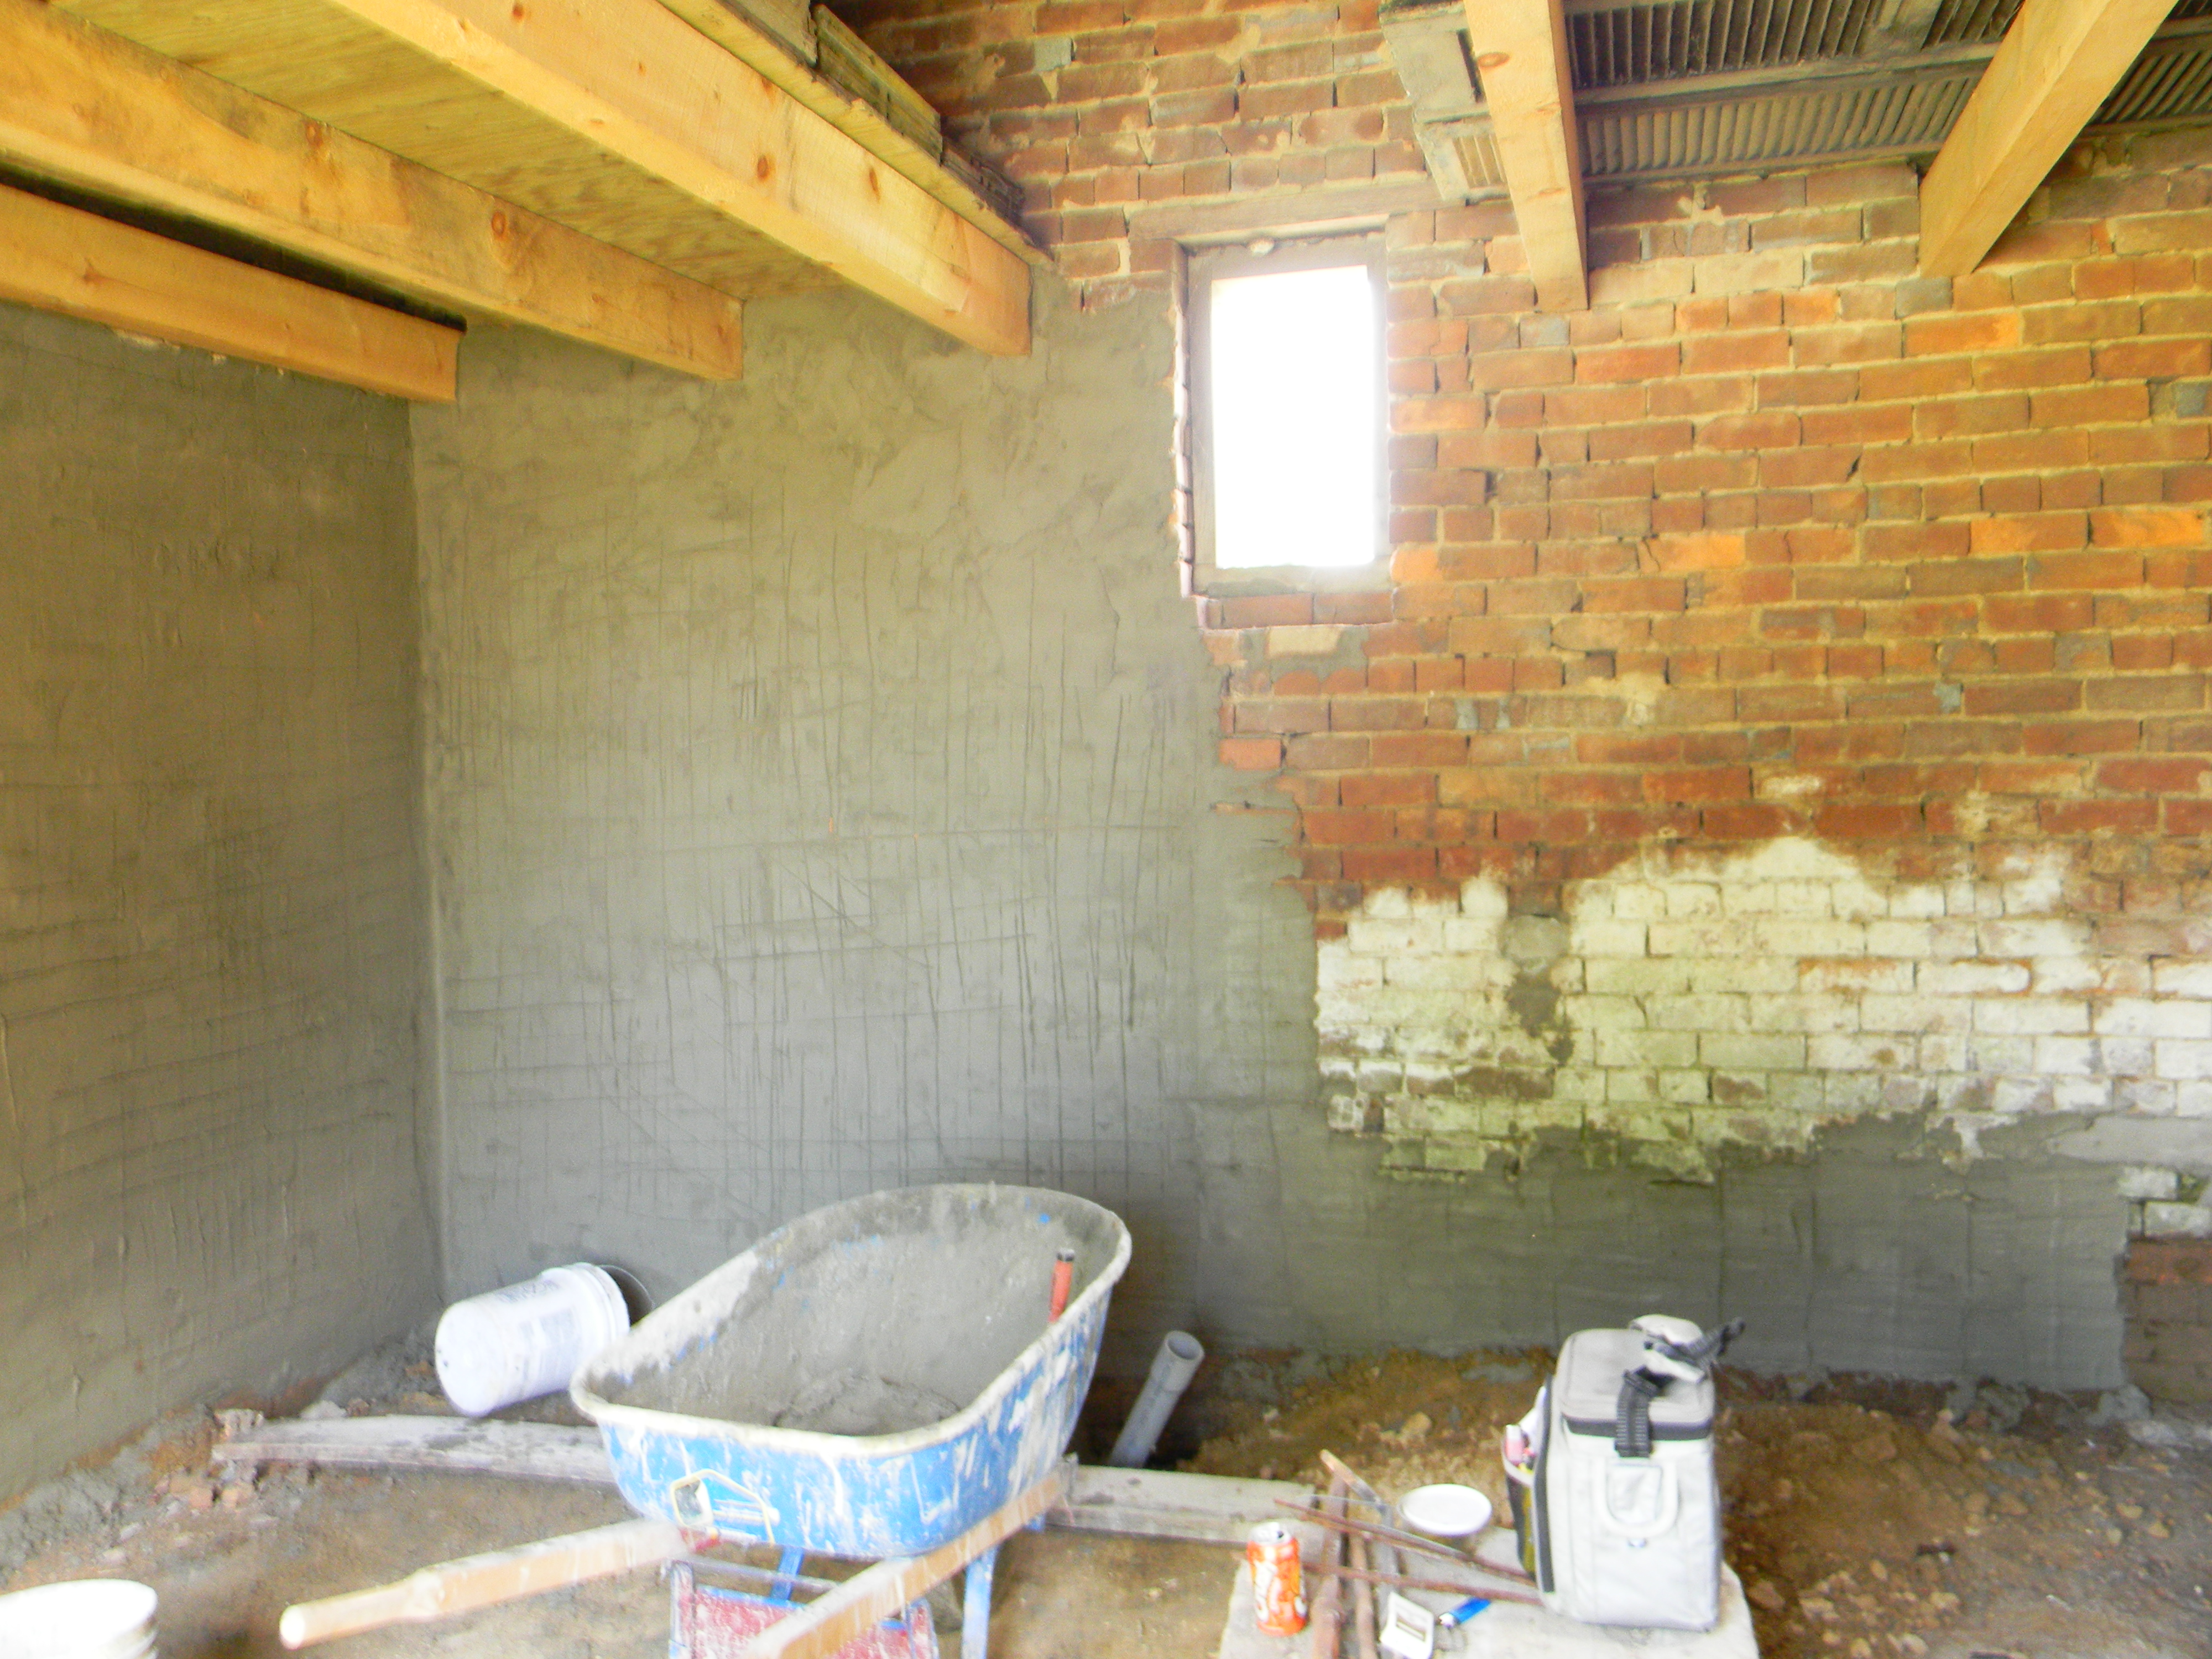
This winter has been an interesting winter to be without heat.  Like so many on the East Coast, we were caught in the “Polar Vortex” and figured out quickly that our pipes all freeze at 25 degrees or colder.  As a reminder, we are currently living in the Big House while the construction on the Small House continues, and the Big House currently does not have operational central heat.  Slippers, thermal underwear, and space heaters are key investments!  We should buy stock in the electric mattress pad company.  If anyone has any insight as to why our cold and hot taps suddenly switched when the pipes froze, we would be glad to learn about this plumbing miracle.

Not only does the water in our pipes freeze, but so does progress on outdoor construction projects…not surprising, but also not great for our very optimistic timeline.  Back around Thanksgiving, we put in a lumber order for the white pine that would form our roof.  Because our house is, well, atypical, we were not candidates for pre-made roof trusses.  We also wanted our craftsman to use the original wooden peg construction, so we were in need of a custom job.  Due to the long wait list, the freezing temperatures, snow, epic mud caused by the snow melt, and then more snow, the lumber order was two weeks late…and then another two weeks late…and then two more weeks late…well, you get the picture.

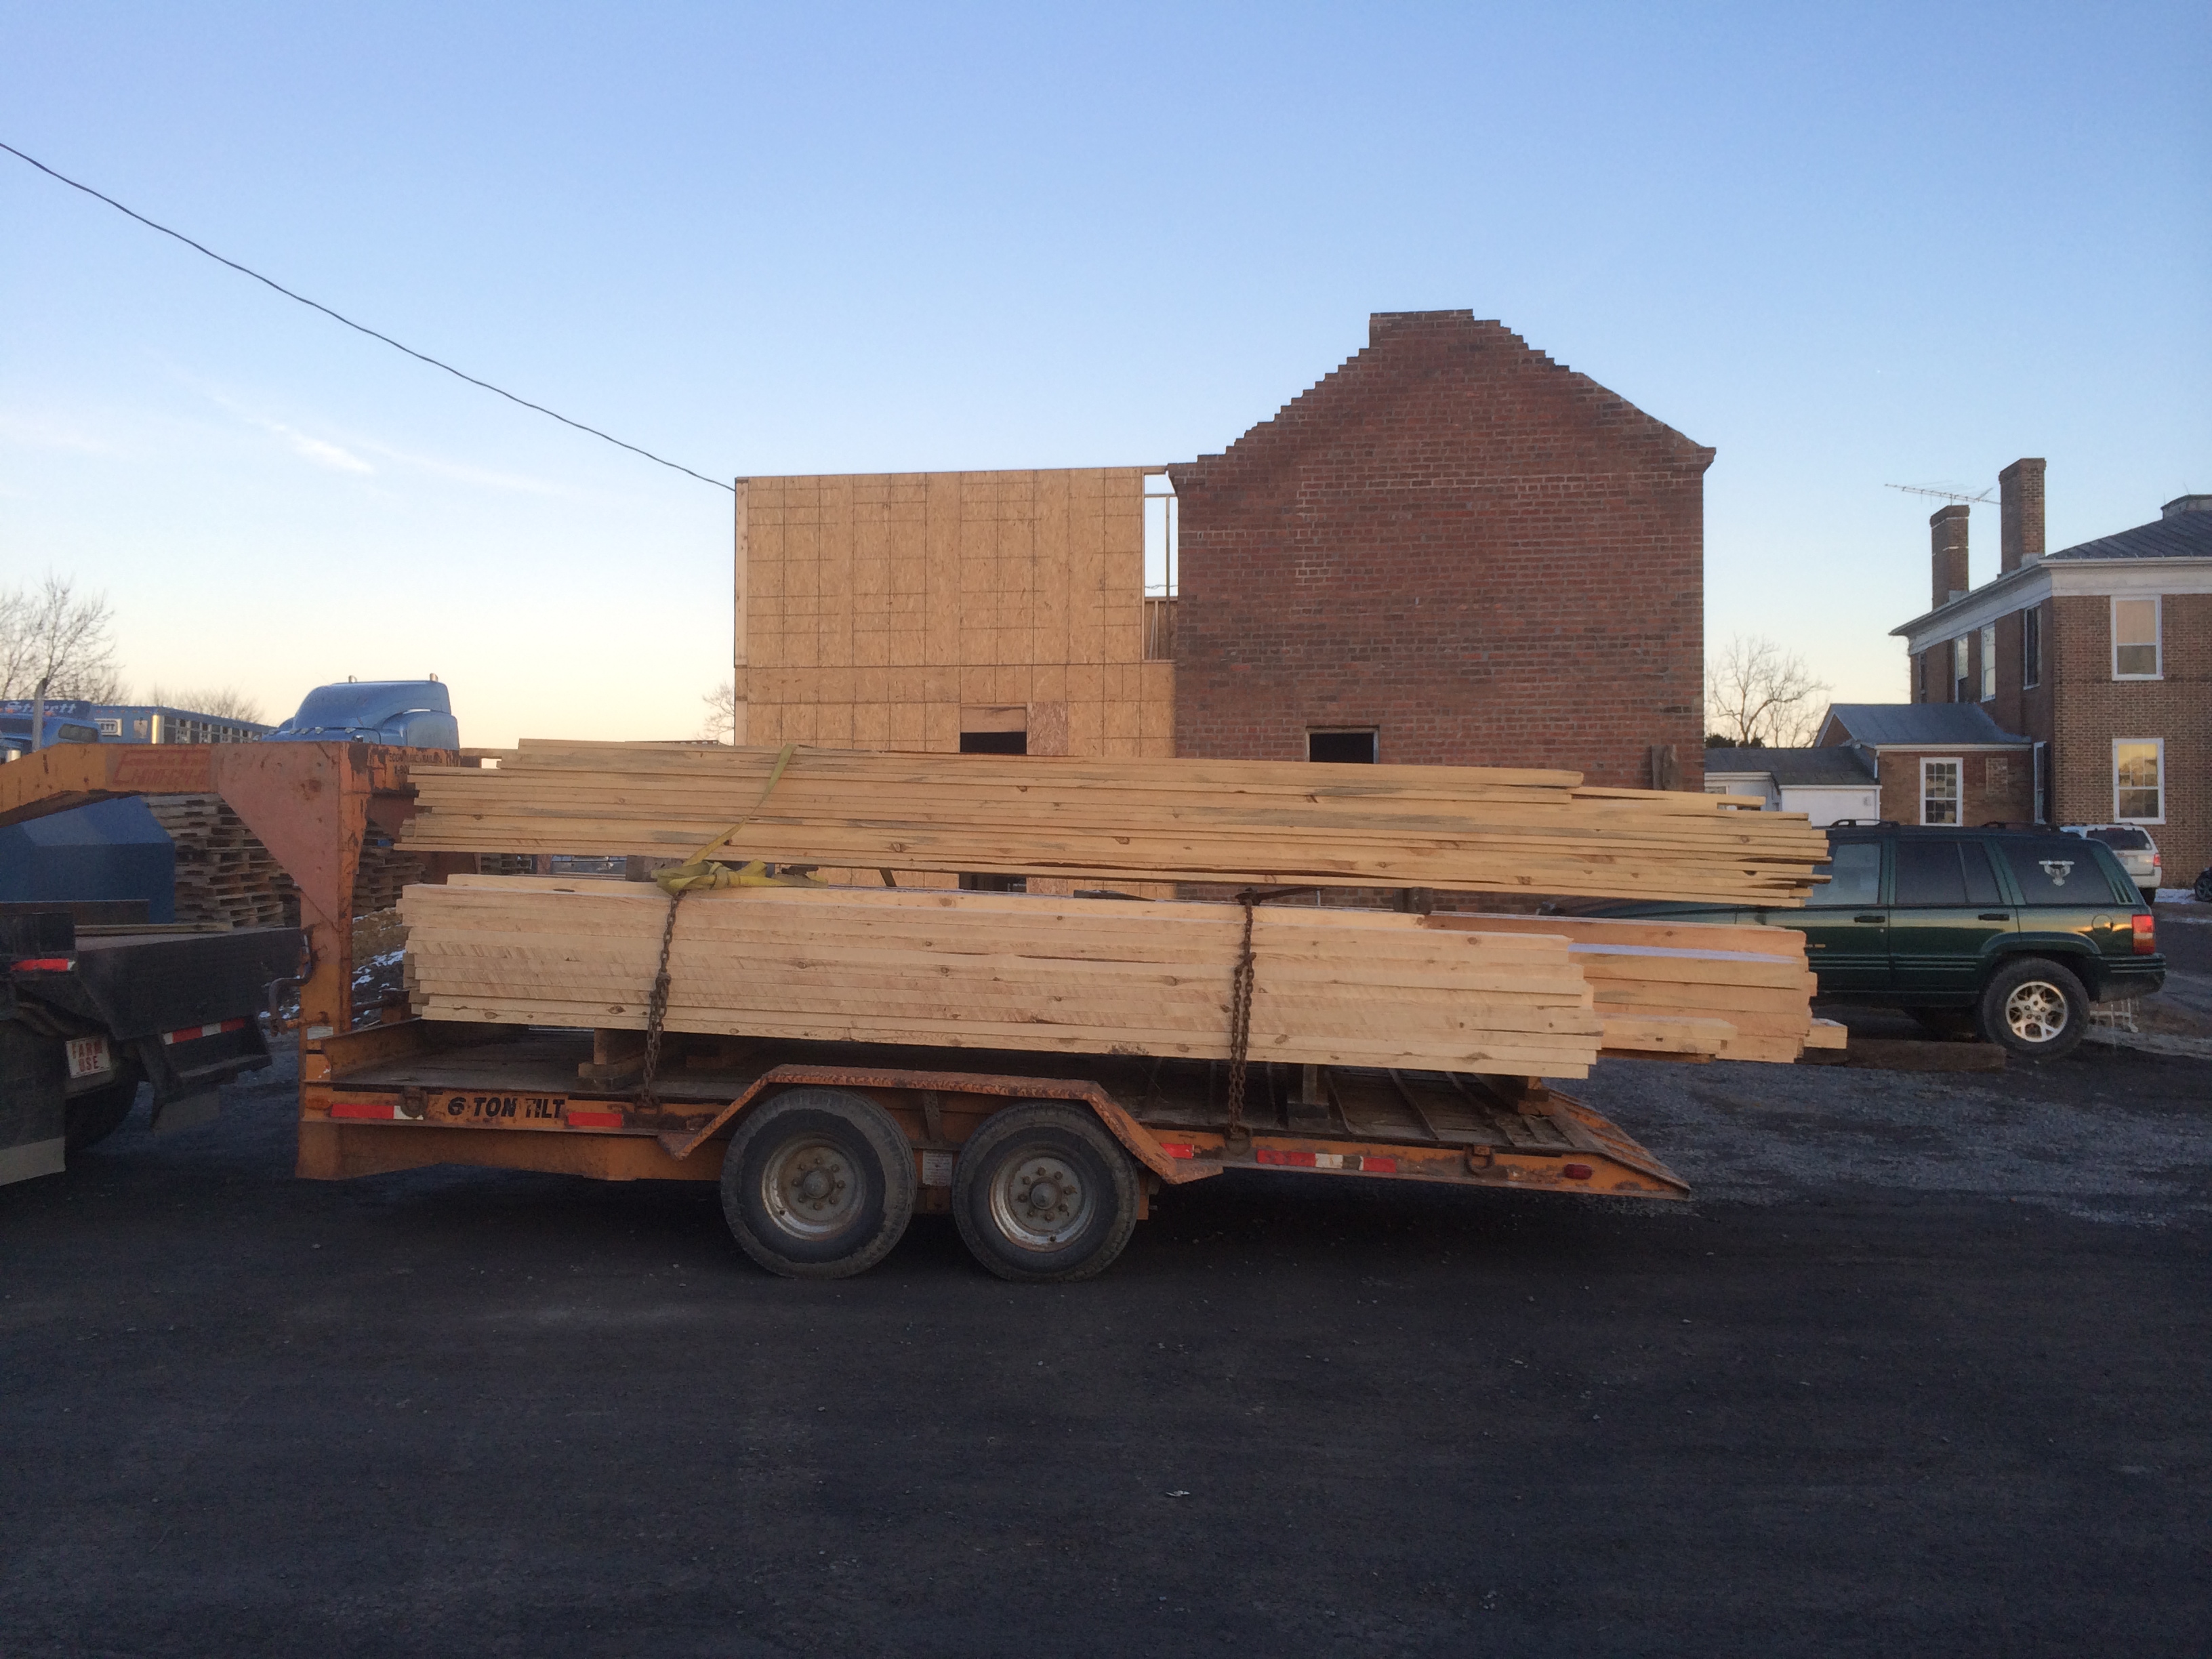
You can understand our sheer glee when these two deliveries showed up in our driveway:

IMG_0721
IMG_0692

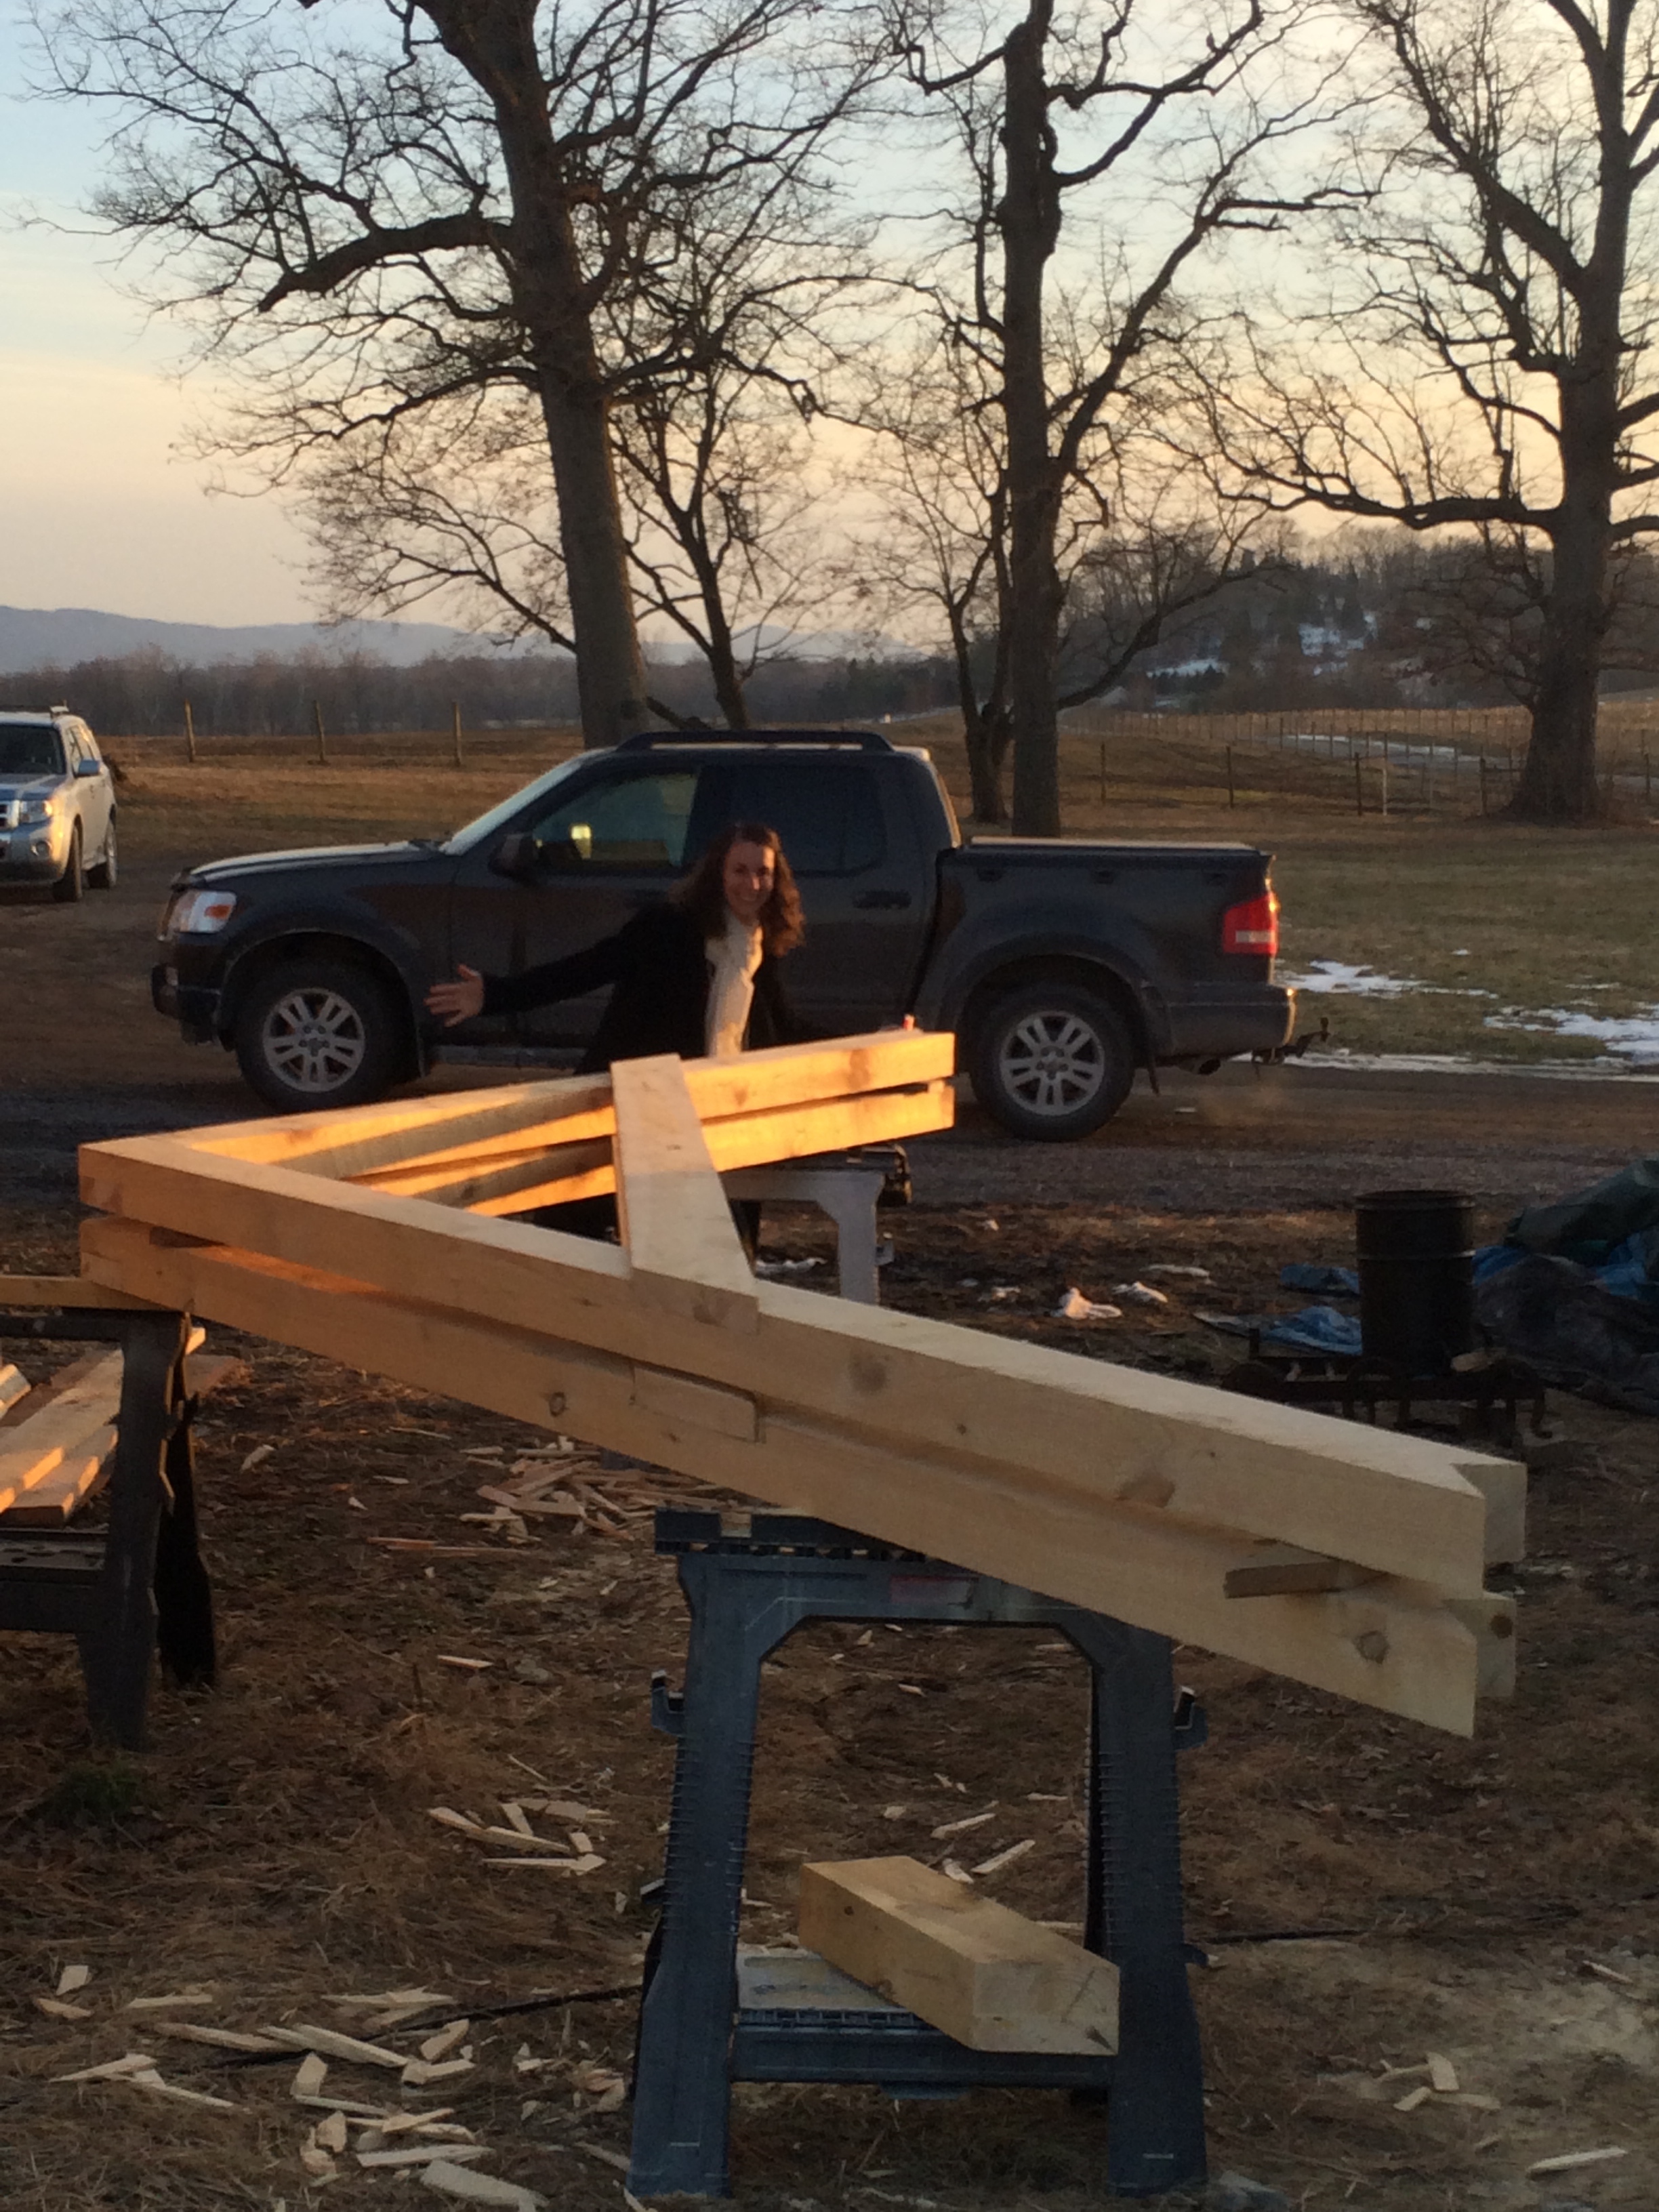
Our craftsman, Colon, wasted no time in getting started on the project.  Hallelujah.  These gems were the preview of what was to come:

IMG_0705

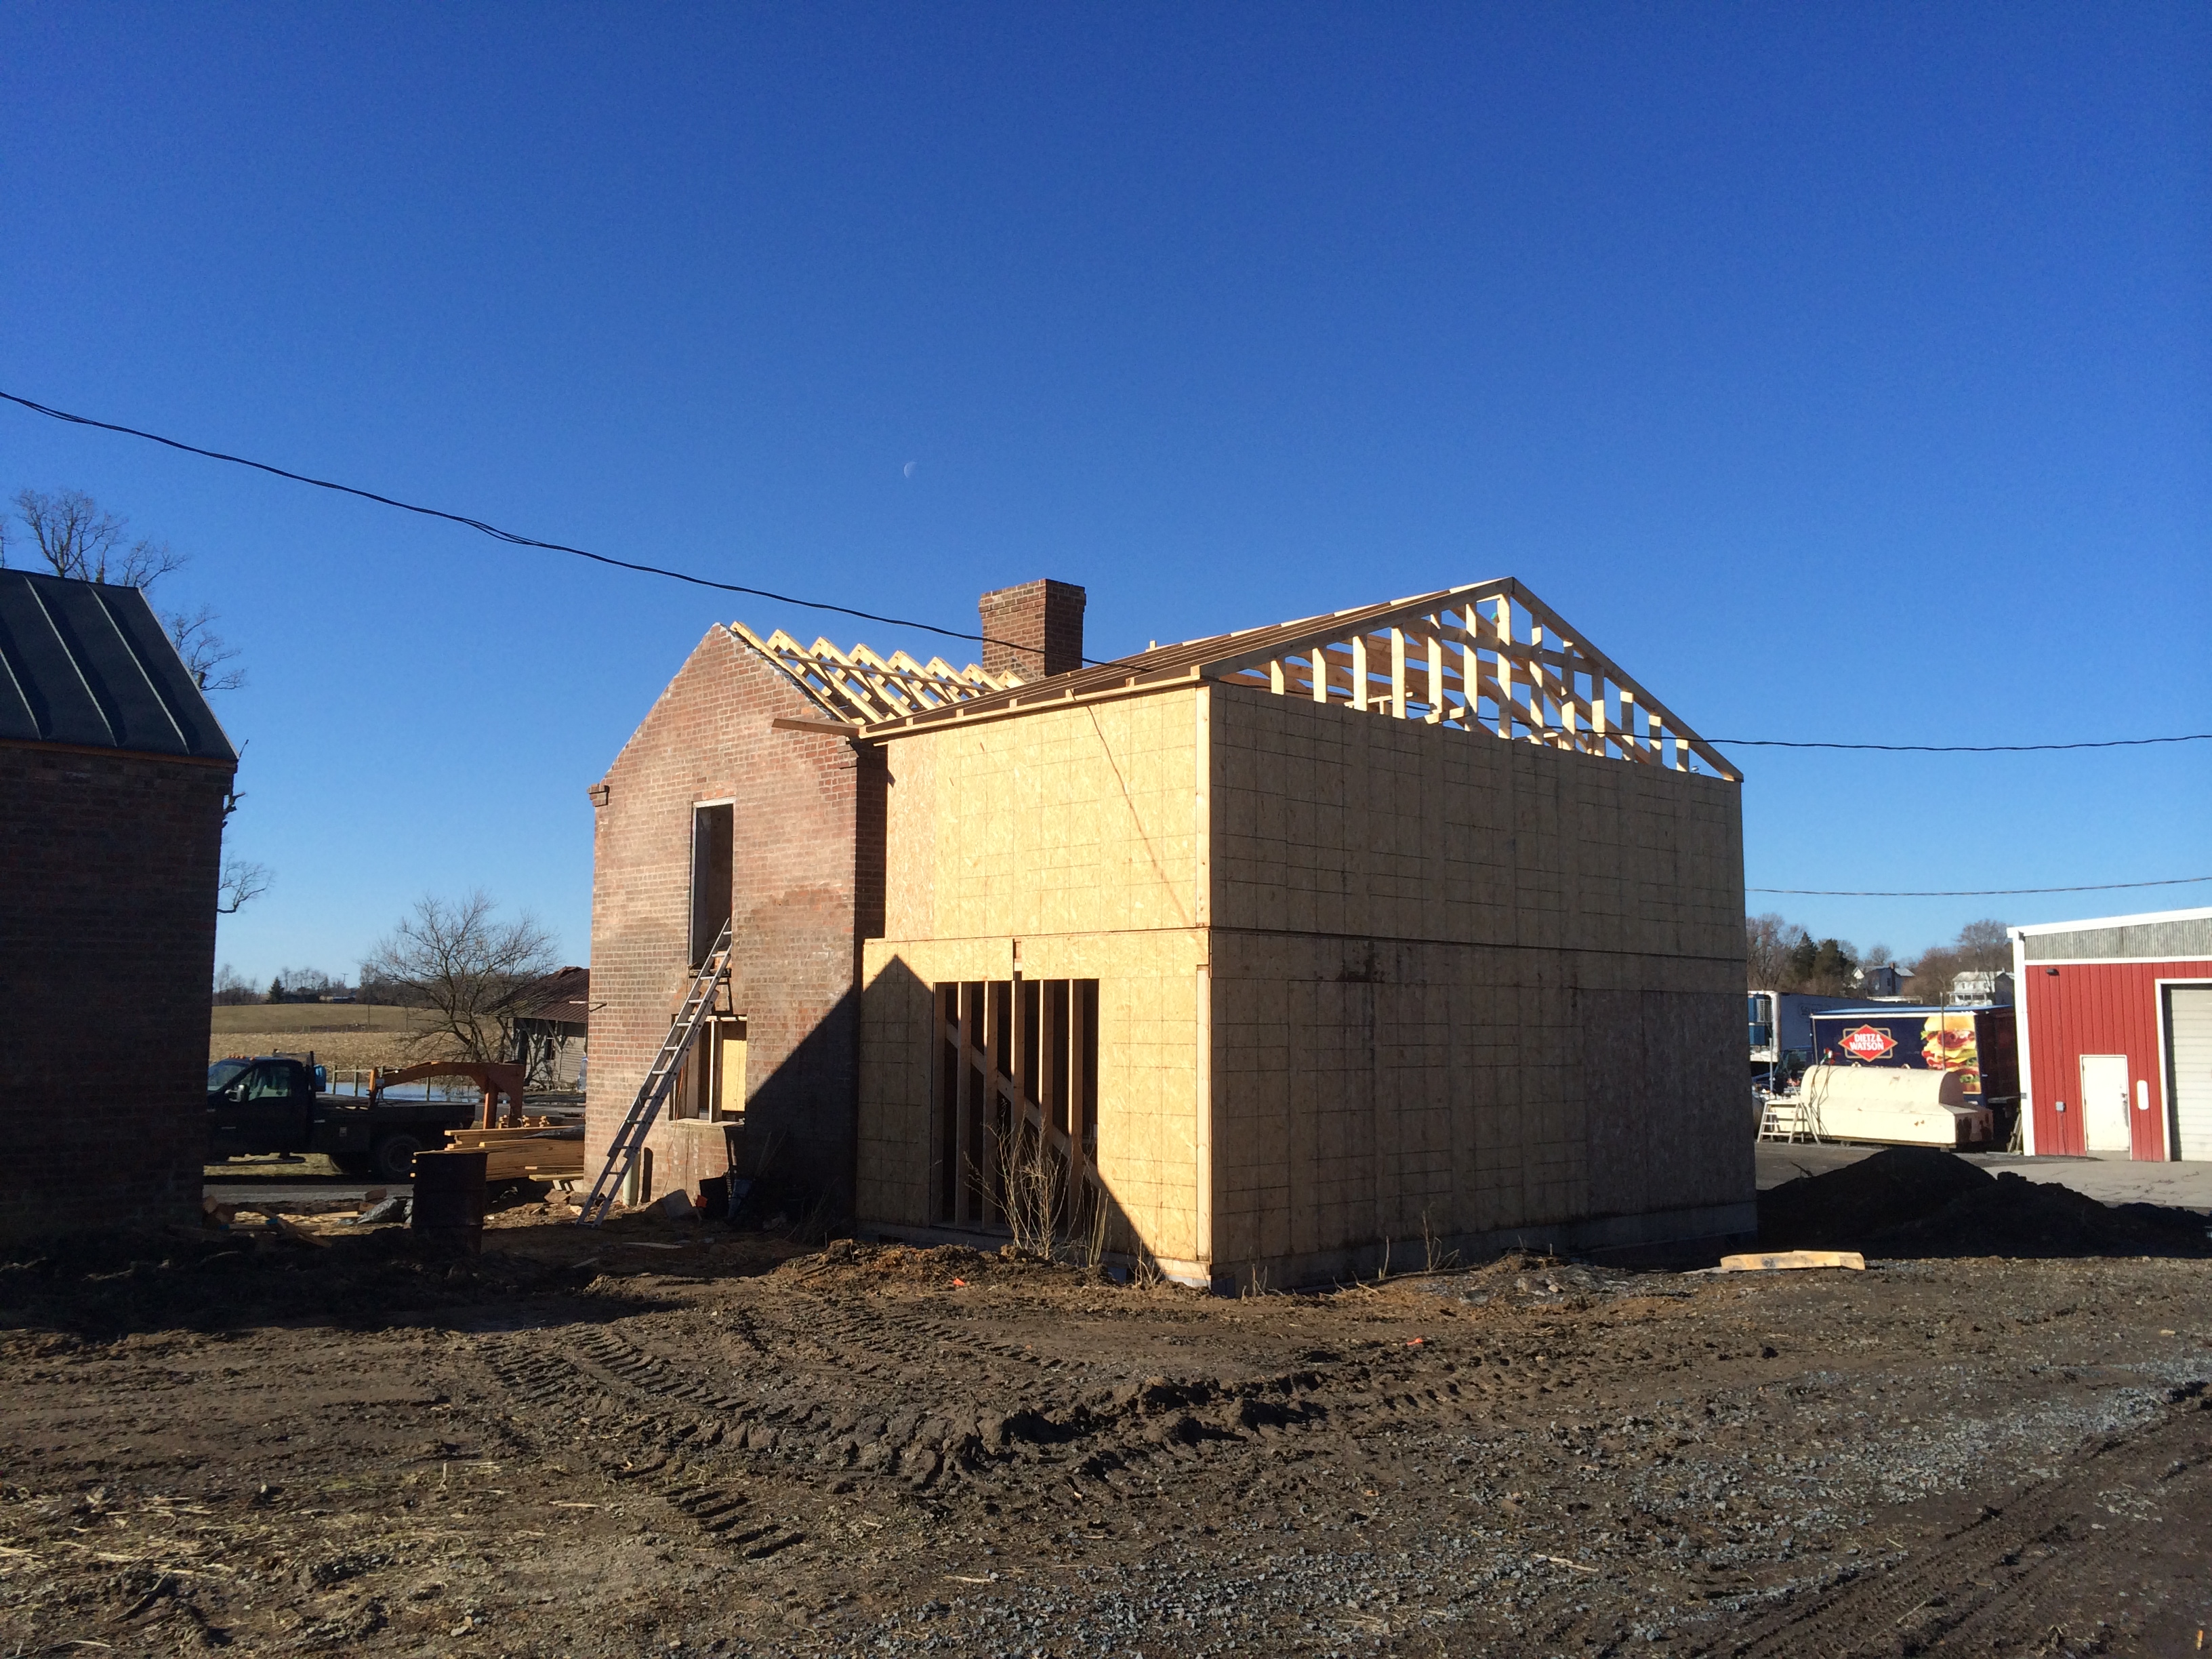
Just before our big snow day about ten days ago, Colon had enough of these bad boys to form the skeleton of the roof over the original structure.

photo 2

photo 3

Although our little snow storm wasn’t great for progress, the project did look beautiful in 15″ of snow.

IMG_0755

IMG_0756

IMG_0759


These roof trusses then get covered with rows of 6″ roof boards.  We were able to scheme with Colon about the roof boards to make a really exciting change to our planned aesthetic.  Instead of insulating under the roof boards and then dry walling the ceilings of the bedrooms between each beam, leaving the beams exposed but the insulation covered, Colon will be able to insulate on the OUTSIDE of the roof boards (between the roof boards and the sheet metal that will form the exterior of the roof).  That way, we can have a COMPLETELY exposed roofing structure on the inside.  Minus some whitewash or paint, the ceilings of our bedrooms will look like this:

IMG_0760


The change in roof design left us needing more lumber (of course).  Fortunately, at this point, we knew exactly how many beams the project would take, and we had a few more than we needed on hand.  However, we were short roofing boards.  Luckily, we were able to find a local who owned just the right saw and he was able to convert our surplus beams into roofing boards.  The project forged ahead.  What a relief after so many other lumber setbacks in the last few months!

After the Great Thaw, Colon was able to finish nearly all of the trusses and (hopefully) will be able to finish putting on roof boards this week.  Chad was able to climb Colon’s scaffolding for some pretty phenomenal shots that we likely will never have the opportunity to get again.  The burgeoning roof and the winter view are gorgeous.

IMG_0804

IMG_0803

IMG_0799

IMG_0809

IMG_0808

IMG_0807

IMG_0806

IMG_0805

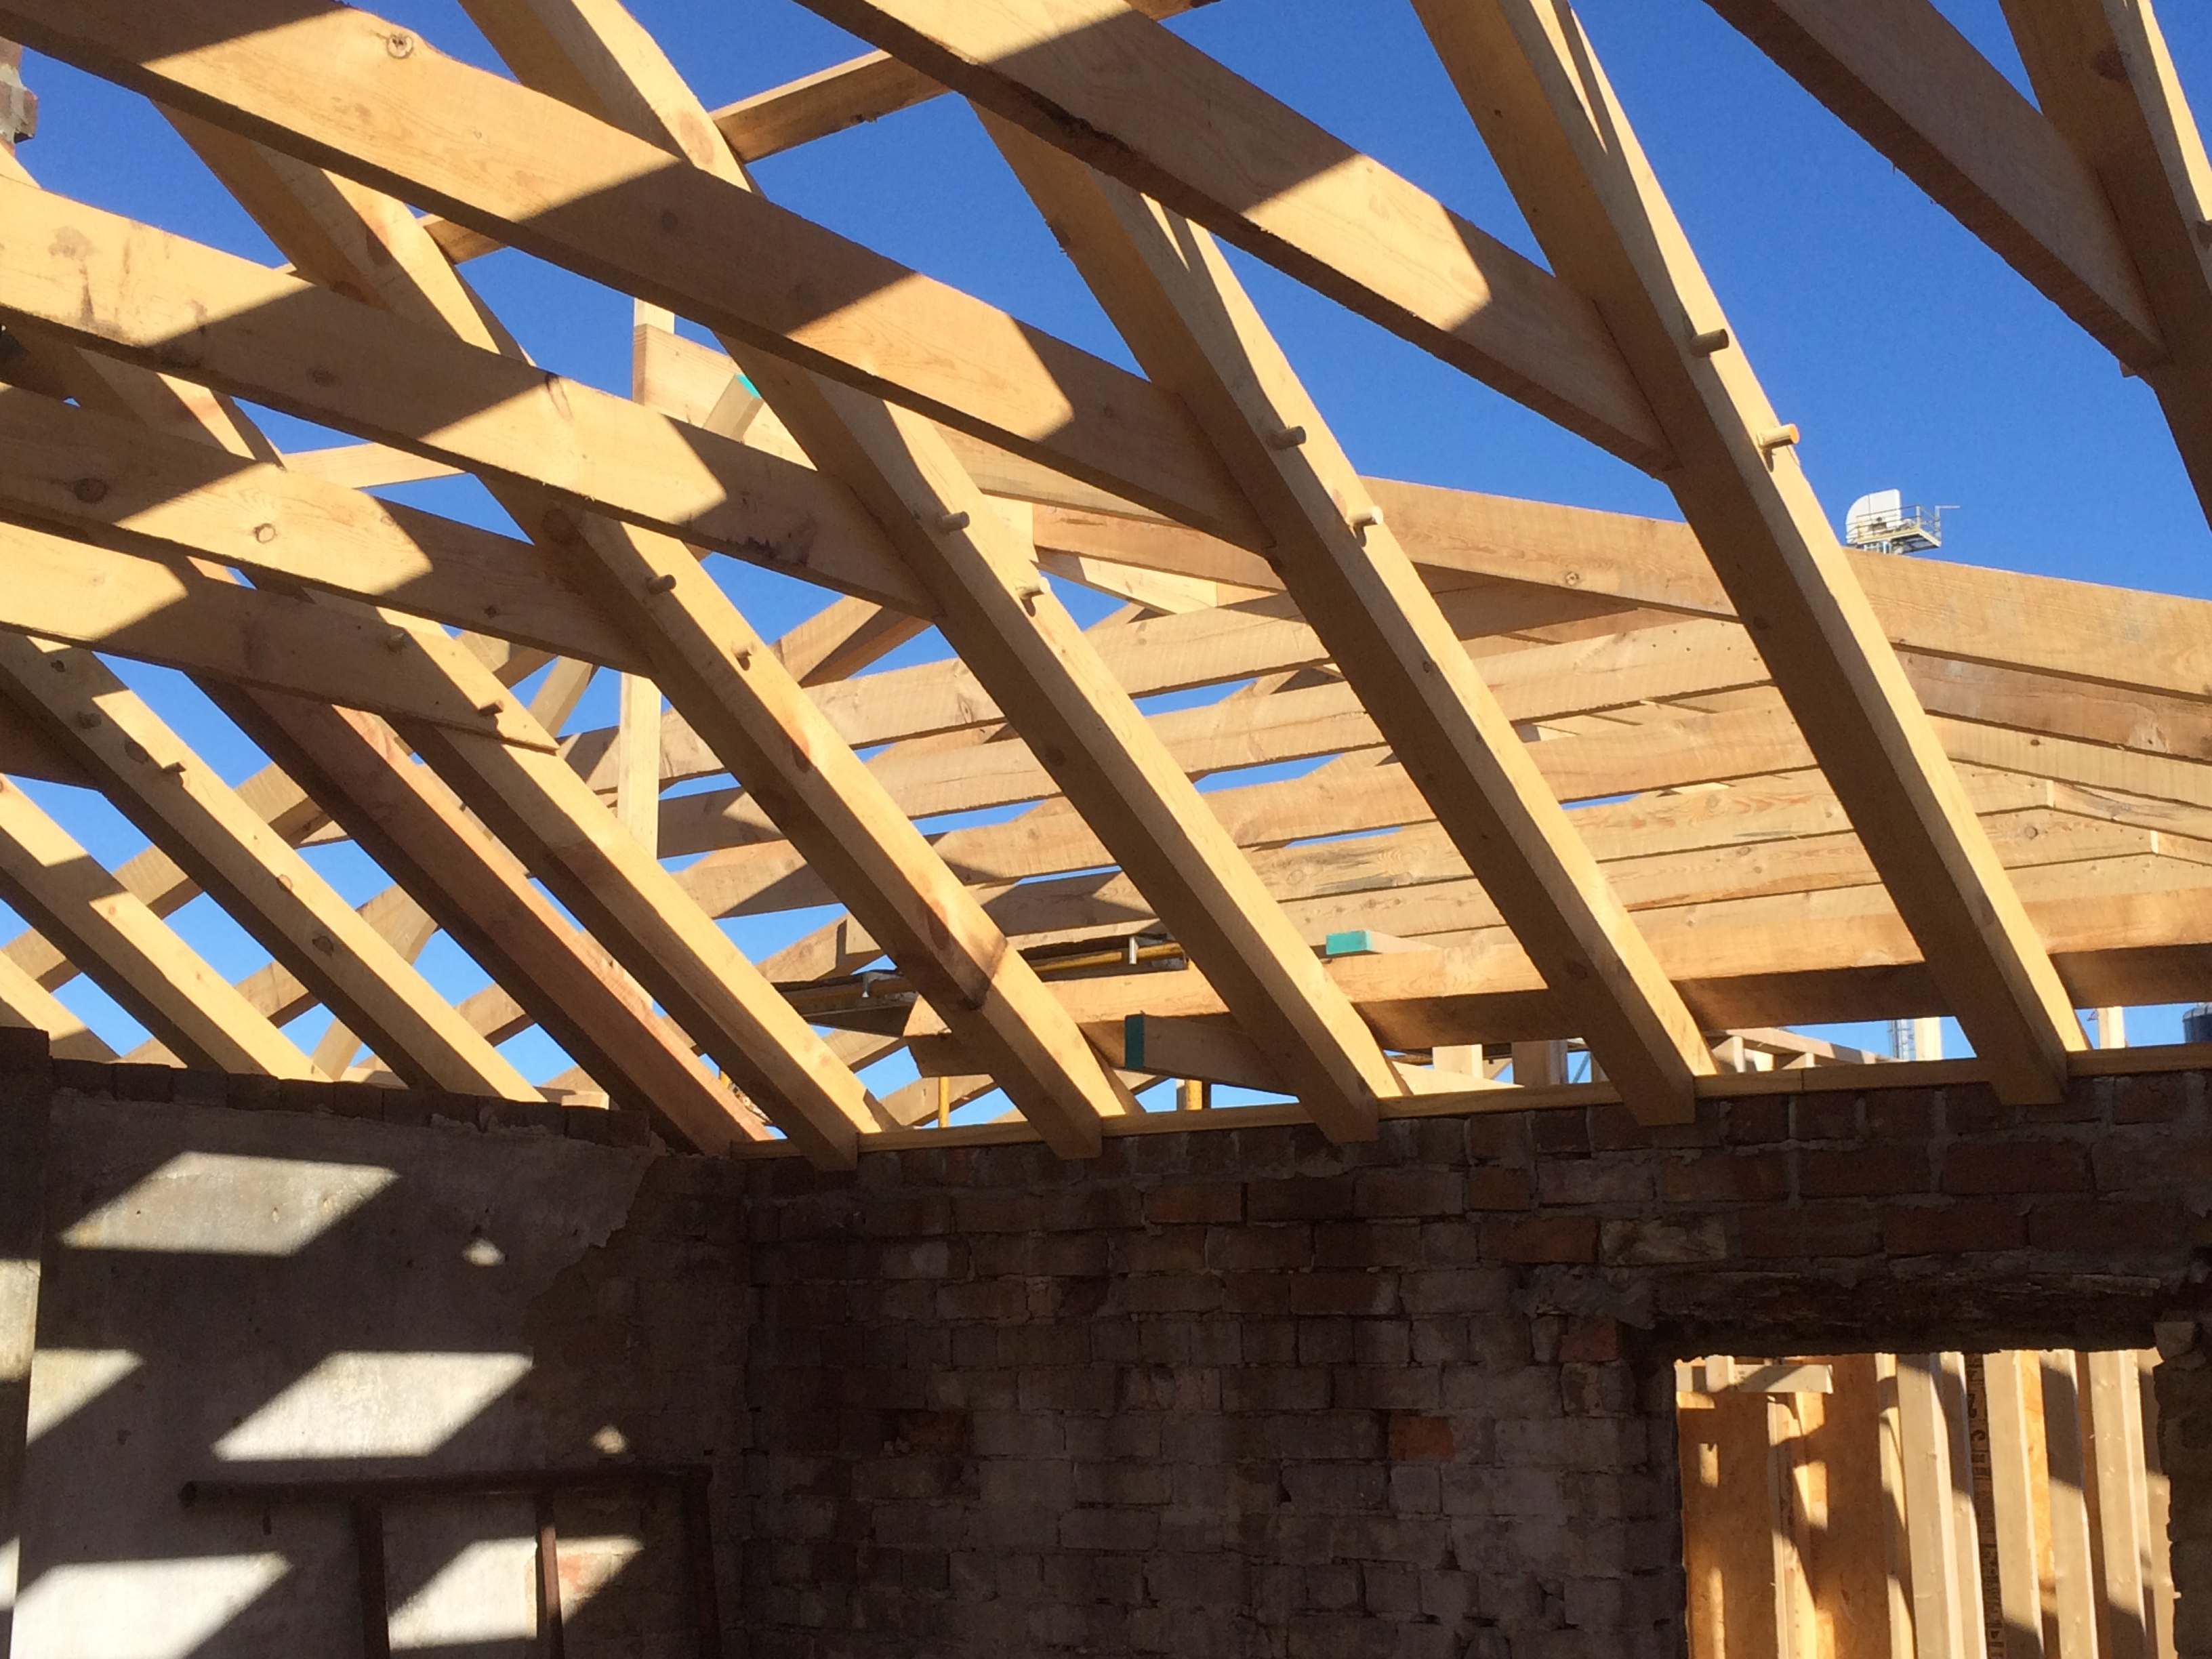
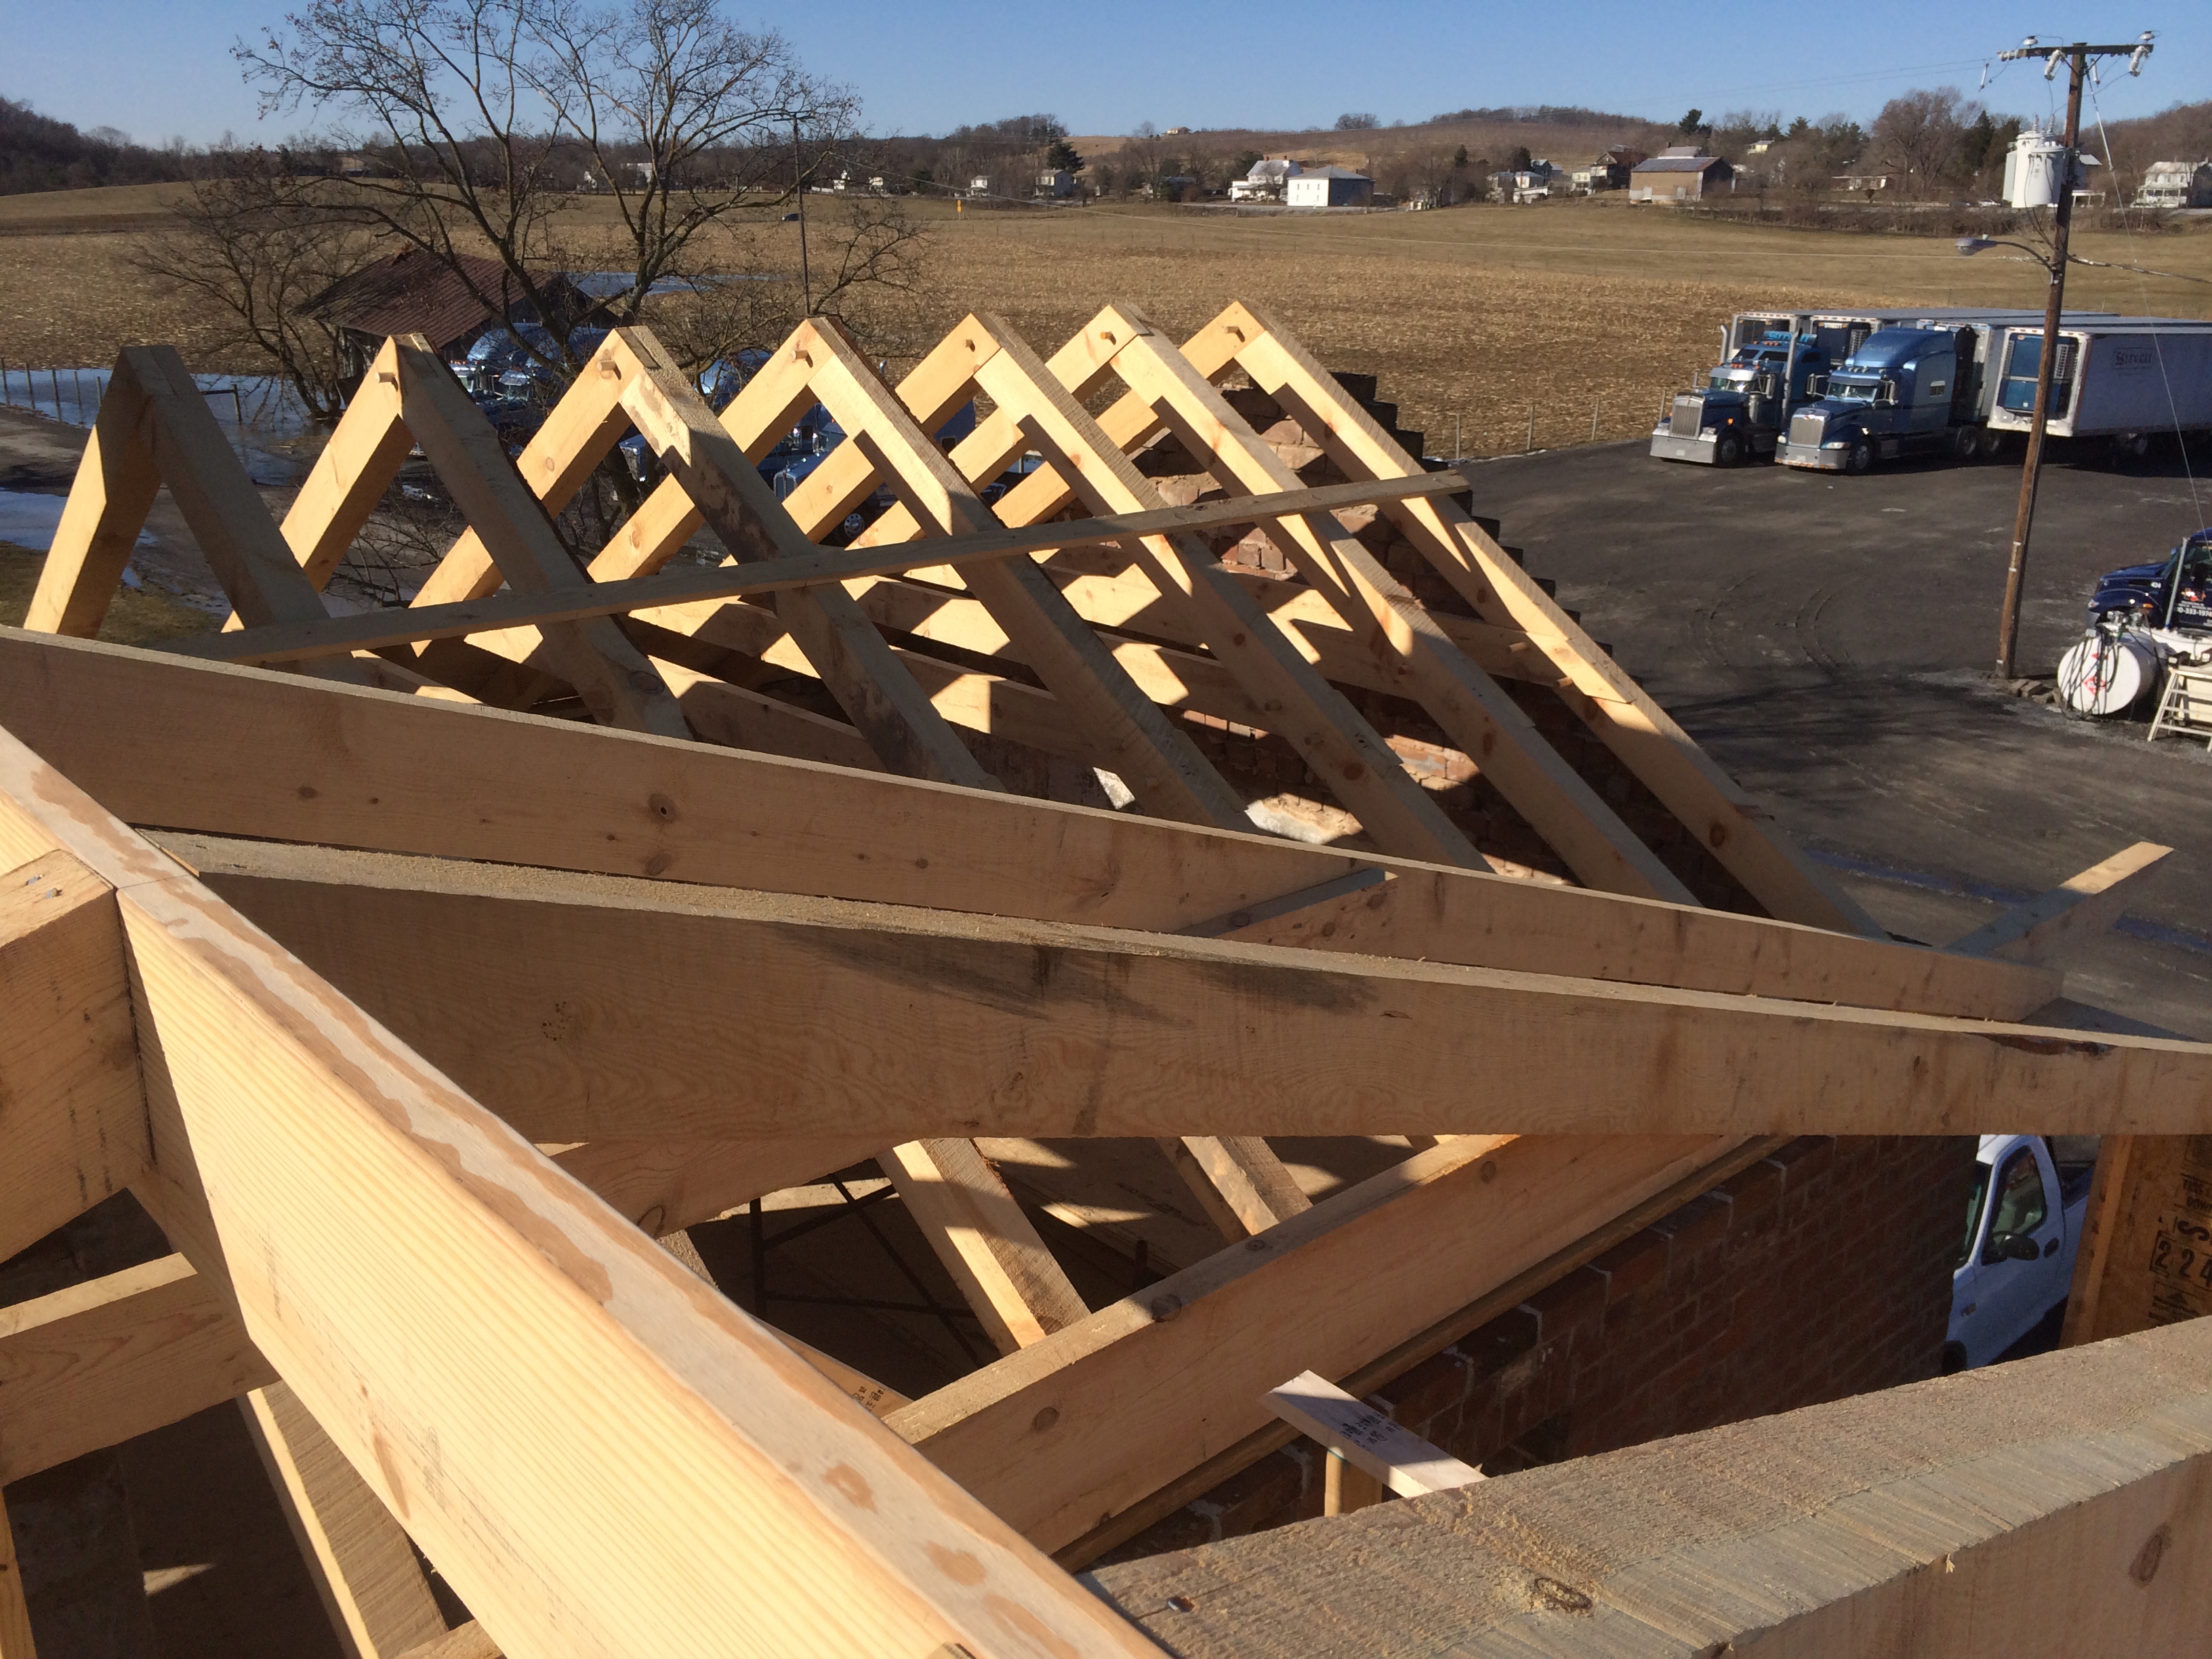
What you’re seeing is the convergence of the roof over the original structure, which runs east and west, meeting the roof over the addition, which runs north and south.

IMG_0794


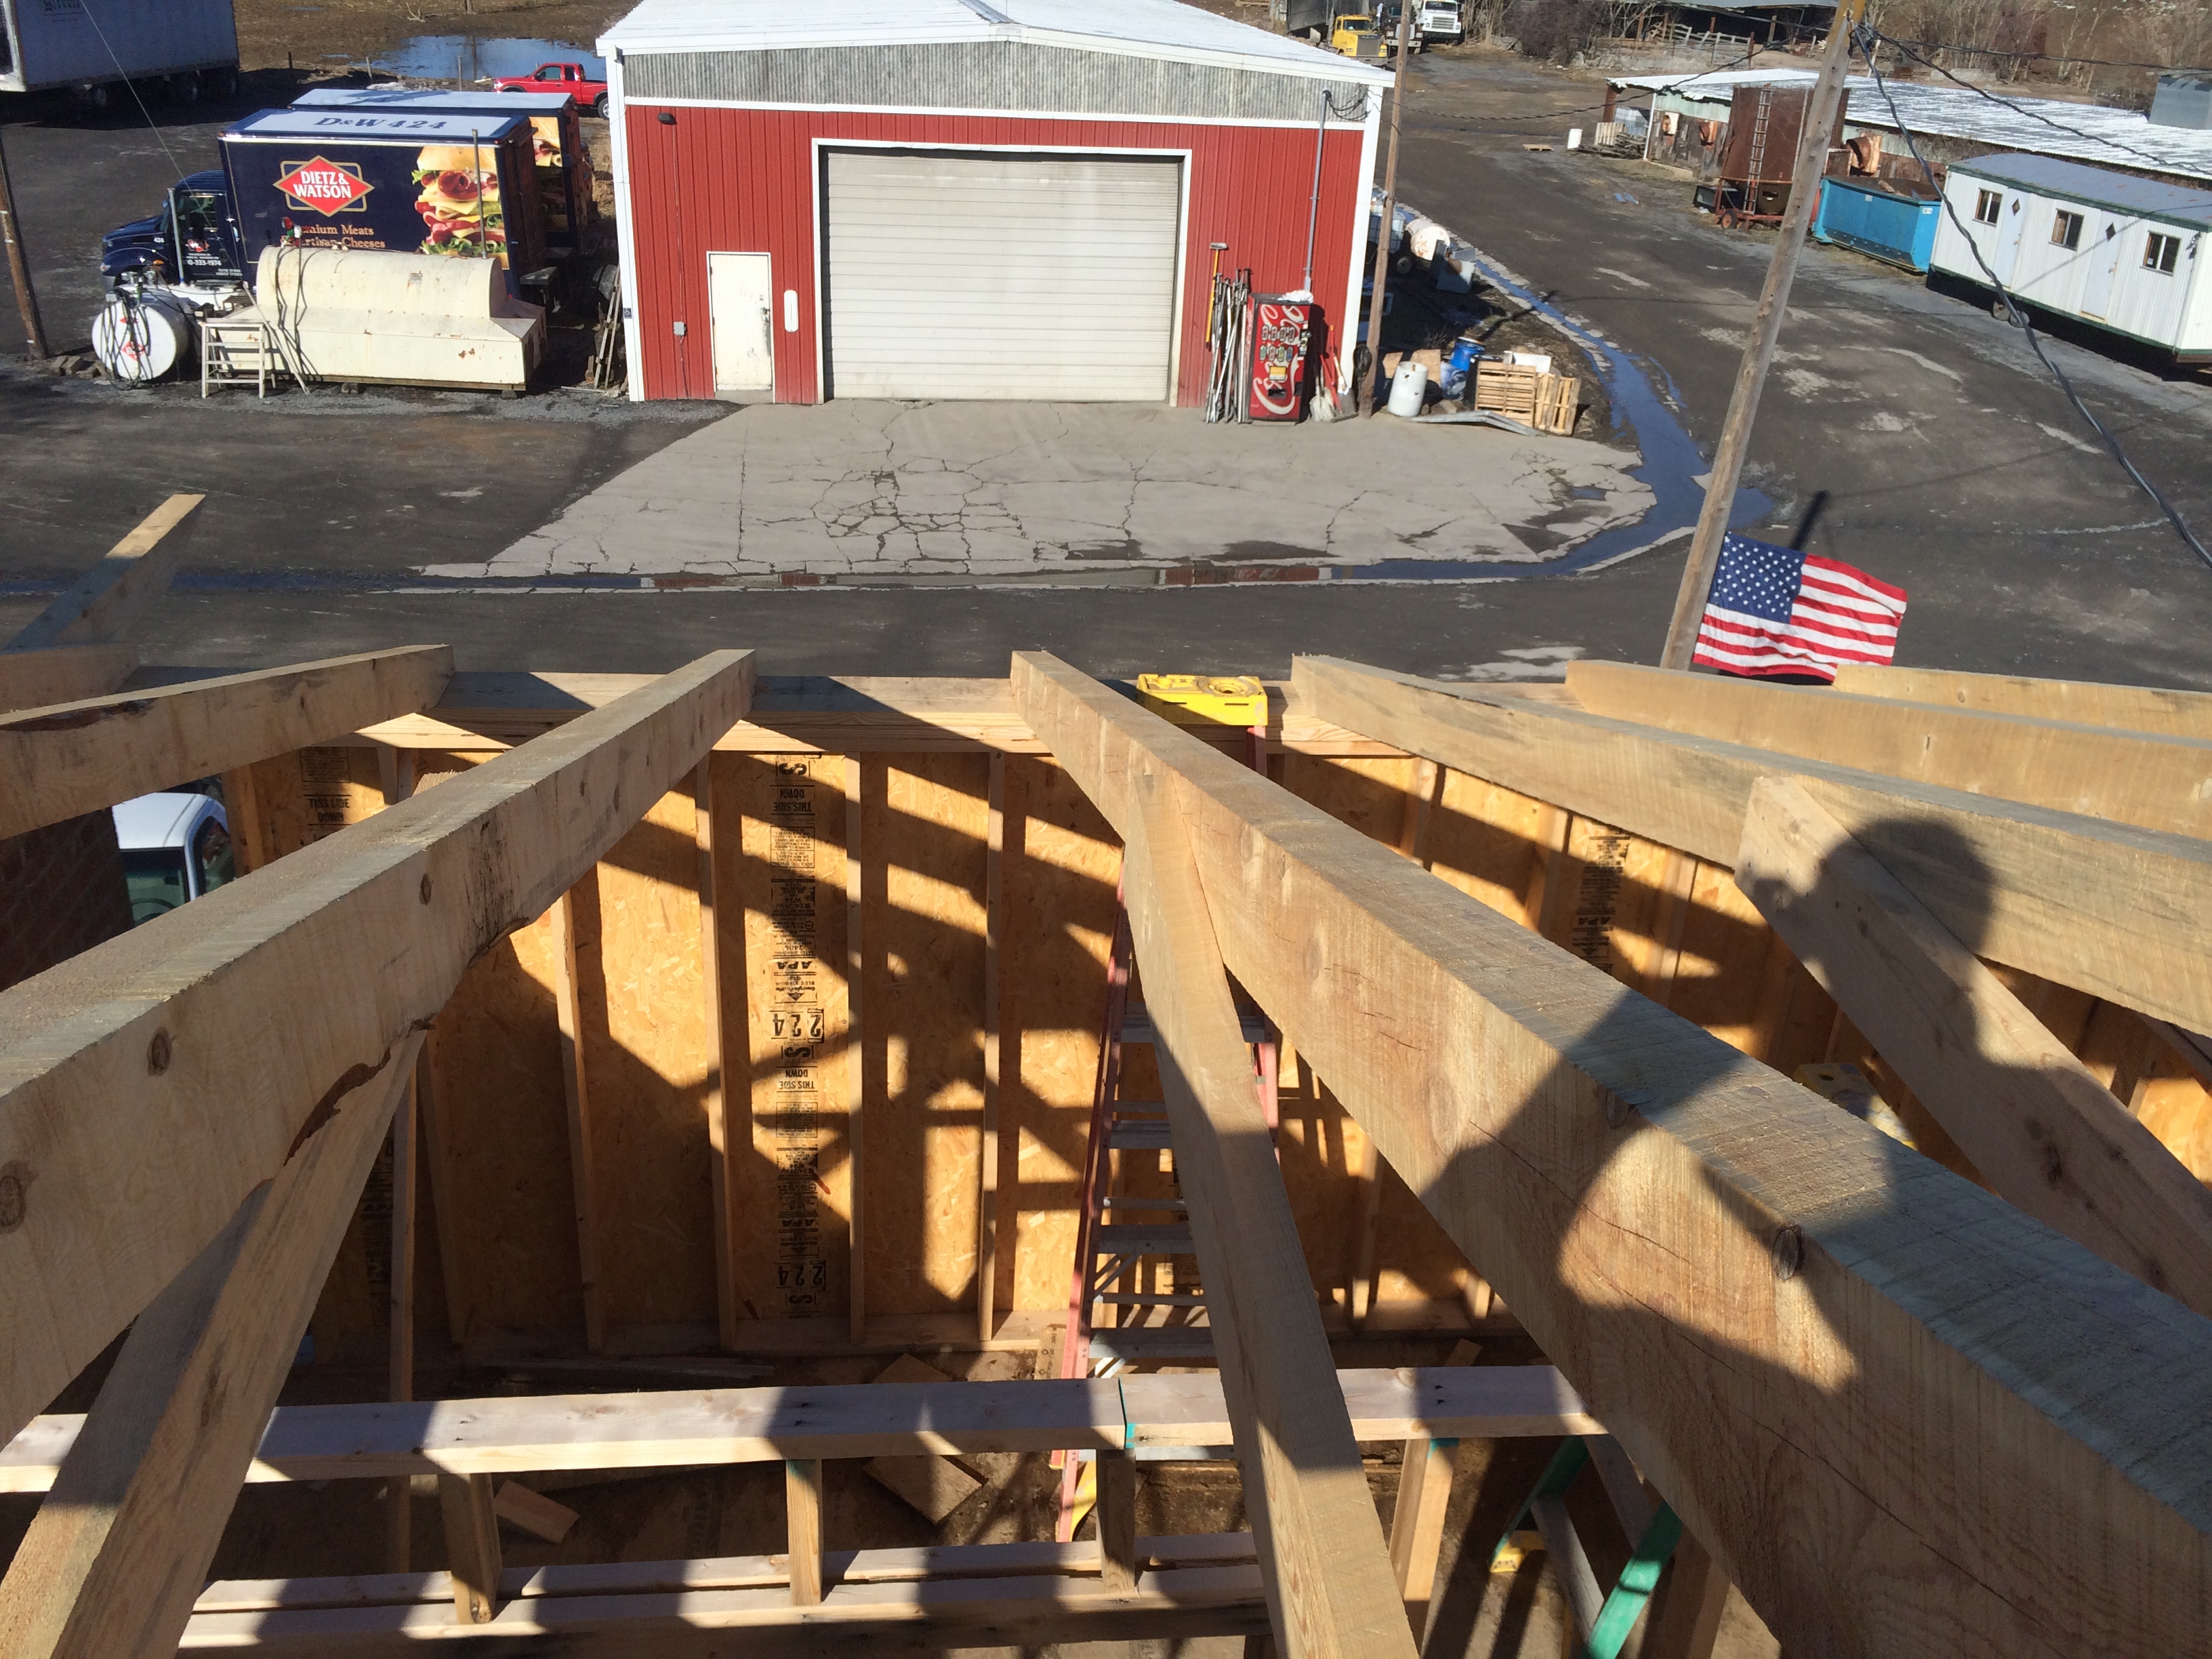
What you may also have noticed is a poorly placed power line running through the second floor of the addition.  We promise that is NOT part of the final plan.  This is the power line that runs electricity to the main house.  Clearly, this needs to be moved.  The idea was to bury the power line, splitting off one portion to the Big House, one portion to the smokehouse, and one portion to the Little House.  Since we already have an idea of the Big House’s power needs, we are hoping to kill two birds with one stone – or one trench.

Unfortunately, this, too, became a little bit of an ordeal.  Sadly, the first trench was dug in the wrong place and was too shallow.  0-1.  Then, it was either frozen or muddy, making it difficult to re-dig.  0-2.  Finally, with a little more digging (didn’t we say we were DONE WITH DIGGING???), we got a trench in the correct place.  The conduit has been run, and as soon as the electric team can get back out, the line will get buried.  We’d do it ourselves, but electrocution might not be worth saving a couple of extra days.
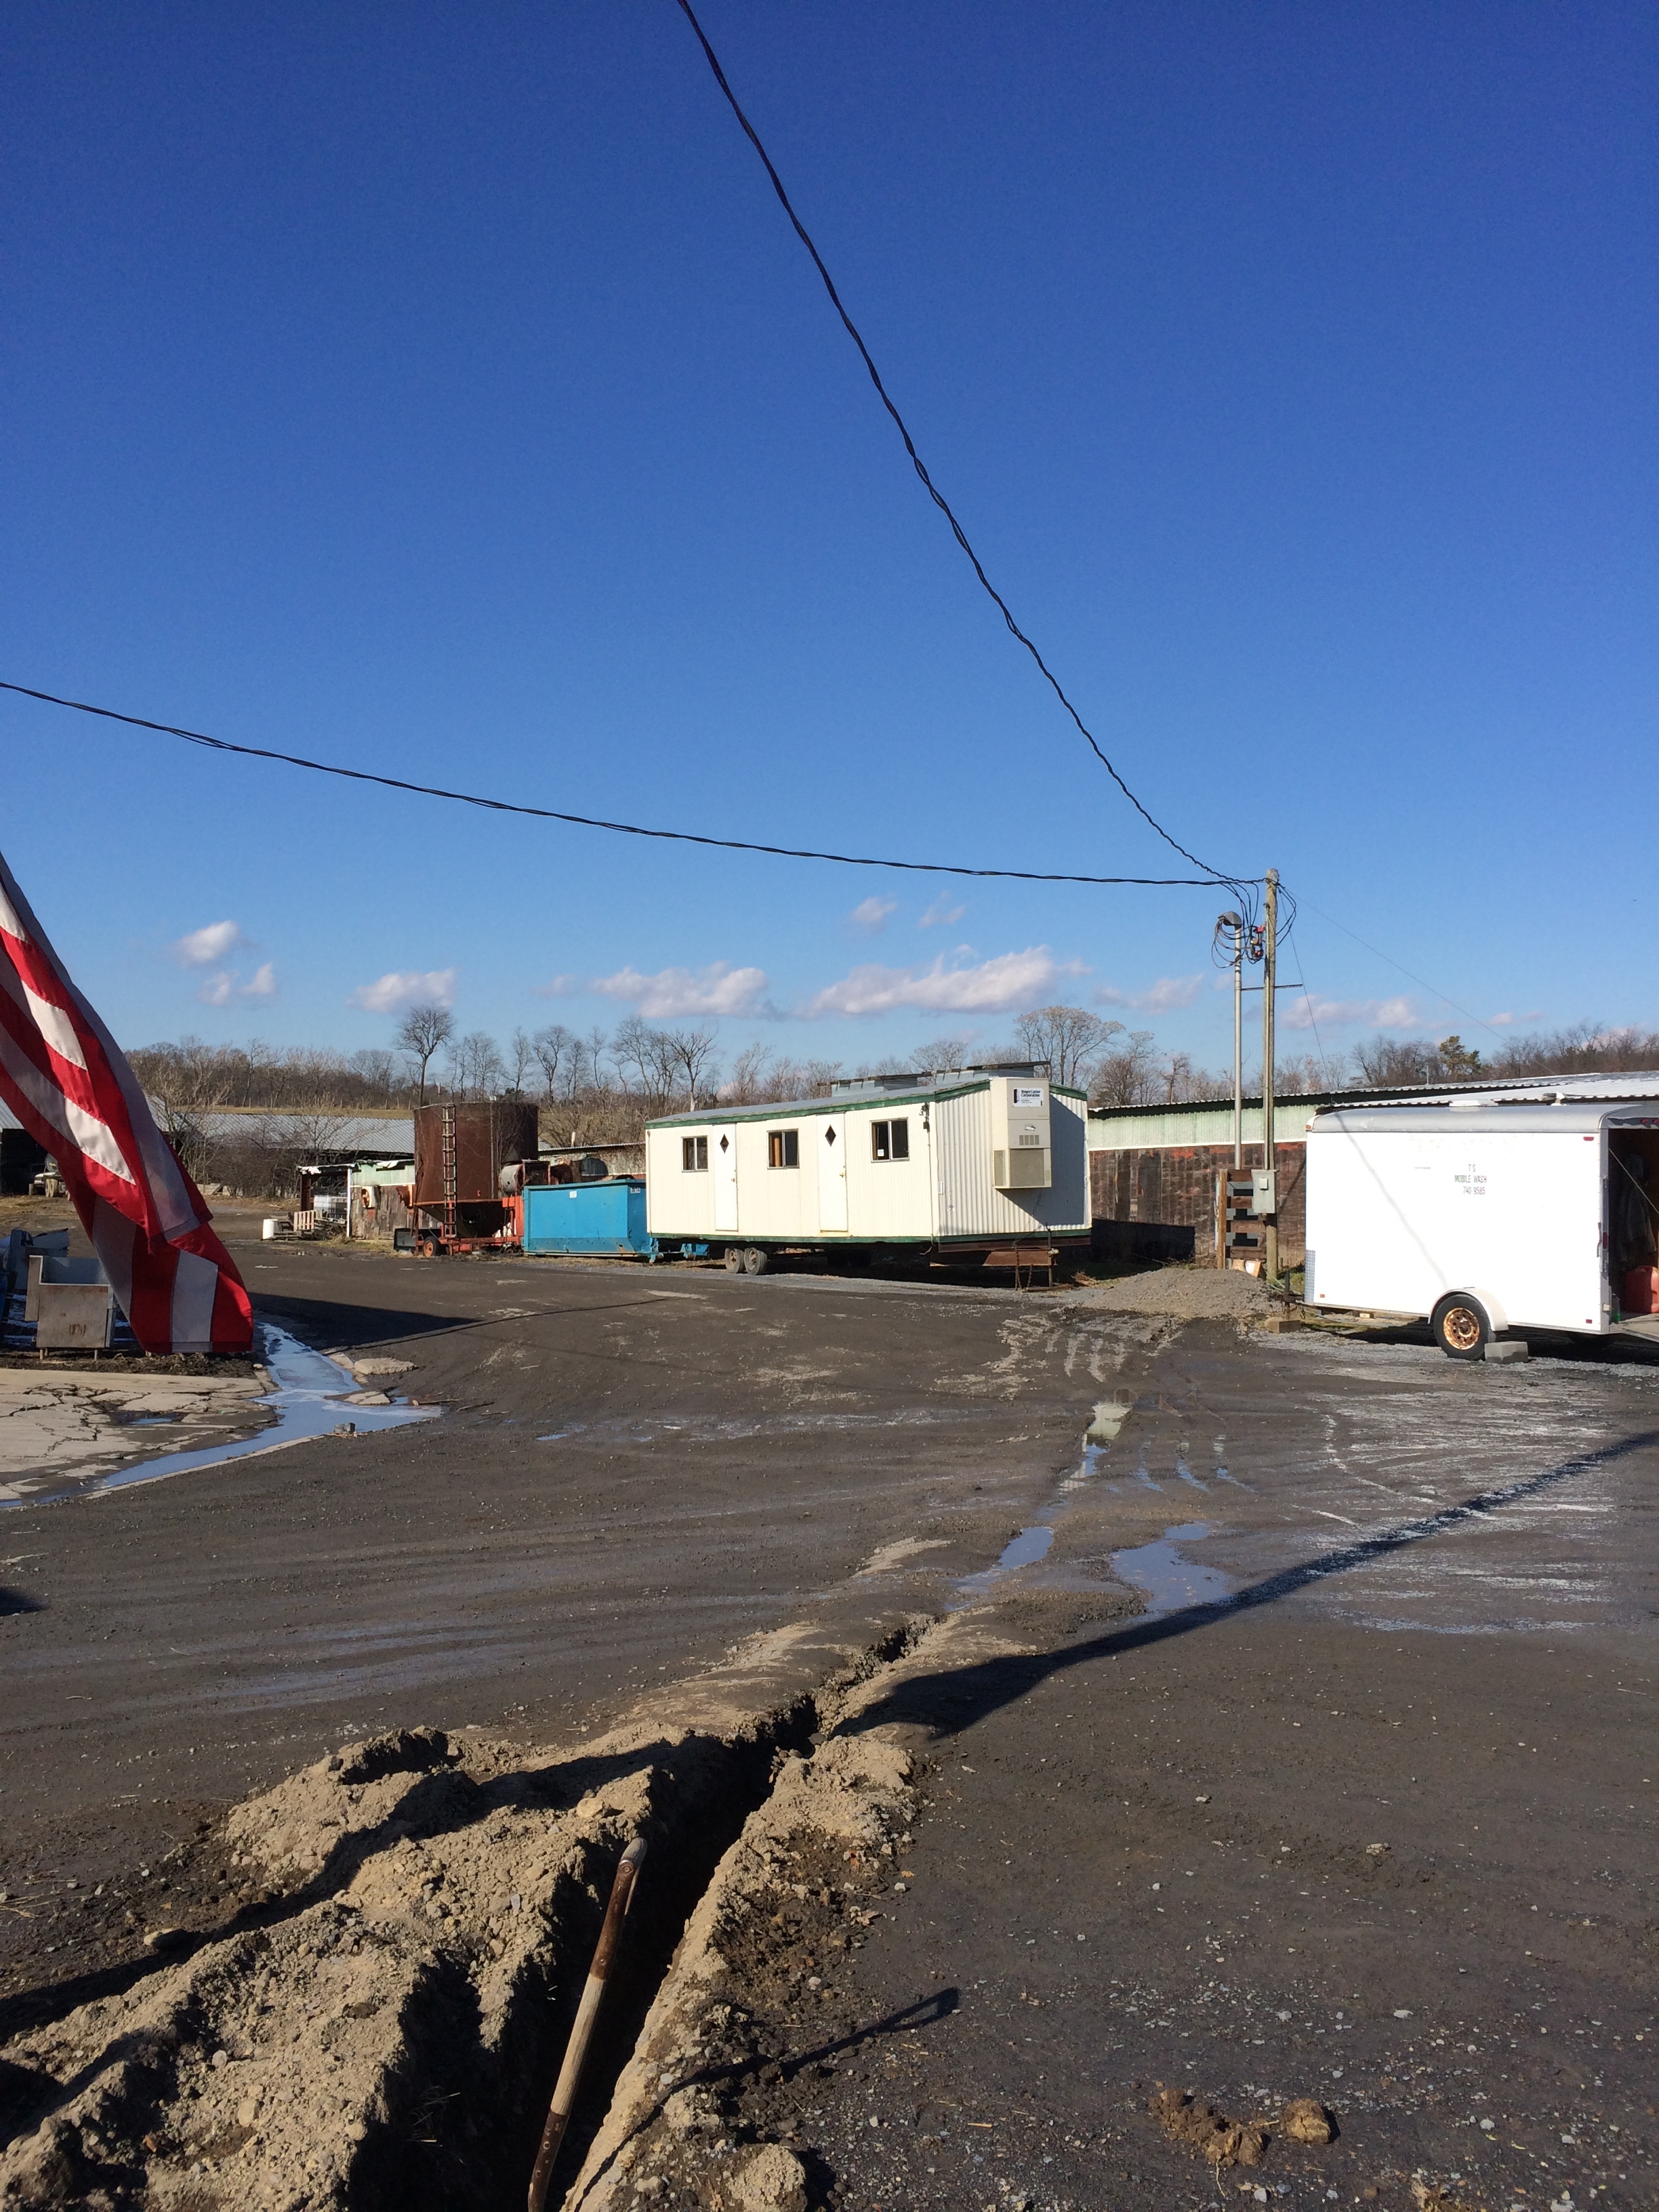
IMG_0686

IMG_0687

IMG_0435

‘Murica.

In addition to running the conduit, the electric team has already installed our panel box, which is located in our future utility room/pantry.

IMG_0795

IMG_0796

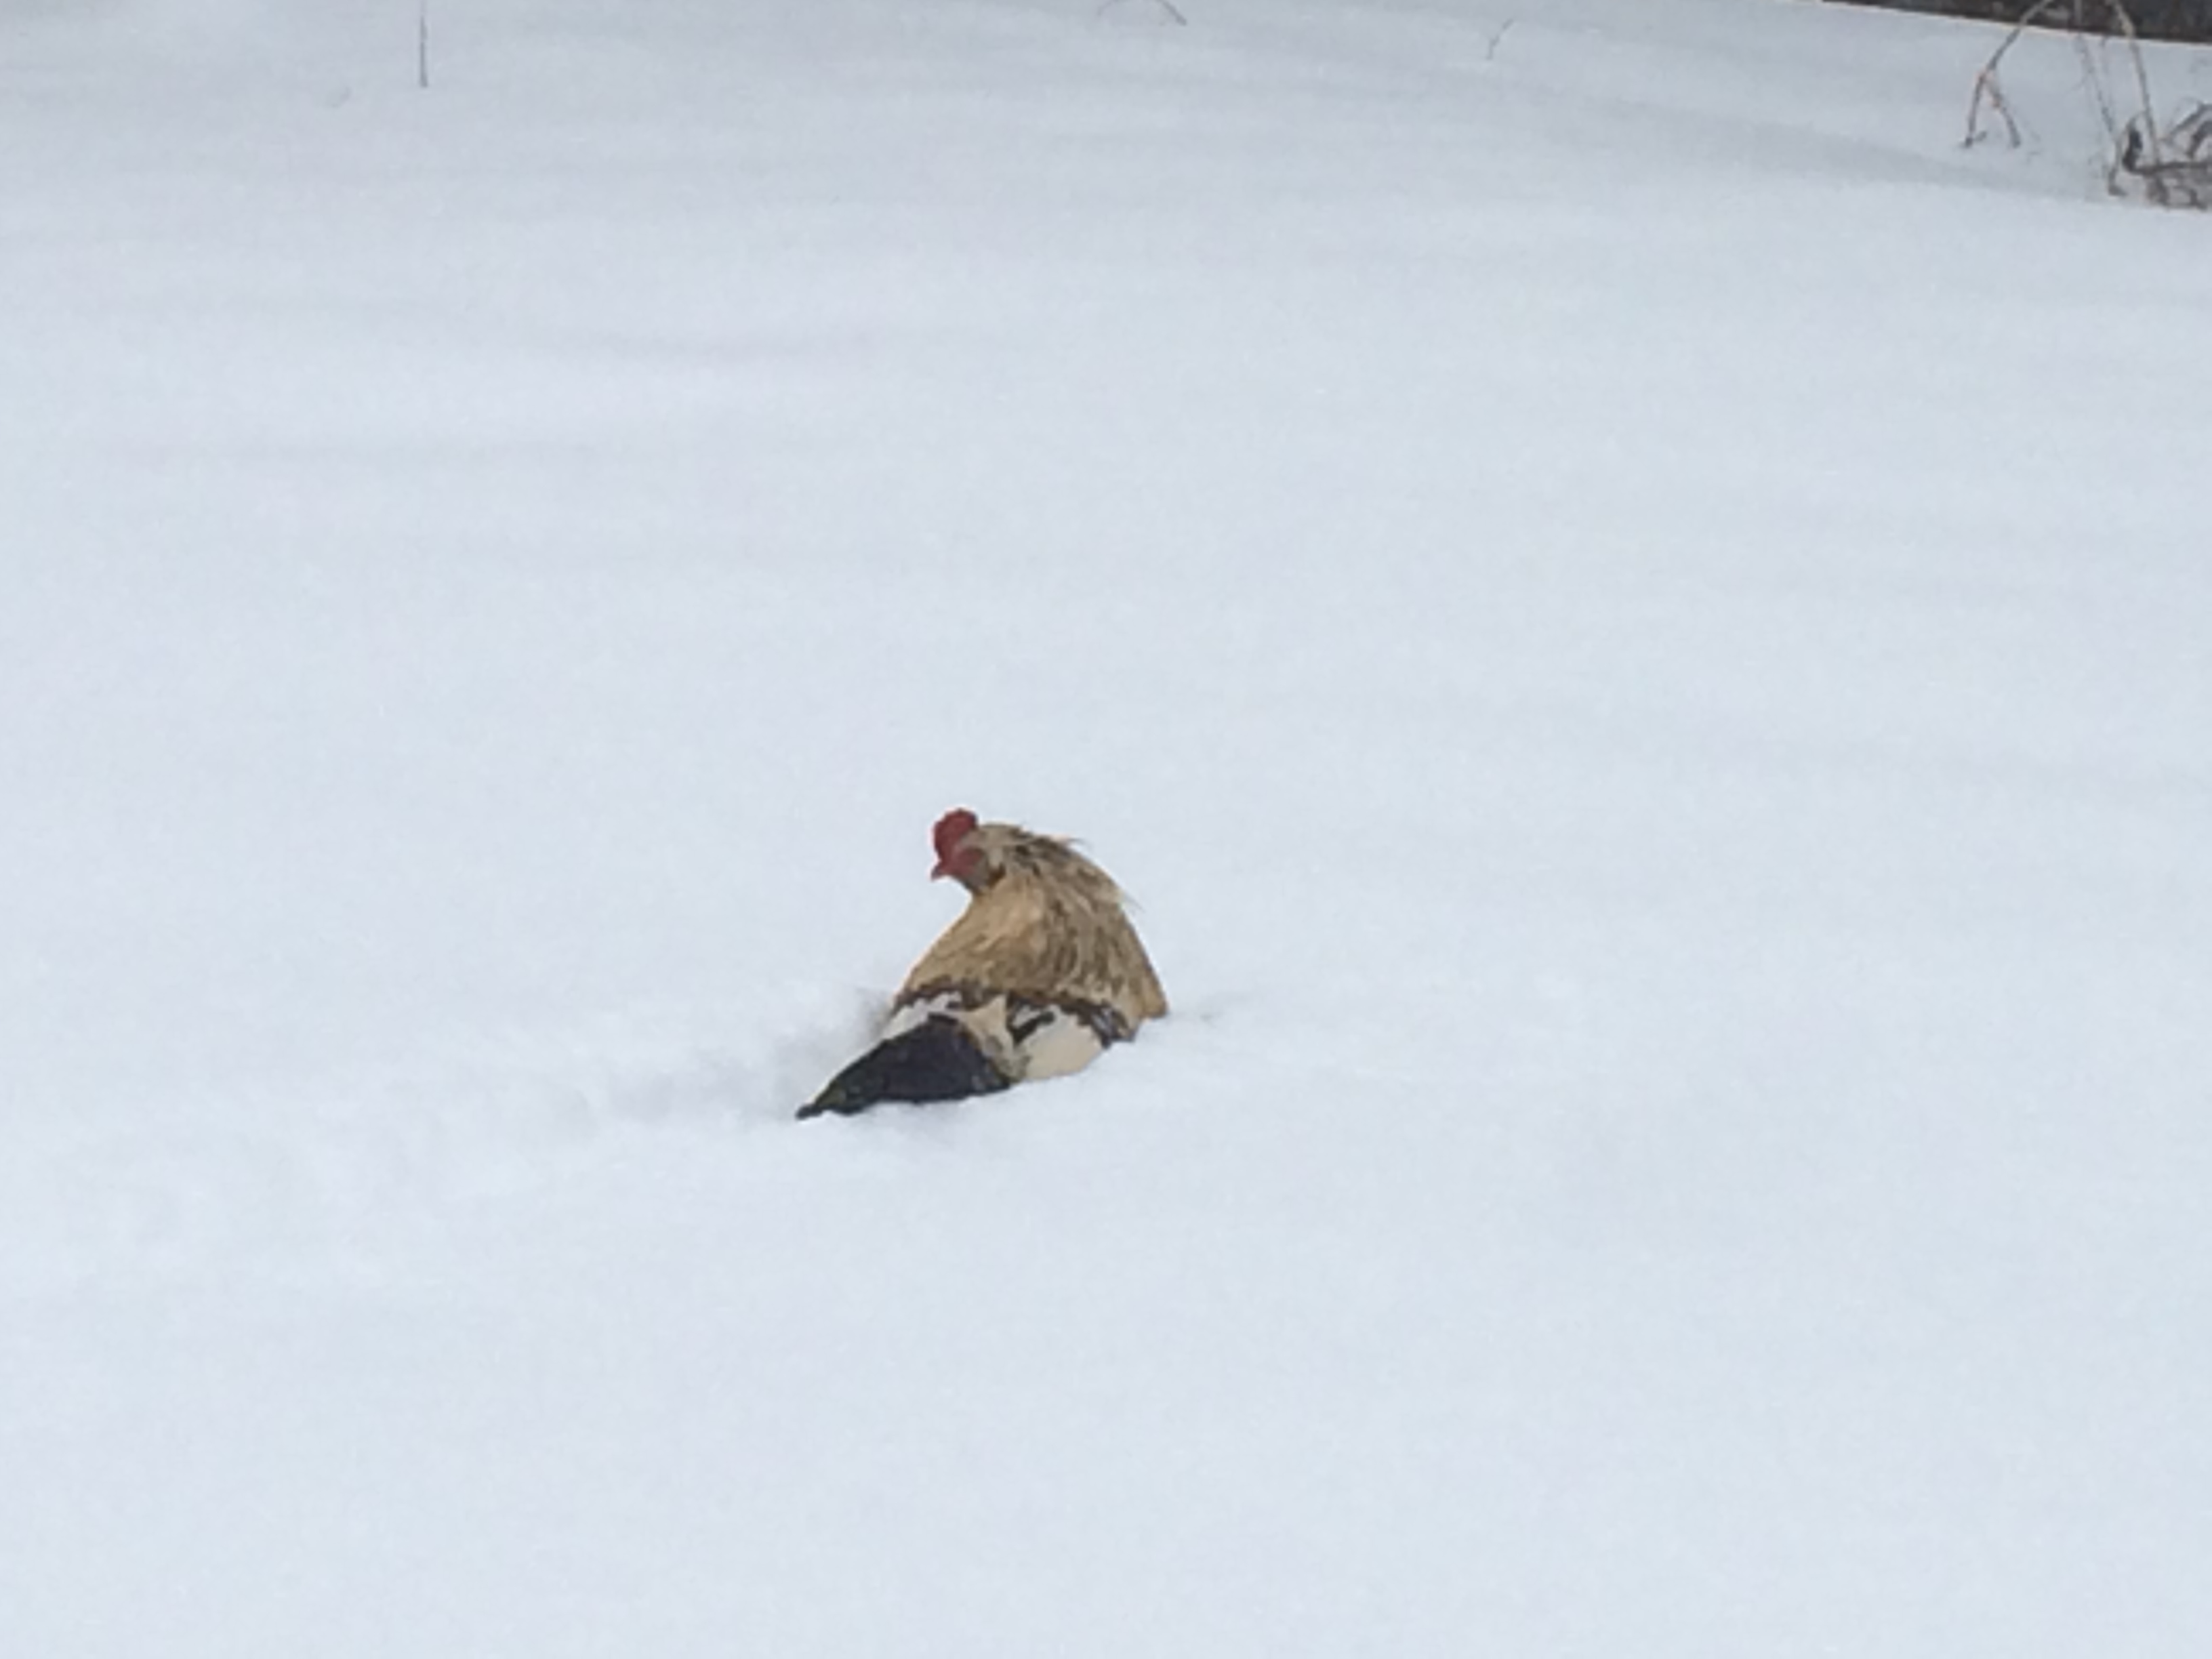
Lastly, we’ve brought new meaning to the phrase, “meanwhile, back on the ranch…”  Just before the snowstorm, I went outside with the dogs and noticed an unusual rustling in our 15-foot boxwood.  After a few moments, out popped a ROOSTER.  Just to be clear, we do not own a rooster, nor have we ever seen one near our house.  We don’t have particularly close neighbors, so it is a little bit of a mystery where the rooster wandered away from.  The next day was the big snow, and we found the poor guy stranded in a snowbank:

IMG_0747

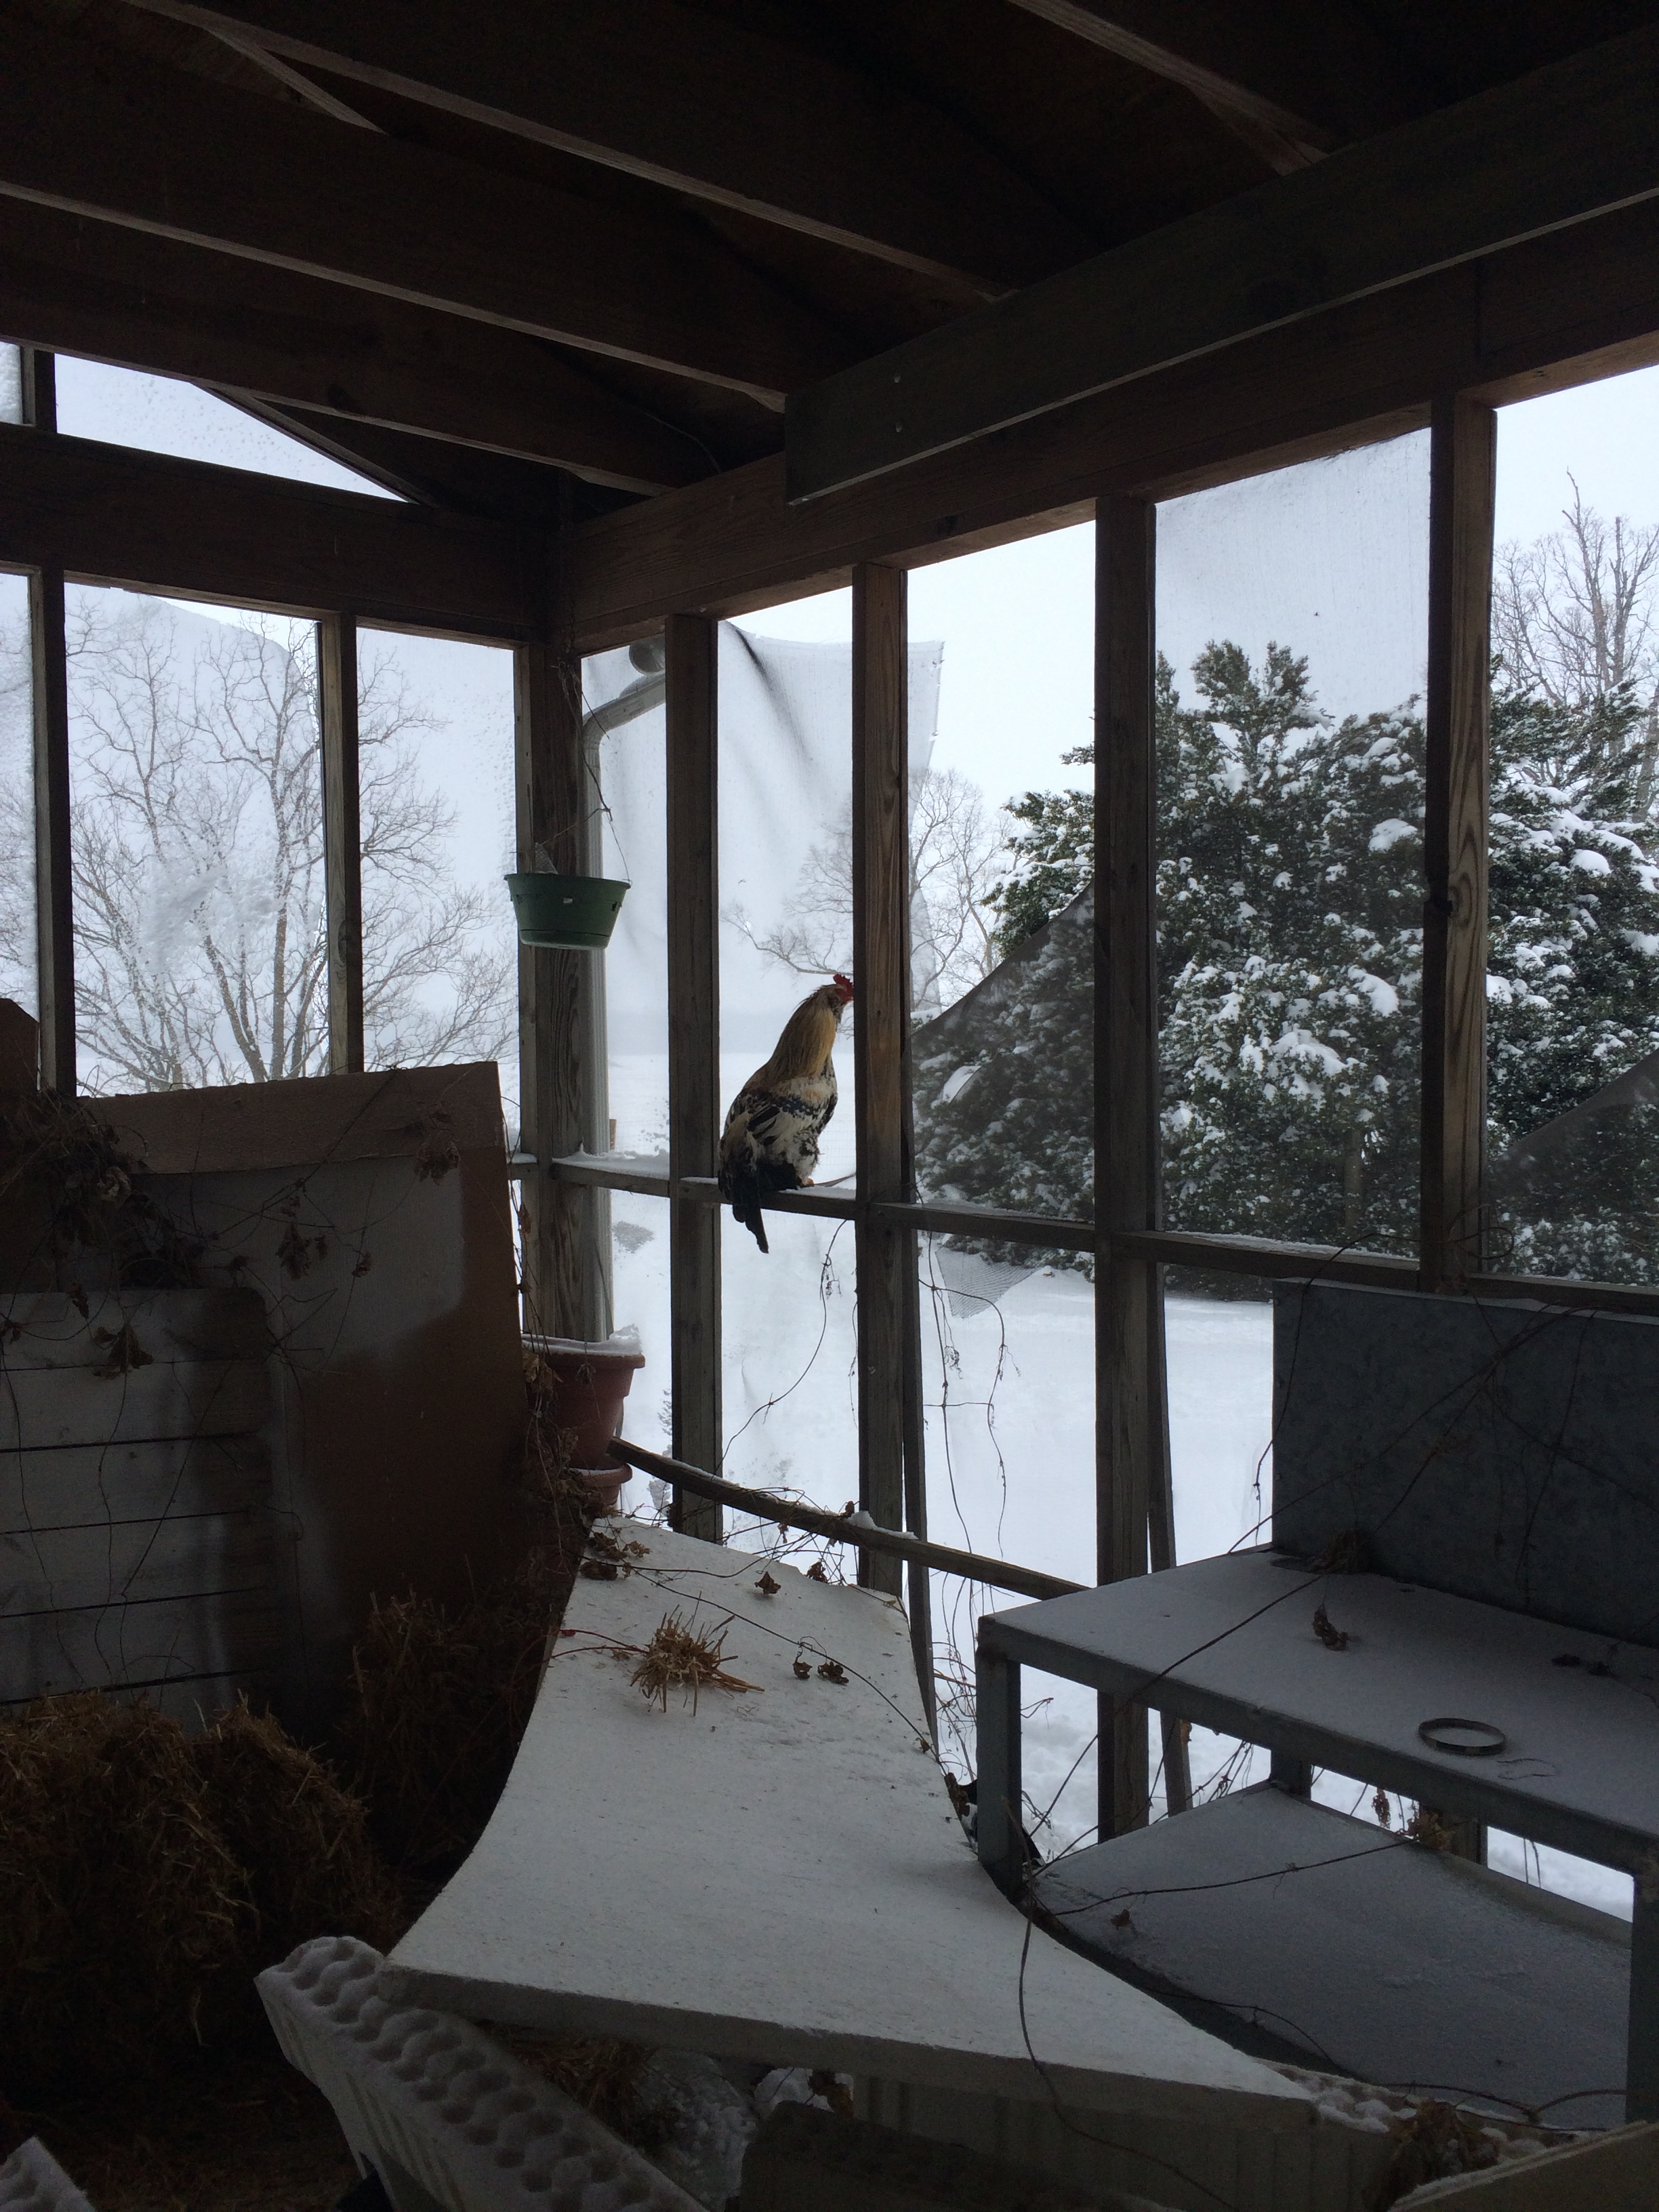
Chad half carried, half herded him into our worse-for-wear screened-in porch.  Currently, we are using the porch to store insulated concrete forms, or ICFs, that will one day form the foundation for our addition on the Big House.  They are adult-sized, styrofoam legos into which you poor concrete, providing both stability and insulation.  As it turns out, they also make a great playground for roosters.

IMG_0751

IMG_0748

IMG_0765

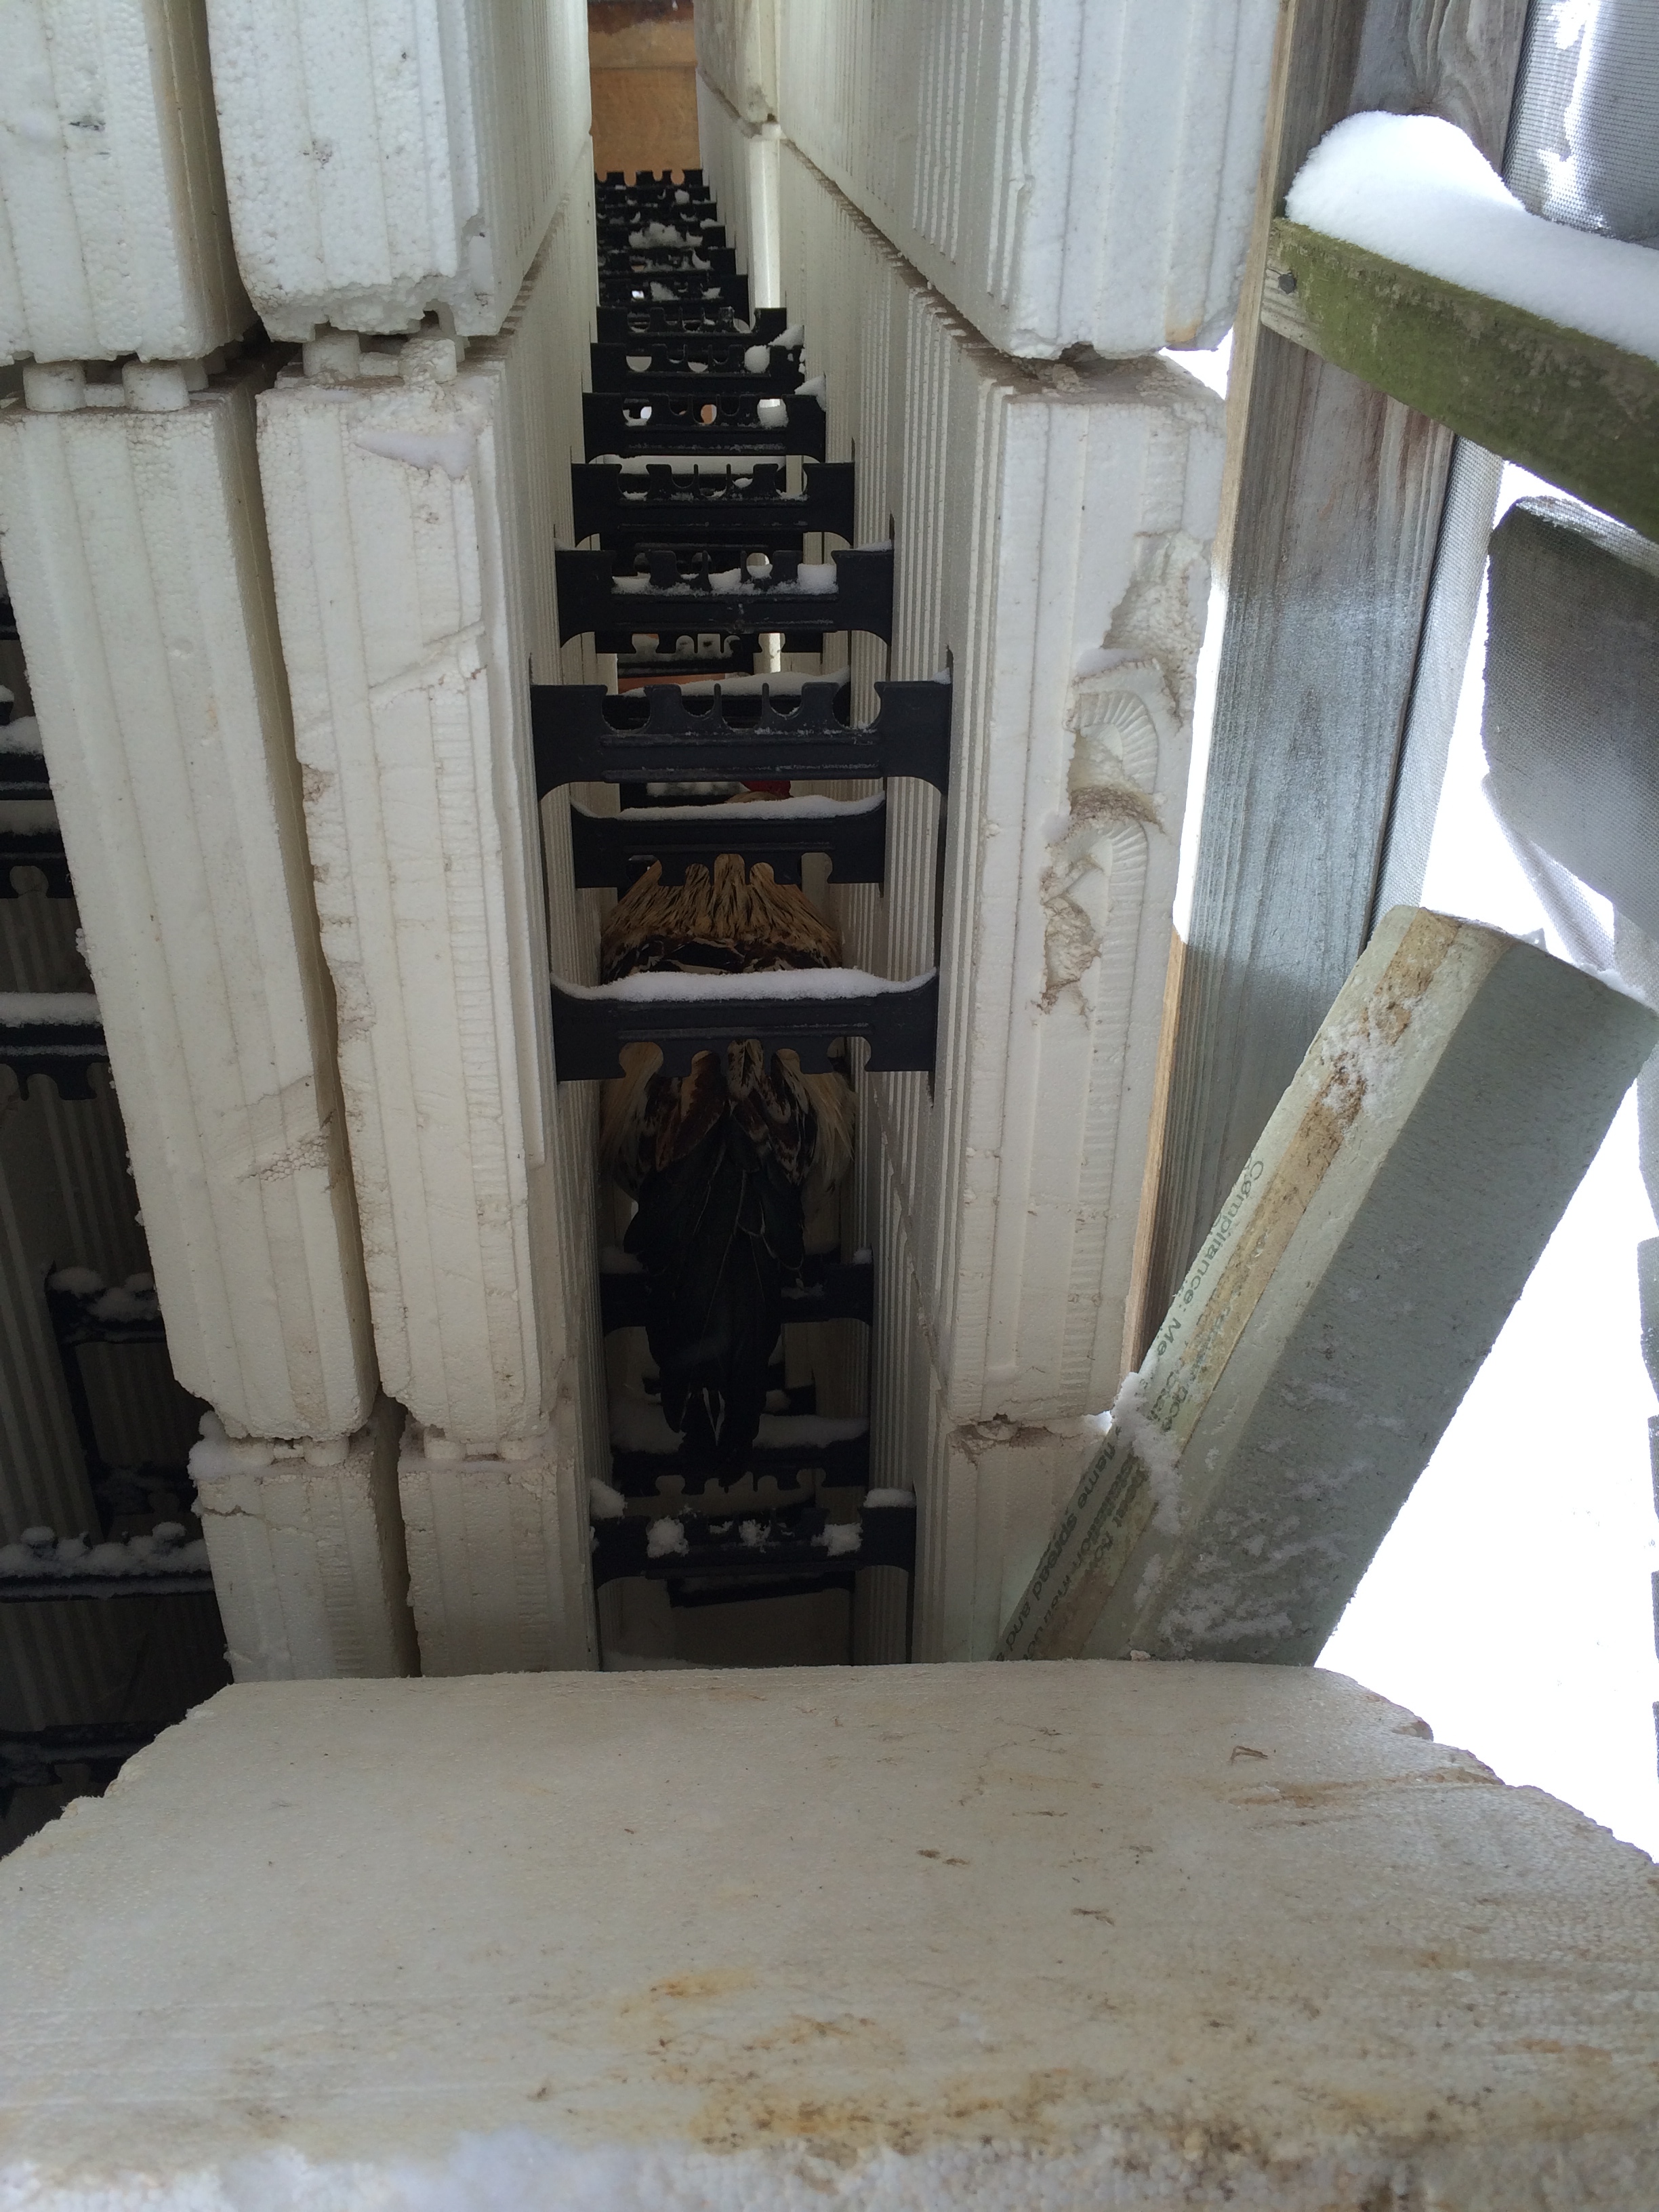
The rooster, or Blizzard as he has become known more fondly, decided to stick around.  Not only has he taken to a diet of corn from the grain bins and “layer” feed we purchased at the store, but after about a week, he enticed a lady friend to immigrate with him.  They are a little shy and don’t like to pose for pictures, but here are the best shots we’ve been able to get:

IMG_0792

IMG_0793

Since they are now a struggling, young couple like ourselves, we decided to upgrade them from the ICF coop to something a little more comfortable.  Today, we cleaned out the porch, threw away a bunch of stuff, and organized the ICF blocks.  We had originally tried to craft a coop for Blizzard out of an old file cabinet that we found on the porch…

IMG_0762

IMG_0768

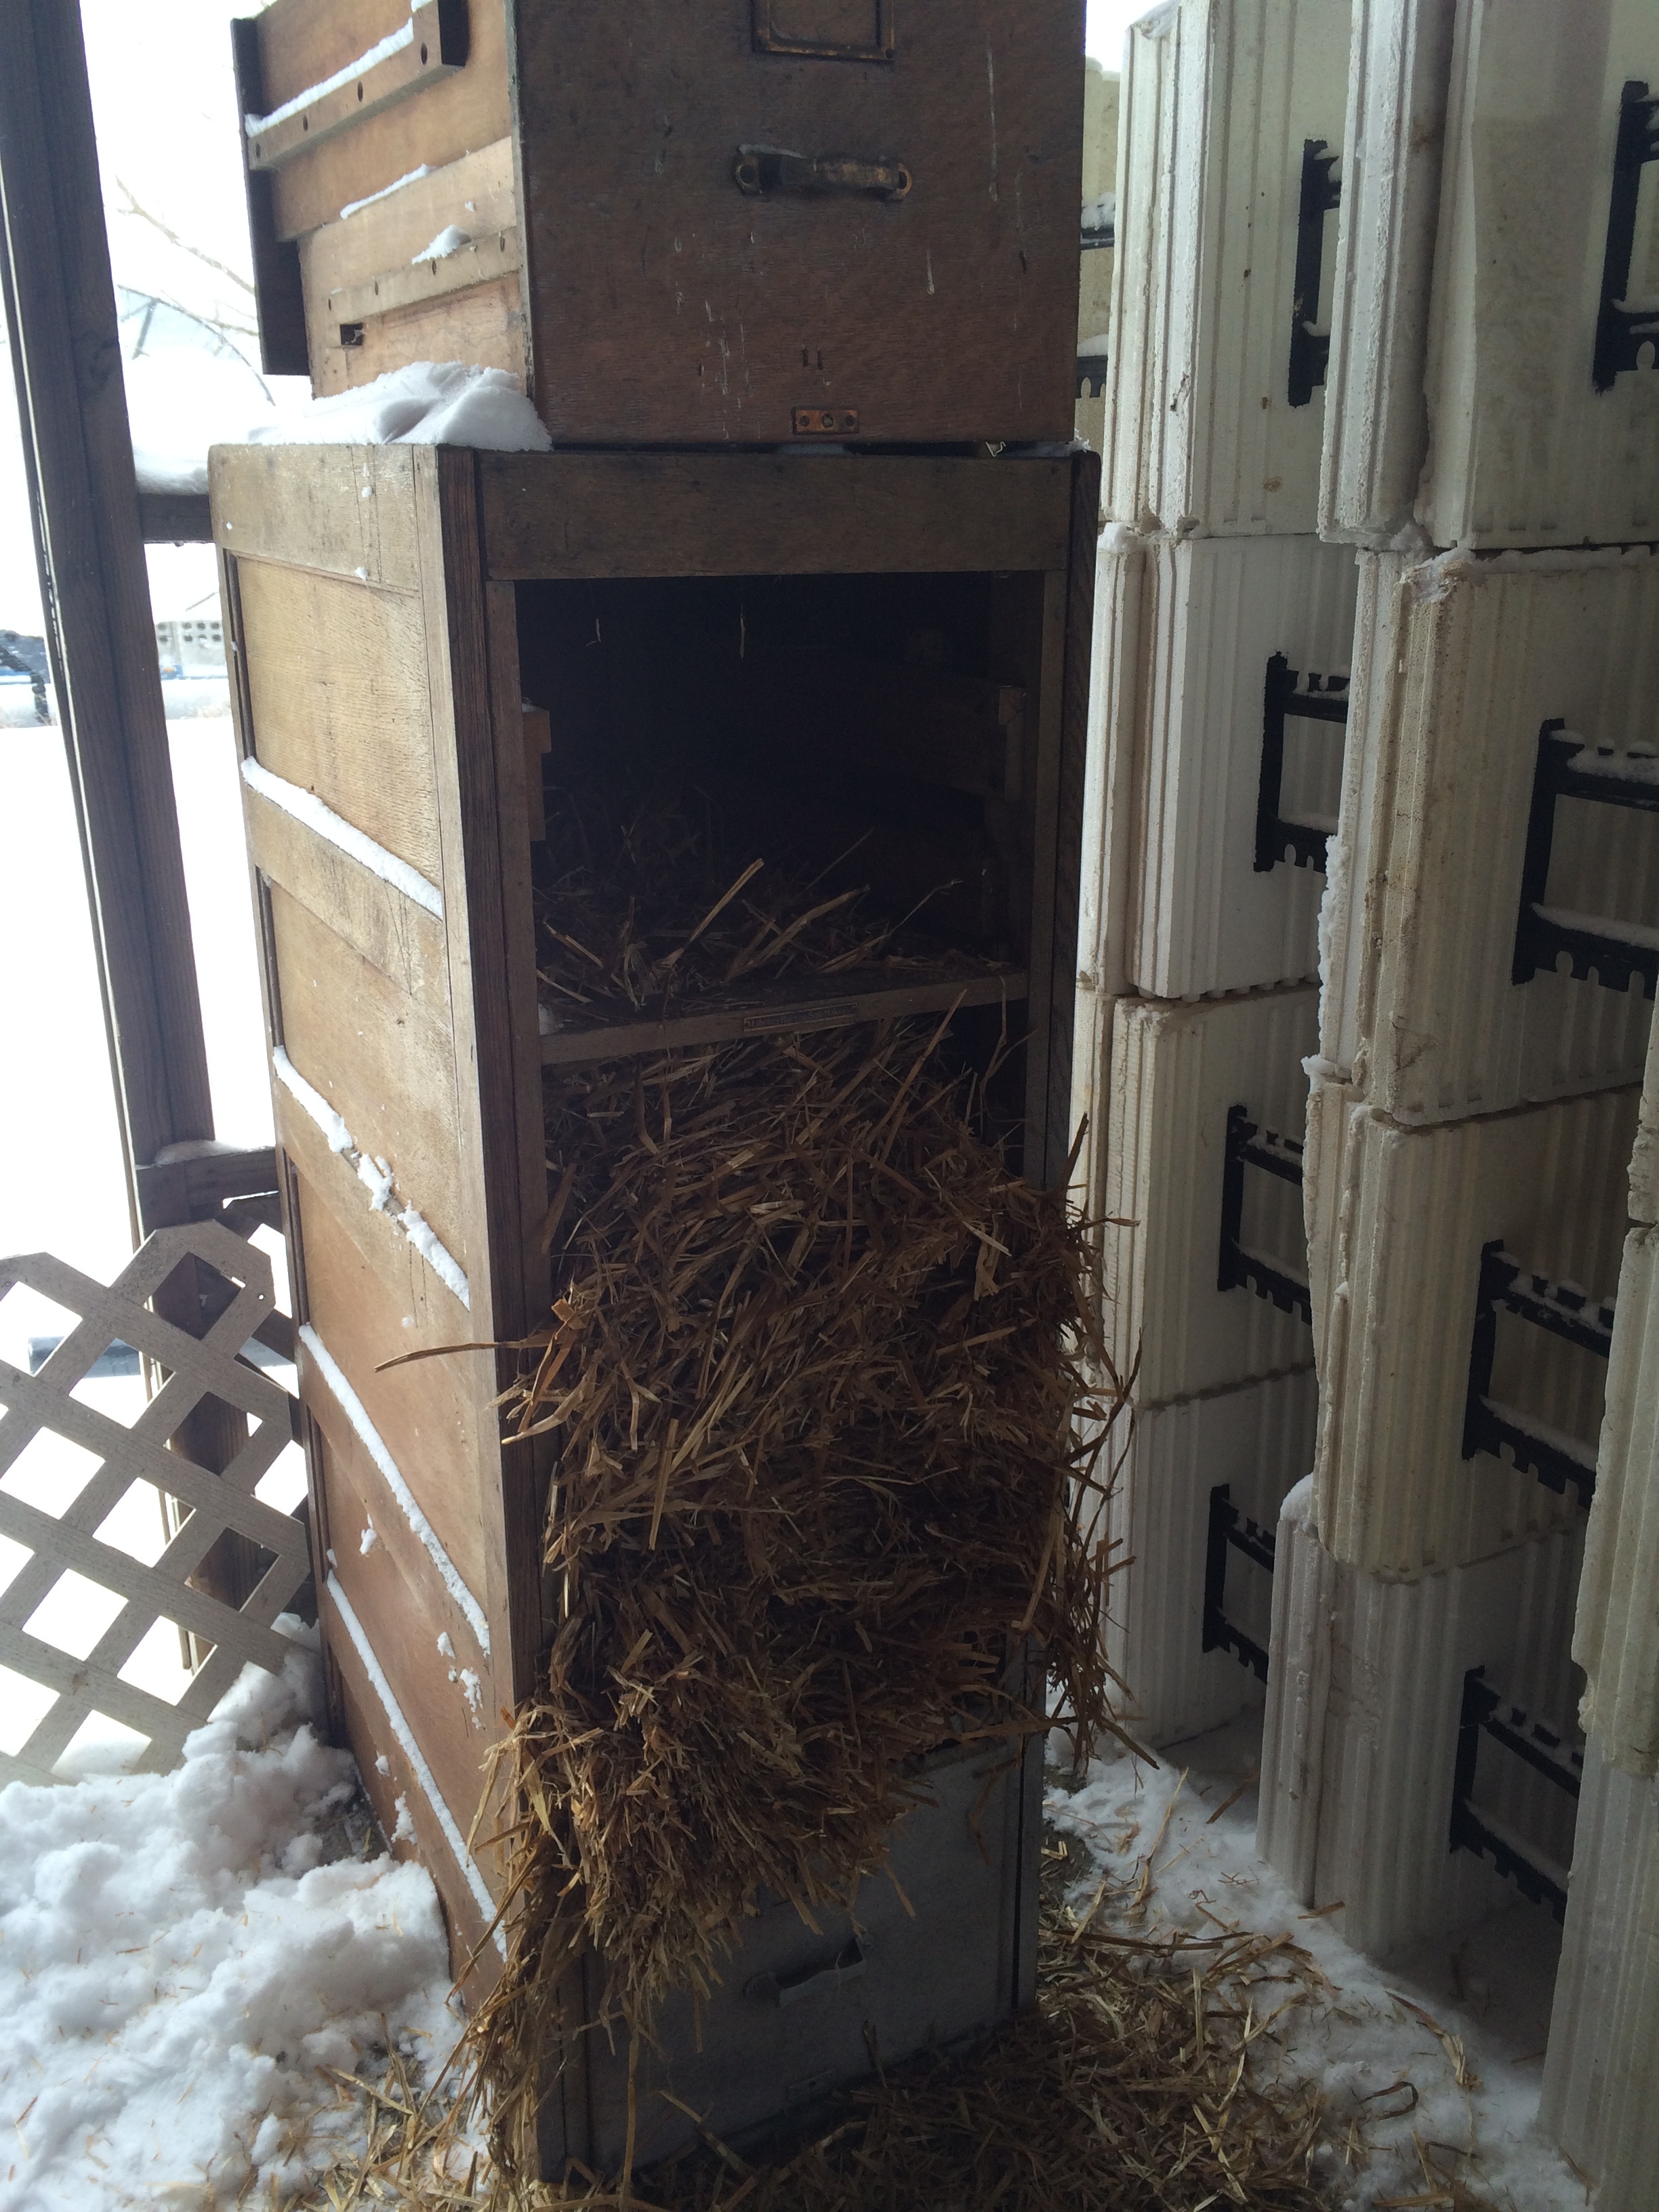
…and today, we turned it on its side to make it more accommodating for a companion.

IMG_0813

I think this chicken coop is very symbolic of our current living situation.  Not beautiful, but we’re working with what we’ve got.  And, hopefully next week, “what we’ve got” will include a roof on the Little House!  Hurray!


Bare Bones

Work continues on the renovation of the Little House, and although to the outsider it might not appear that much progress has been made (“have Chad and Rachel actually made things worse?  Was that even possible?  Looks like it was…”), we promise that, to us, things are looking amazing.  Please keep in mind that it’s all relative, but we’re pretty excited with the progress that’s been made in the last month.

To bring everyone back up to speed, see the picture of the entire property, below:

IMG_1519

The main house is the farthest on the right.  It has a 1970s addition coming off the left/south side, which attaches the main house to the summer kitchen.  The building in the middle of the picture with the gray roof is the smokehouse, and the building on the far right is the Little House – its nakedness in the roof area should make it especially recognizable.

Our last post left off with a house that had no roof and no second-story floors.  Below, we’re standing between the first and second floors.  No big deal.   Please also note the original nails protruding from the beams – a.k.a., the Tetanus Delivery Team.

IMG_1623

IMG_1625

DSCN0553

DSCN0558

DSCN0595

DSCN0594

For a complete gut job, we needed to remove the floors on the first floor, as well, including the floor boards, the deteriorating floor joists, and all of the junk that had fallen from the second floor, above.  We thought we were so clever when we just pushed that stuff down below…until we had to shovel it all out by hand, later…[insert forehead slap, here].

IMG_1541

But before we talk any more about the house, first, I would like everyone to note an important life event: I have officially overtaken Chad for the most degrees in the household.  With all of those letters after my name, they were also able to brainwash me into wearing a graduation hat that is even more ridiculous than normal (a “tam” rather than your standard mortar board – it is questionable whether anyone with curly hair should be allowed to wear these things) – and I LOVED it!  Embrace the nerd.  I was also very honored that Chad’s dad, who is also an alum of the University of Richmond School of Law, was able to present me with my diploma.

IMG_1378

IMG_00028

Once I crossed that stage, my first full time job as an “esquire” became preparing for the bar examination, while also moonlighting as a house flipper.  You’ve got to take study breaks, right?

DSCN0566

As we began pulling the floor boards up with crow bars, we realized that there were two generations of flooring.  The most recent floor consisted of narrow boards running north and south, which much wider boards running east and west underneath.

DSCN0563

In one downstairs room, the two layers of floor were separated by newspaper dating from the early 1940s.  The headlines concerned the war updates from Europe, and there were advertisements for Sealtest milk,  sweat-resistant women’s stockings, and the critically acclaimed “Pabst Blue Ribbon.”  Greatness never dies!

Once all of the floorboards were removed, we found floor joists in a wide array of conditions.  Those exposed to weather were obviously suffering from rot, but some that had remained protected were in near-perfect condition.

DSCN0569

The joists are actually notched into the brick wall; the masons built up to the level of the joists, omitted a brick to leave room for the end of a joist to rest, and then continued to build the wall around and above the joist.

DSCN0574

We removed all of the flooring and joists, loaded them on pallets, and have stashed them away for future use.

DSCN0592

Anyone with suggestions on neat ways to repurpose these, let us know!

While the newer flooring went all the way to the walls in the room with the fireplace, we made a fun discovery when we pulled up that top layer.  The older floor boards stopped short just before the fireplace, where we assume there may have been an over-sized hearth.  Instead of flooring, there was a jumbled pile of broken limestone (possibly pieces of the hearth?) and they appeared to be resting on a stacked-brick foundation (no mortar).  Brick Jackpot!!!

This picture is taken head-on, showing the “course” of brick from eye-level with the hearth, in the background.

DSCN0624

We removed the brick by hand and are hoping to use it as the hearth for the restored fireplace.  And thanks again to Gina for all her help, to whom we owe a lifetime of favors and manual labor!

DSCN0626

DSCN0629

There was also a lovely groundhog den, complete with a straw-lined nest, tucked behind the brick in one corner.  We’ve spared you the pictures of this rodent mansion.

Finally, credit to the professionals who came in and put the most exciting touches on the last month of work.  First, a COMPLETELY RESTORED FIREPLACE in the small house!  The brick masons found the fireplace like this:

IMG_1358

The original swing arm is still in there, but the lintel spanning the top of the fire box was frighteningly bowed and the bricks around the bottom had crumbled away.  Also, it appeared that at some point in time, the fire box was used as a waste receptacle.  There was work to be done.

And voila:

DSCN0623

AMAZING.

To complete this feat, the masons carefully removed the swing arm and any deteriorated brick in the fire box.  They then replaced the removed brick with fire brick (the white bricks, shown above, which are designed to withstand the high temperatures of our future roaring fires).  Next, they removed all of the brick above the lintel, which was essential, due to the deterioration and obvious stress.  To the masons’ surprise, with the weight of the brick removed, the cast iron lintel sprang back into its original straight line.  The masons were also able to install an abnormally large five-foot damper and reinstalled the swing arm.  Finally, they installed cast iron supports into the masonry above the fire box, which will hold our future mantel.

Here’s the team of masons installing the damper under the supervision of Chad’s dad:

DSCN0606

The damper (this shot is taken from underneath, looking up into the chimney at the damper):

DSCN0621

The finished product, minus floorboards and joists.  Notice the supports for the mantel just above the fire box to the right and left:

DSCN0641

Original brick, laid in an alternating pattern, contrasted with the new fire brick:

DSCN0542

Look, it works!

DSCN0540

Holy. Cow.  I’m not sure there are many other 20-somethings that get excited about swing arms and lintels, but we definitely are!

Last, the smokehouse has had an update, too.  The masons have begun parging the walls, a process which entails layering the exposed (and in our case, deteriorating) brick with layers of concrete.  This was common in the 17th and 18th century and will protect the brick from the elements and further deterioration.  The scoring on the cement, seen below, is used on the first layer so that subsequent layers will attach more securely when applied.

DSCN0608

DSCN0619

DSCN0610

DSCN0609

Ultimately, the walls will be whitewashed, as would have been traditional.

Things are moving right along!  Next, we will tackle dirt removal – getting all of the silty dirt out from under the joists so that trenches can be dug for modern footers.  Check your gym pass at the door folks, this will be true heavy lifting!