
We are still very much in a painting phase in the Little House. As you’ve seen in prior posts, we’ve put quite a few layers of white primer and white paint throughout the house (it feels like we’ve been painting for years), and as clean and crisp as it looks, we’ve been thrilled to finally graduate to more creative applications.
The Little House addition has two closet rooms, both of which are 3/4 barn board. Many people have expressed a strong preference to see us leave the beauty of the natural wood uncovered; however, we have a bit of an aversion to the 1970s faux-wood paneled look:
 (http://www.huffingtonpost.com/2013/09/12/biggest-design-sins_n_3908869.html)
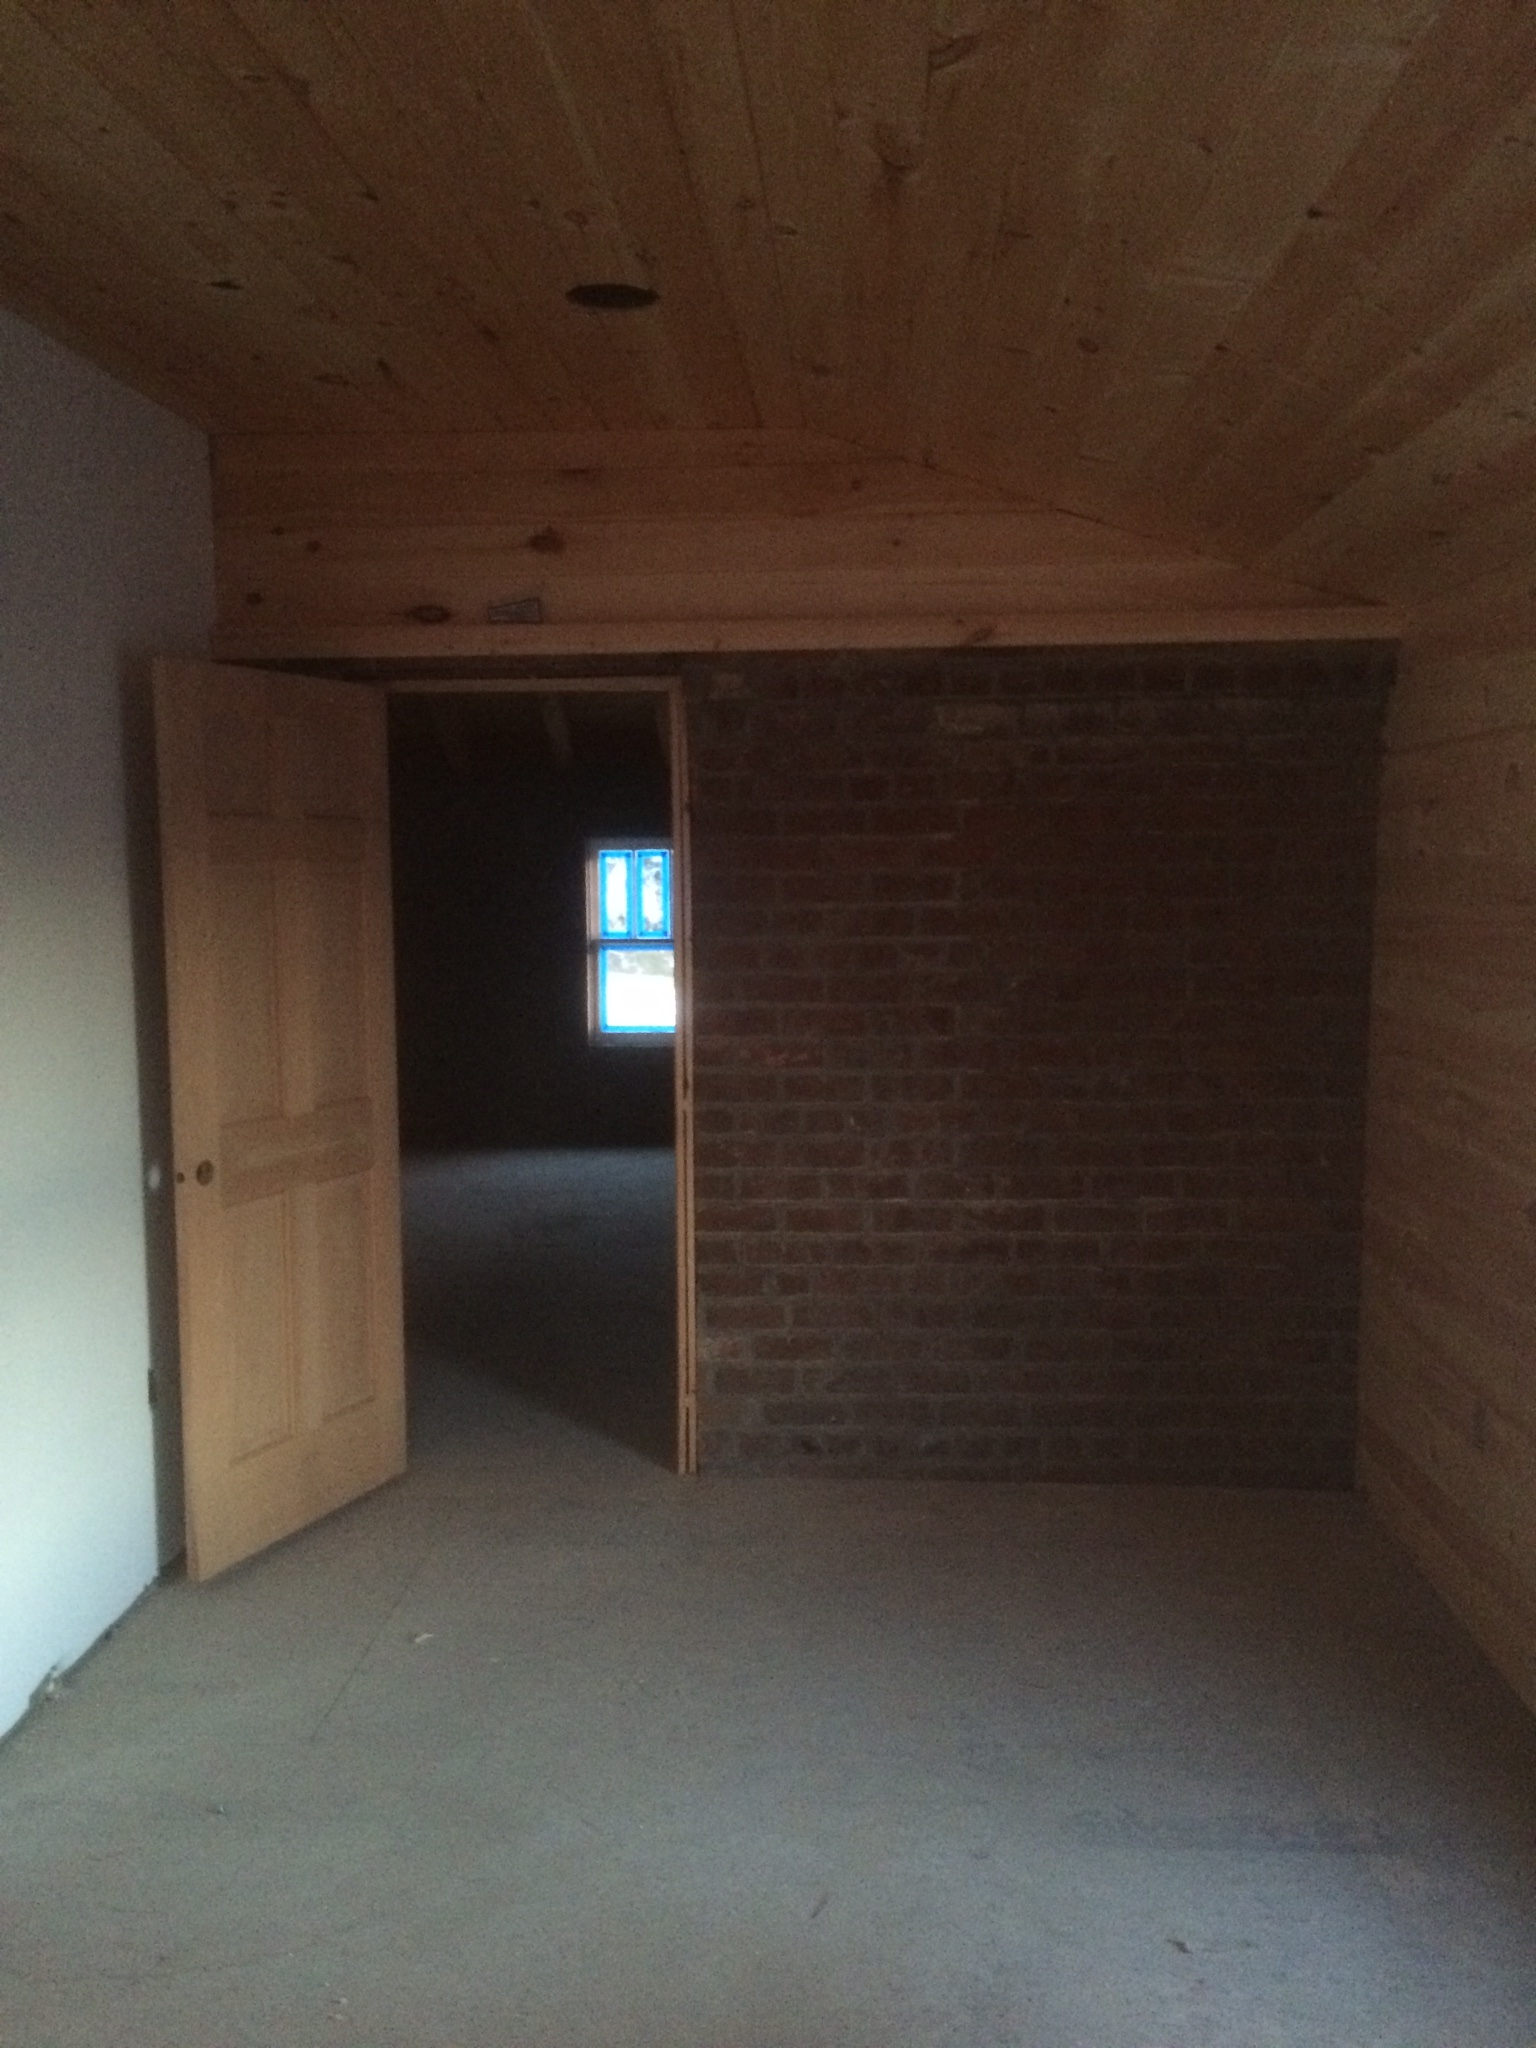
Instead, Chad and I decided to strike a happy medium. We opted for a white-washed look that would sooth the wood tones but leave the beautiful grain and knots visible. Whitewashing is typically achieved by applying a white stain to raw wood. Here’s what we started with in the closets:
v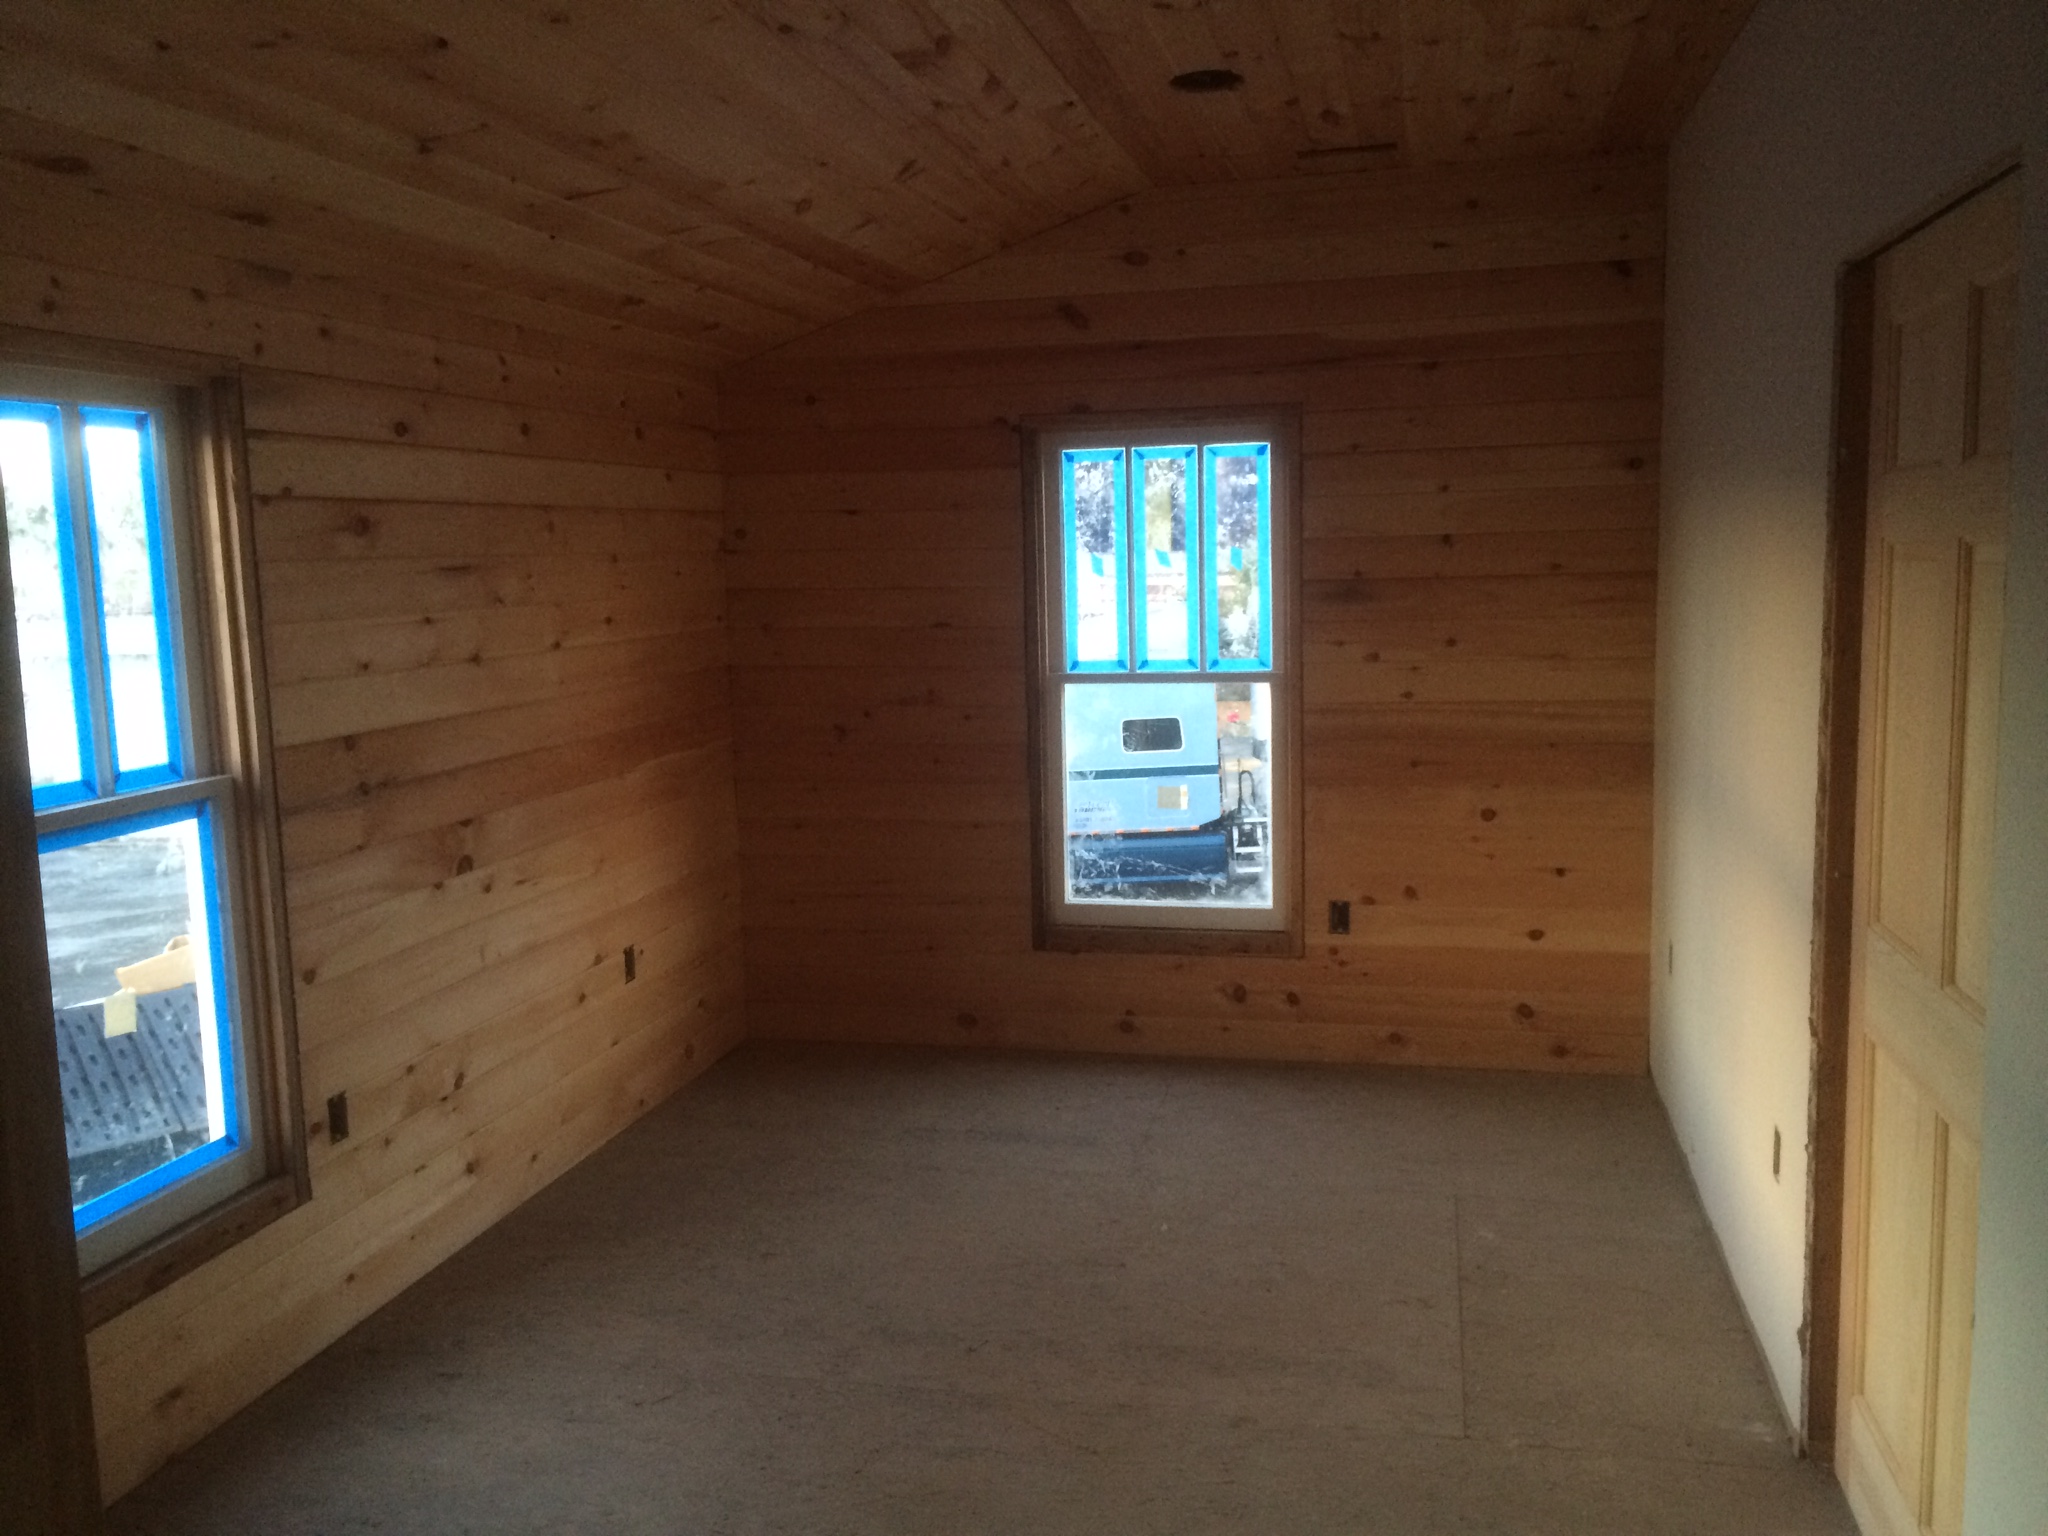 f
f
Sarah Richardson of HGTV did a lot of whitewashing in her adorable little island cottage, which was featured on her show, “Sarah’s Cottage”. Luckily for us, after filming the show Sarah undertook a thorough explanation of her whitewashing technique. We have always loved Sarah’s shows because she does not shy away from highlighting her debacles, and whitewashing proved no different. On her show, Sarah found that her whitewashed pine turned a shade of white-ish pink instead of an idyllic, misty white after applying a pure white stain. Uh oh. This is not good, because once raw wood is stained, there’s no going back. Long story short, Sarah recommends a gray shade of stain instead of straight white to solve this problem.
Dutifully, Chad and I agreed to take Sarah’s advice and set our minds on gray stain. It turns out that the paint store can mix an infinite number of shades of gray, and it was up to us to decide which shade would suit. It also turns out that there are two different products: Pickling white and tint. So, we grabbed a variety of samples and tested away:
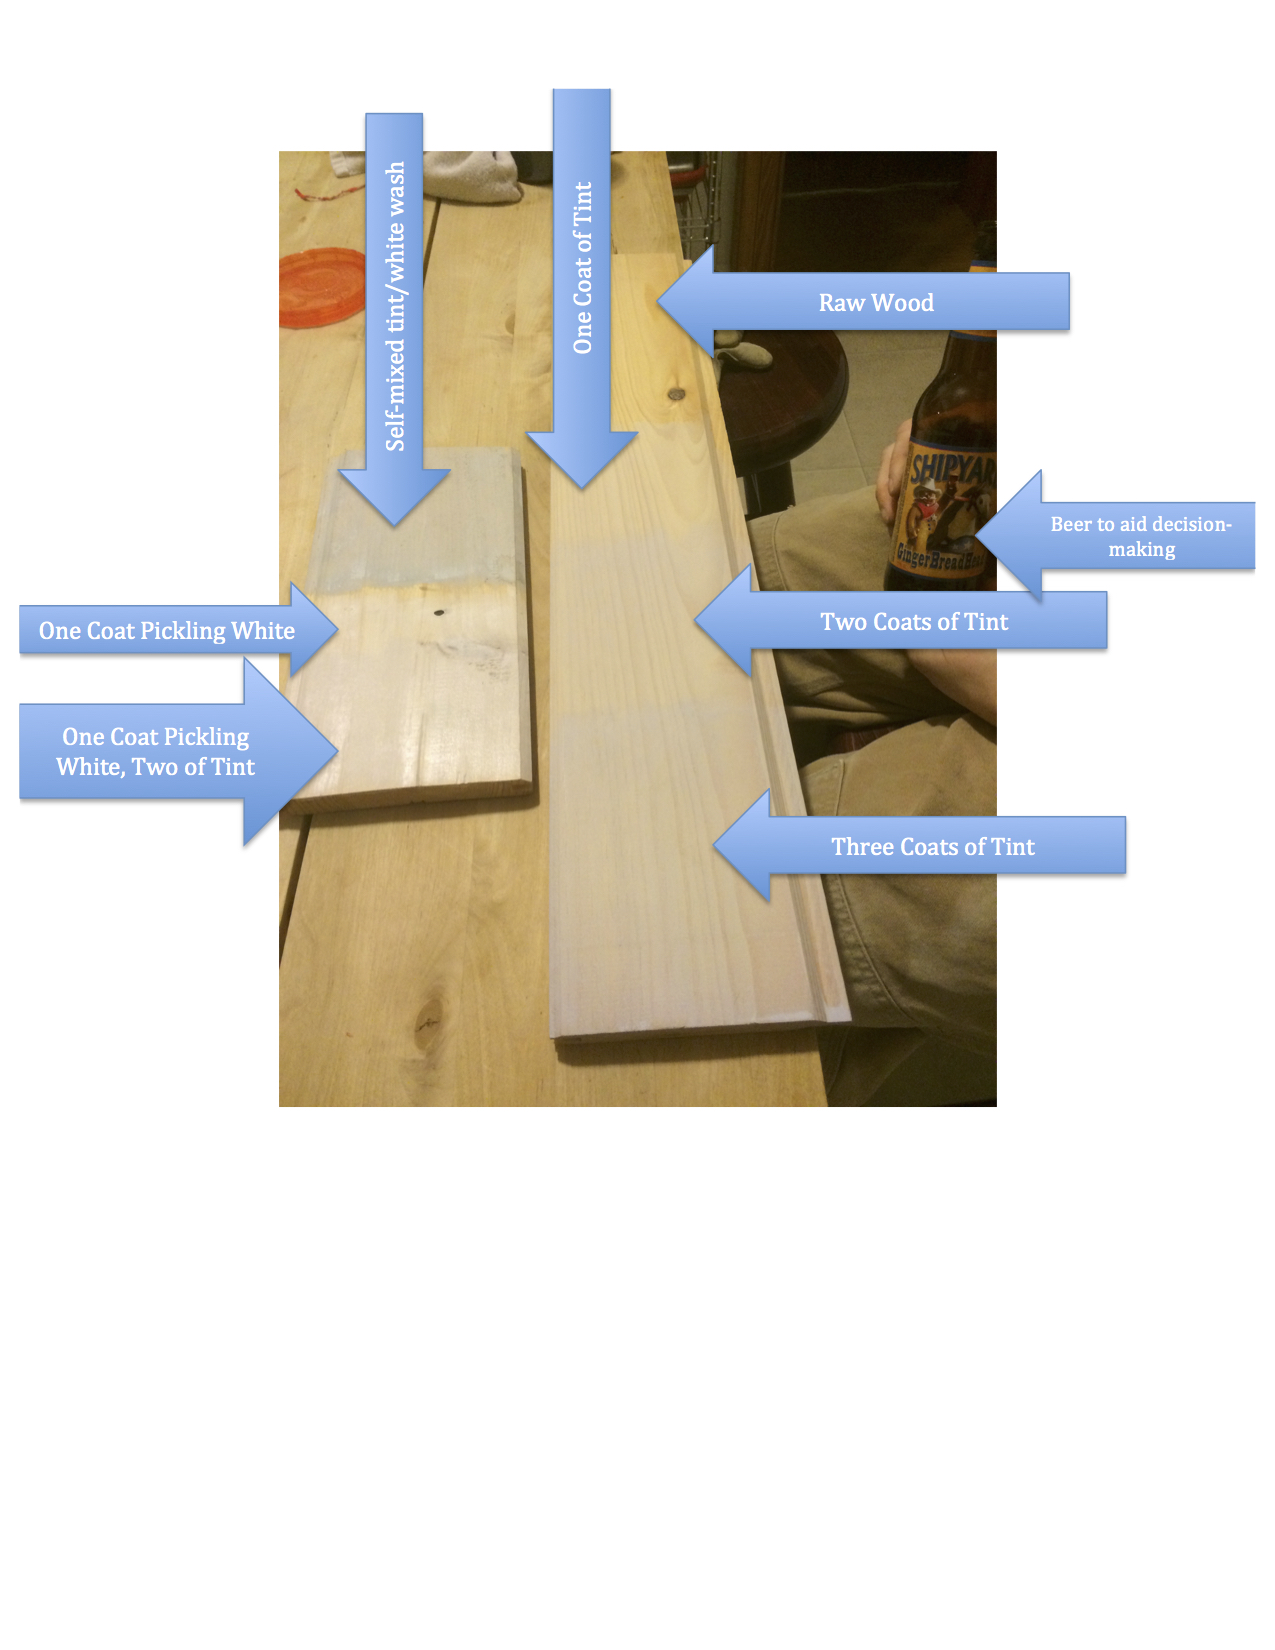
As you can see, we tried a number of variations on the theme. With the pickling white alone, we weren’t able to get the color we wanted. With the gray tint, we got the right color, but couldn’t get the coverage we were looking for. Ultimately, we decided that the most complicated application looked best (of course): one coat of pure pickling white and a second coat of gray tint. We used Old masters Penetrating Stain for the gray tint.
 And with that decision made, we set to work. We thought white washing sounded a lot faster than regular paint, so against our better judgment, we set some lofty goals for how quickly we would finish the closets. As you can predict, we underestimated this by a long shot (yet again).

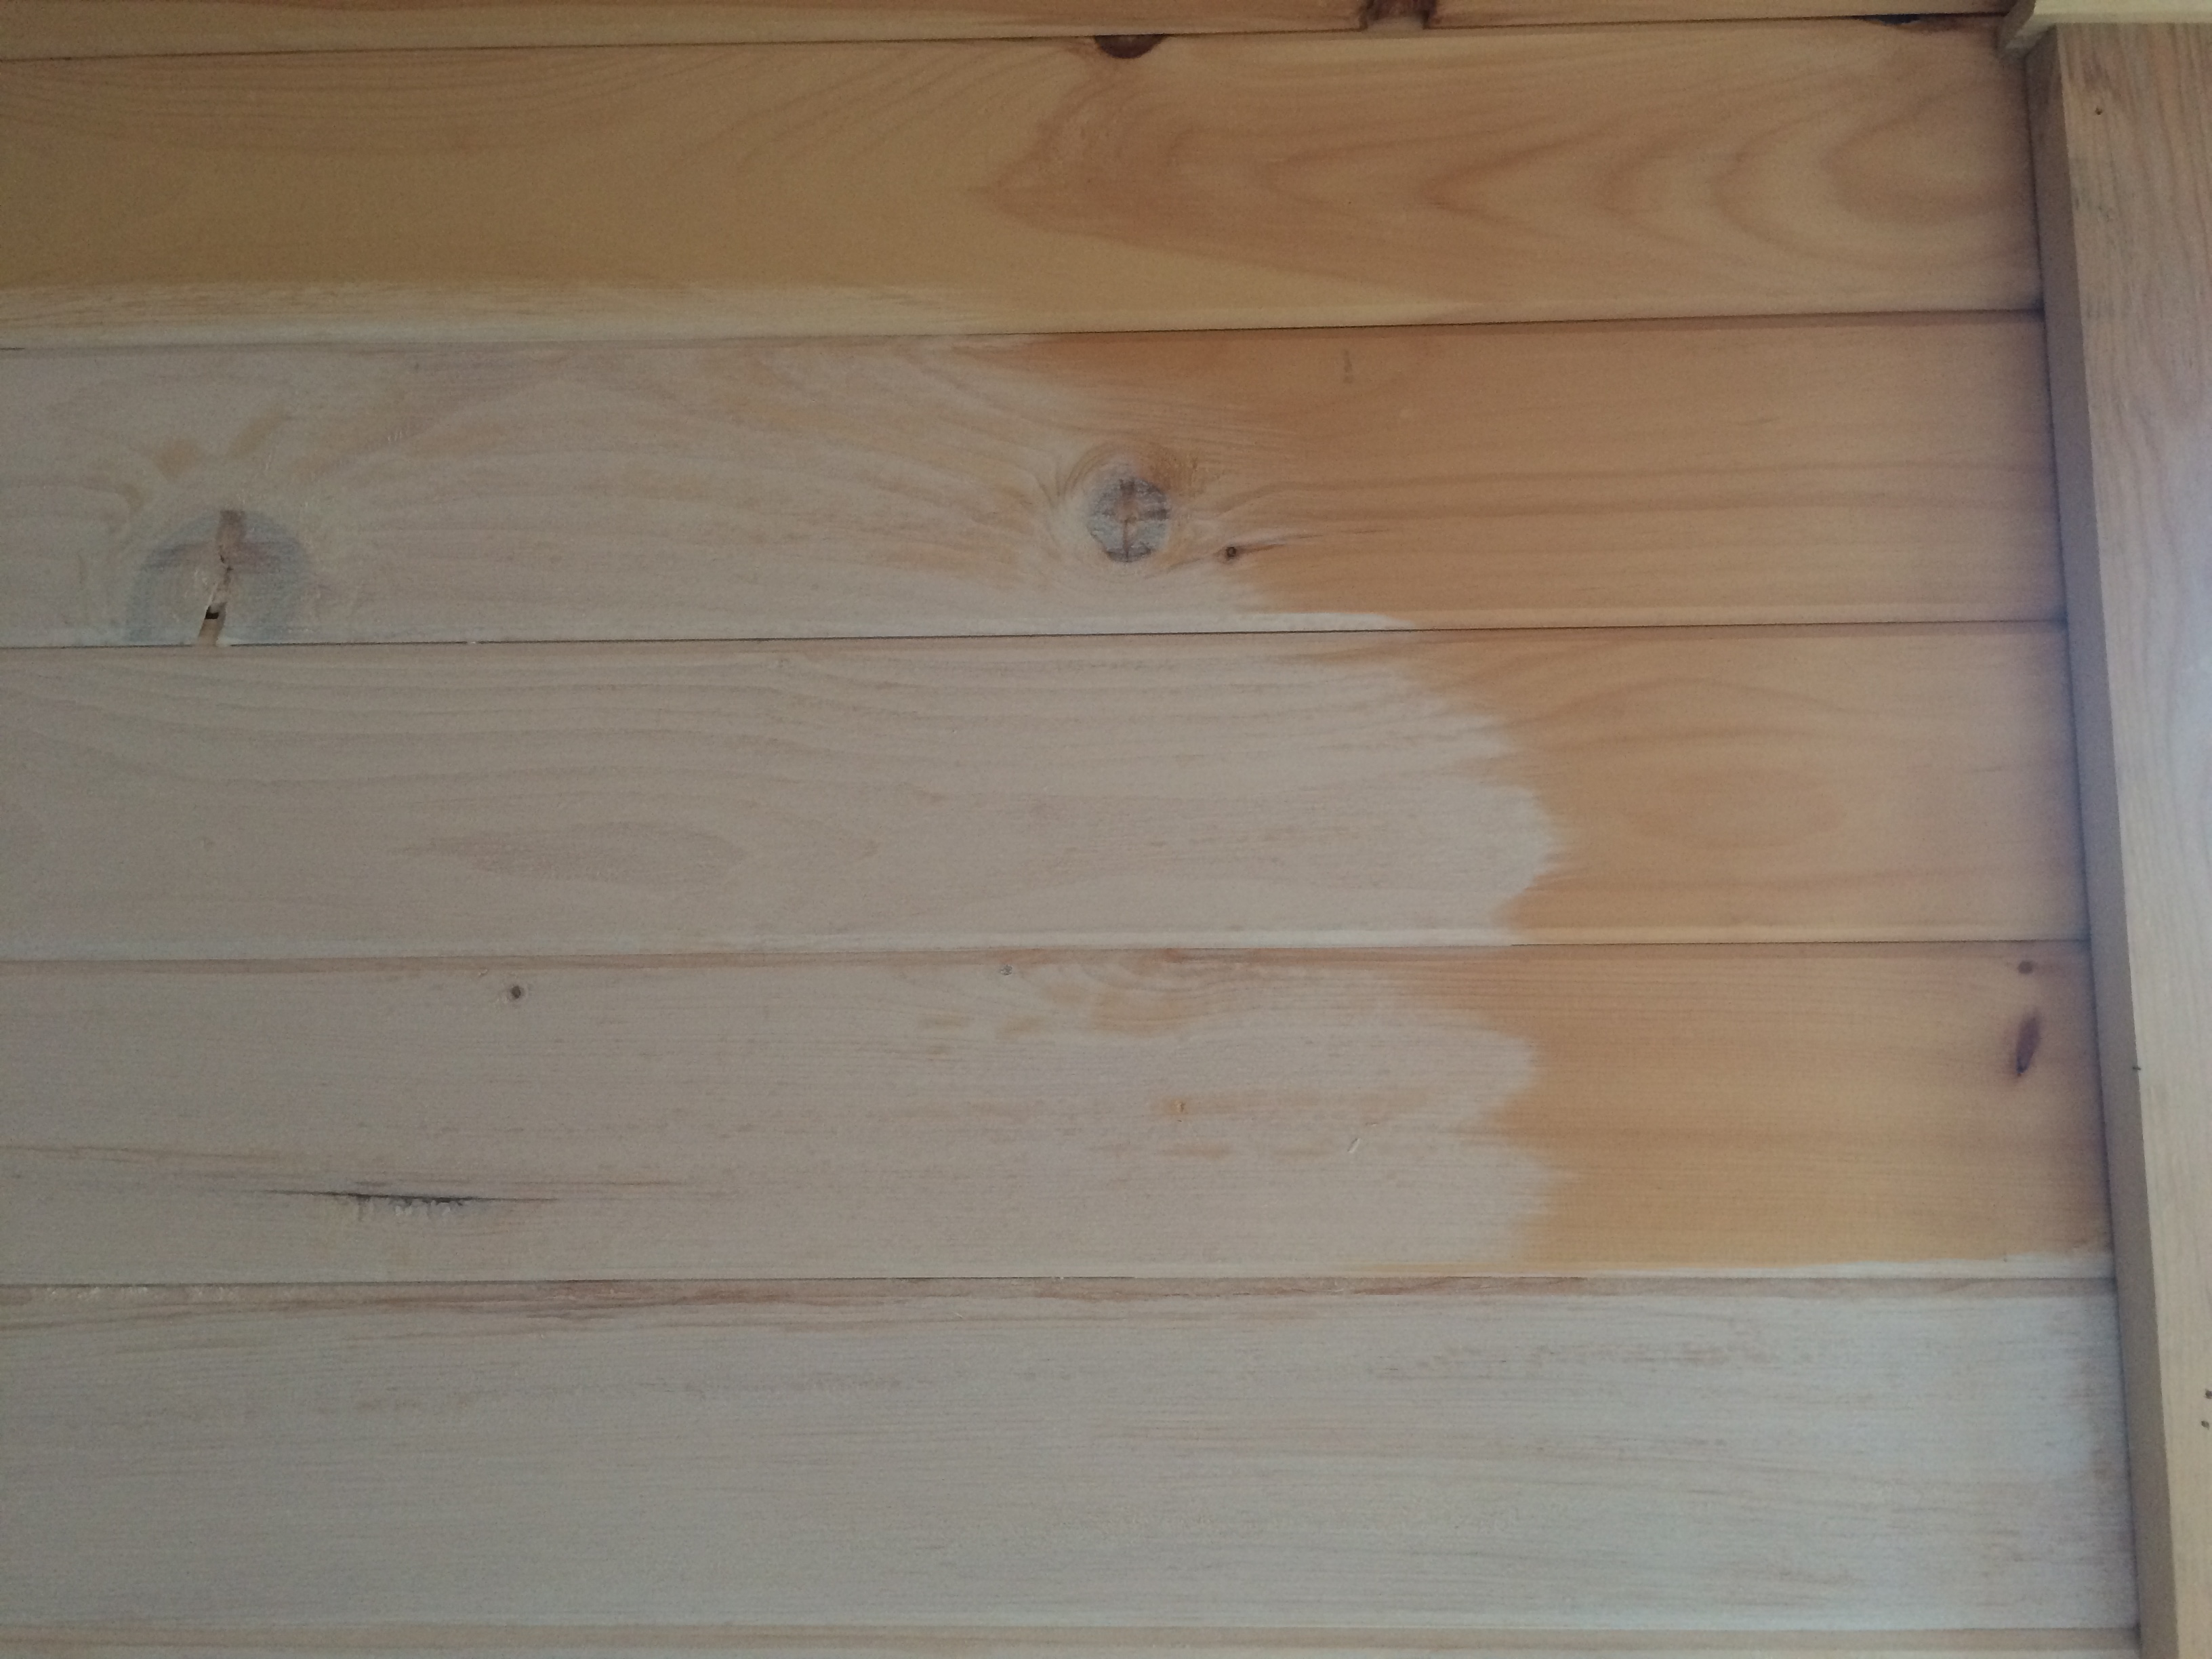

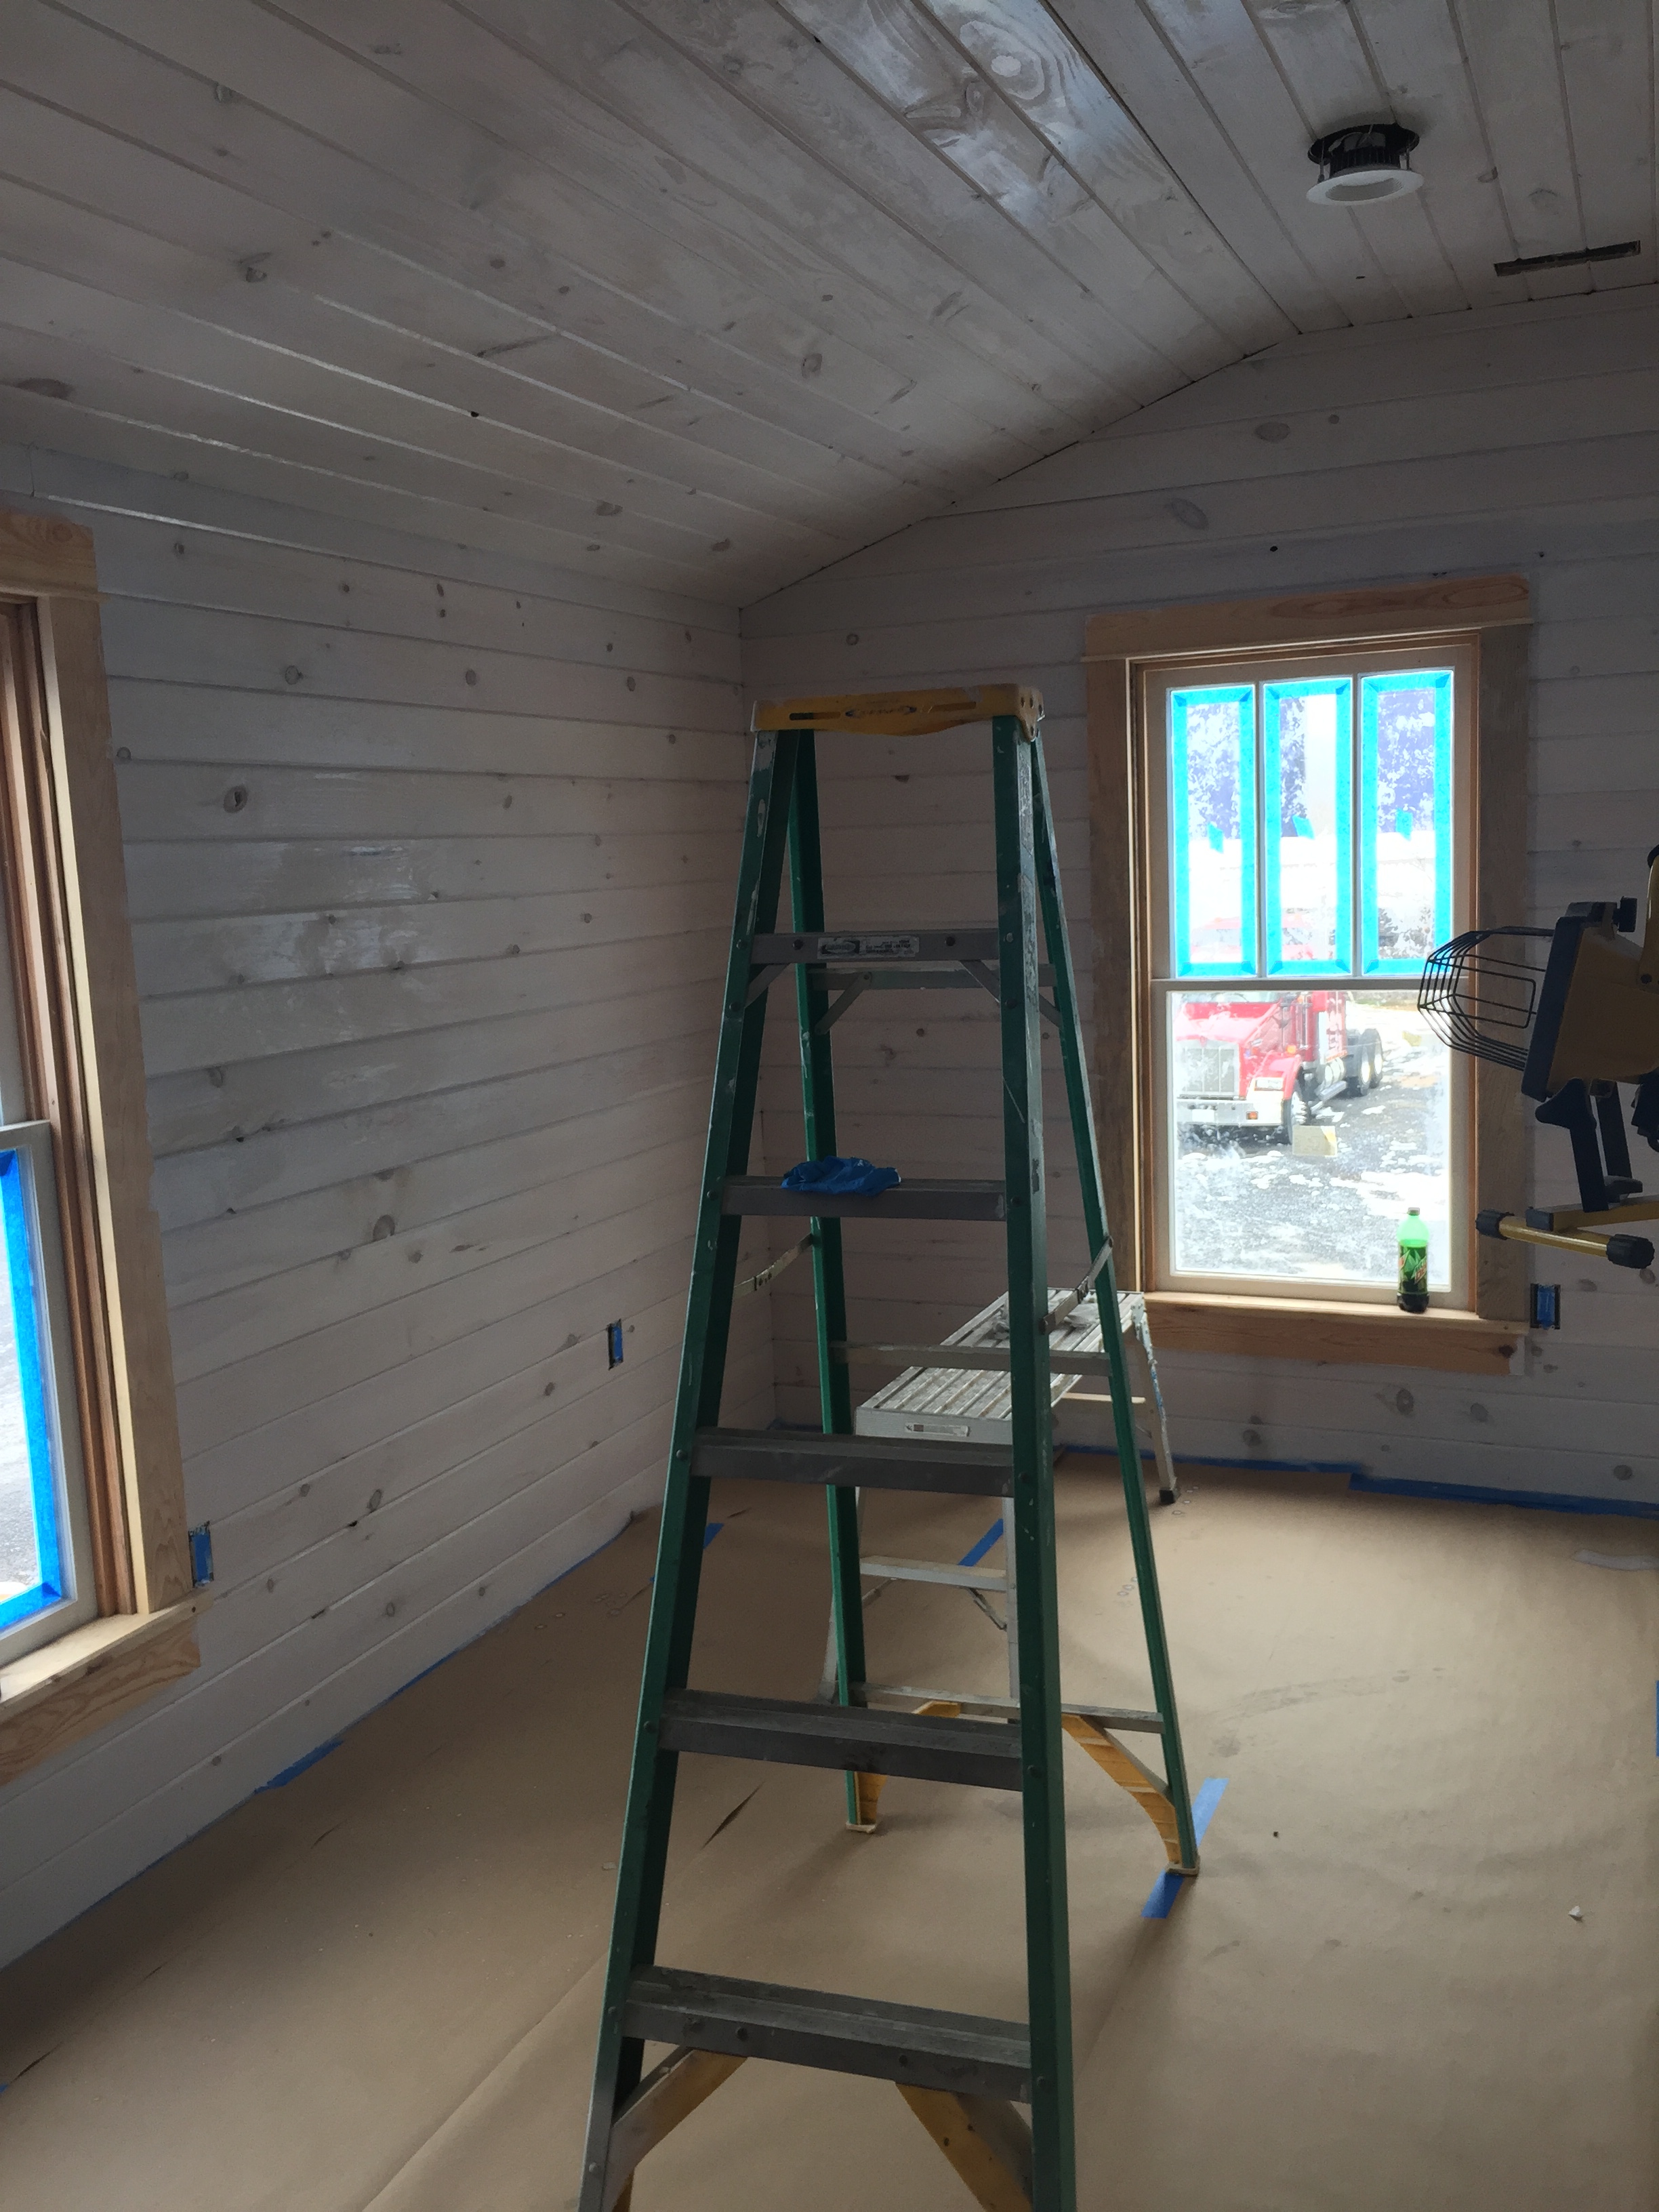
Both the pickling white and the tint apply like very, very runny paint. Because the products go on so thin, we ended up needing one coat of pickling white to cover the grain sufficiently, topped with two coats of gray tint to get the right color. Below you can see the differences between the different coats:

We have the first coat on both closets and have finished all of the whitewashing on the western closet. As Christmas approached and other house projects took precedence, the second closet stands by unfinished, but we are hoping to get that wrapped up soon. As with so many of the other house projects, the extra time was worth the effort. The white wash looks stunning and will contribute to the rustic vibe we’re going for throughout the Little House.
Compare with the pinker eastern closet, which still needs to be topped off with the gray tint:

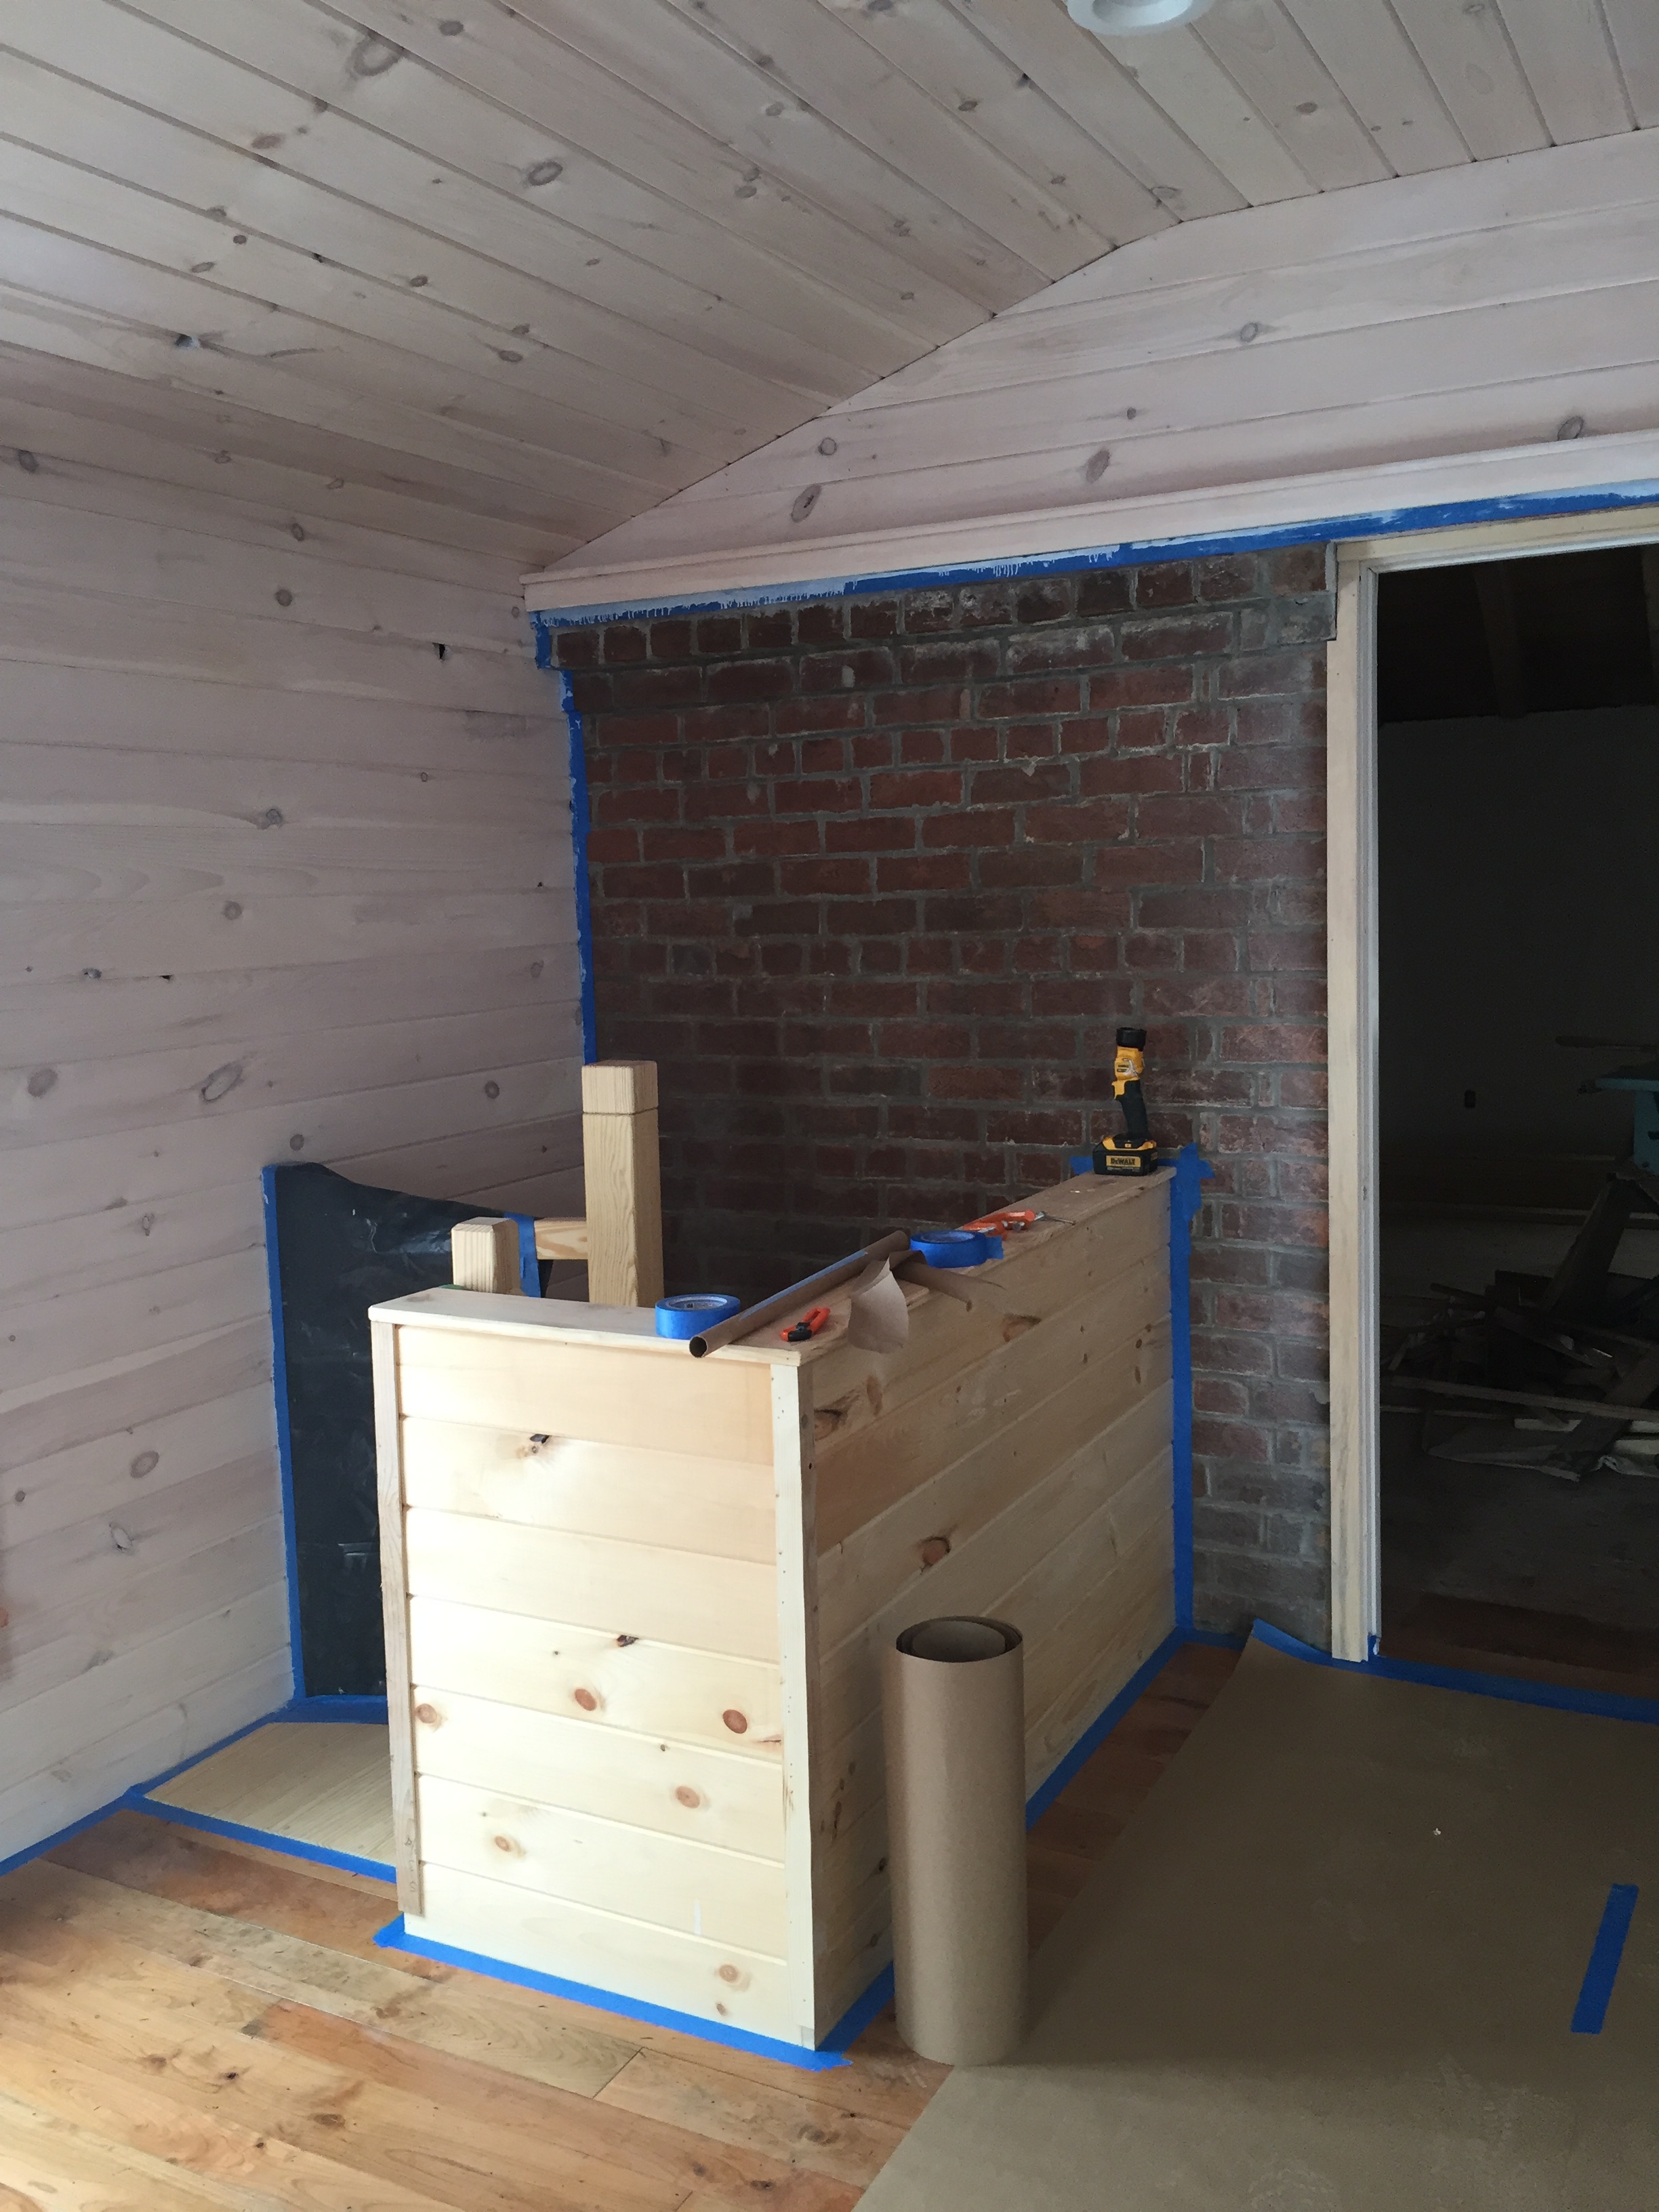 (I promise it is pinker, even if these photos don’t seem quite as dramatic as real life!). Next time, we’ll share some of the beautiful Benjamin Moore Williamsburg Collection shades we’ve splashed on other parts of the house! In the meantime, happy holidays from Edge Hill!
P.S. The blog is currently lagging a bit behind our real-life progress (we’ve been working our butts off without much sleep computer time). We are going to try and update a couple of times over the holidays, and wanted to note for our loyal readers that this post is our first official post from the Little House. WOOOOOOOOOOOO!


