
At the end of our last post we had gotten the first floor joists installed in the addition and and some of the exterior walls framed up. 
Over the next couple of weekends the framing crew continued hard at work, with rather dramatic results. During this phase it was so satisfying to see all of our hard planning realized in a physical structure!
The weekend following our last post we continued pushing forward, expanding into the original structure and up! First, we added the last wall on the first floor addition, which abuts the original structure to carry the floor joists of the second story of the addition. 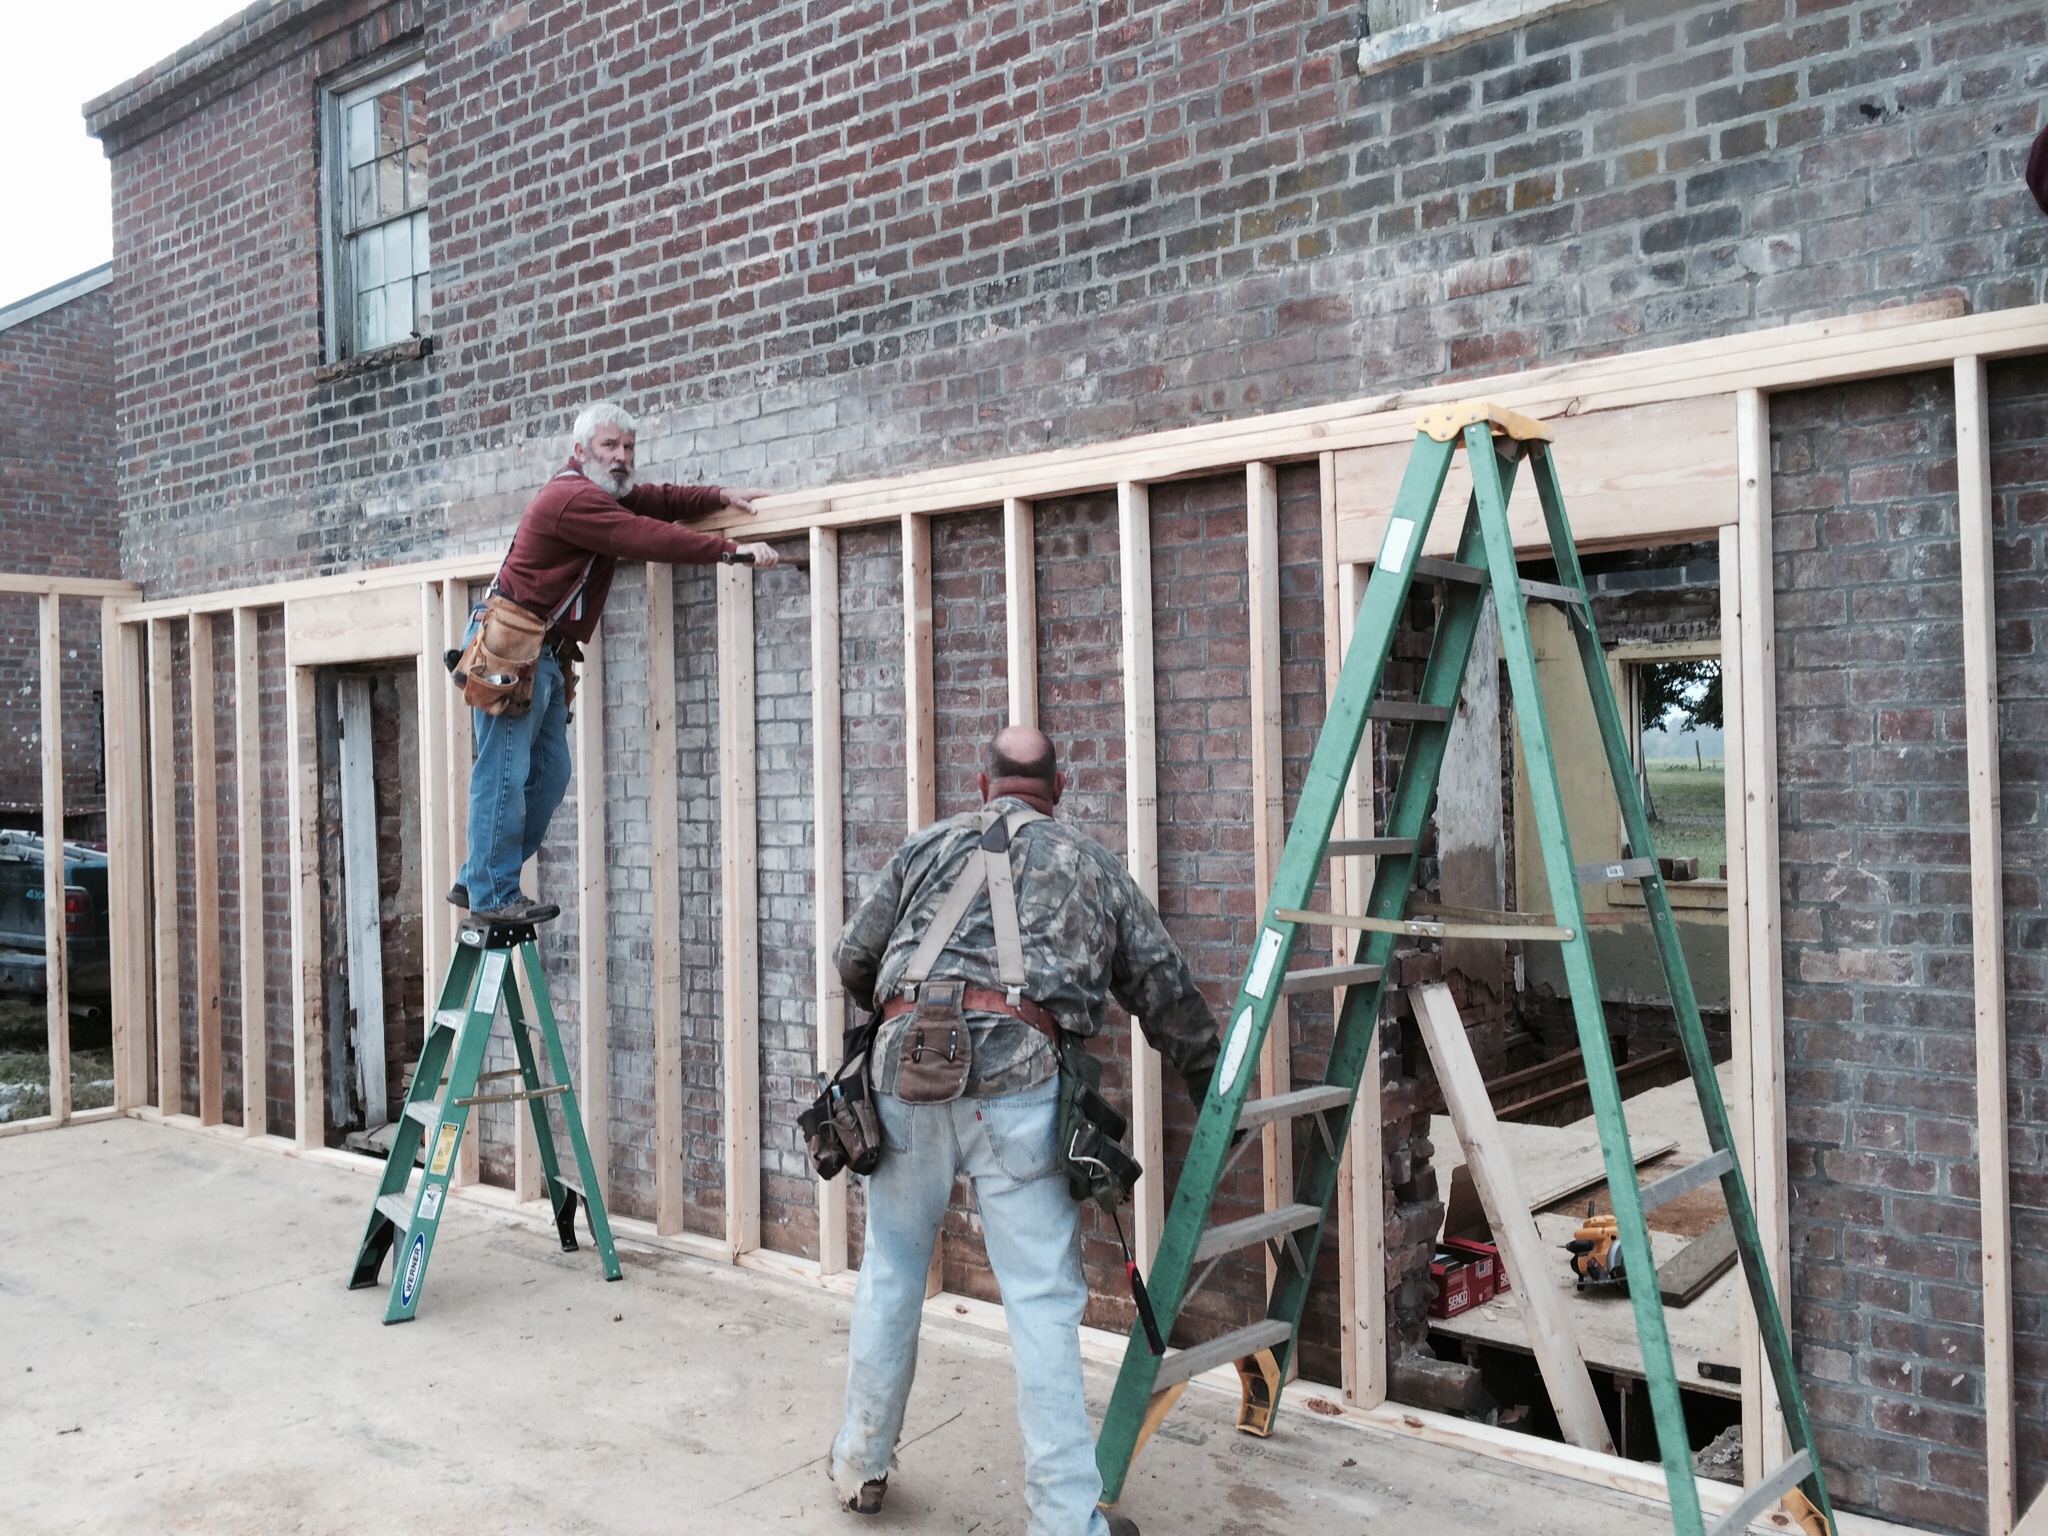
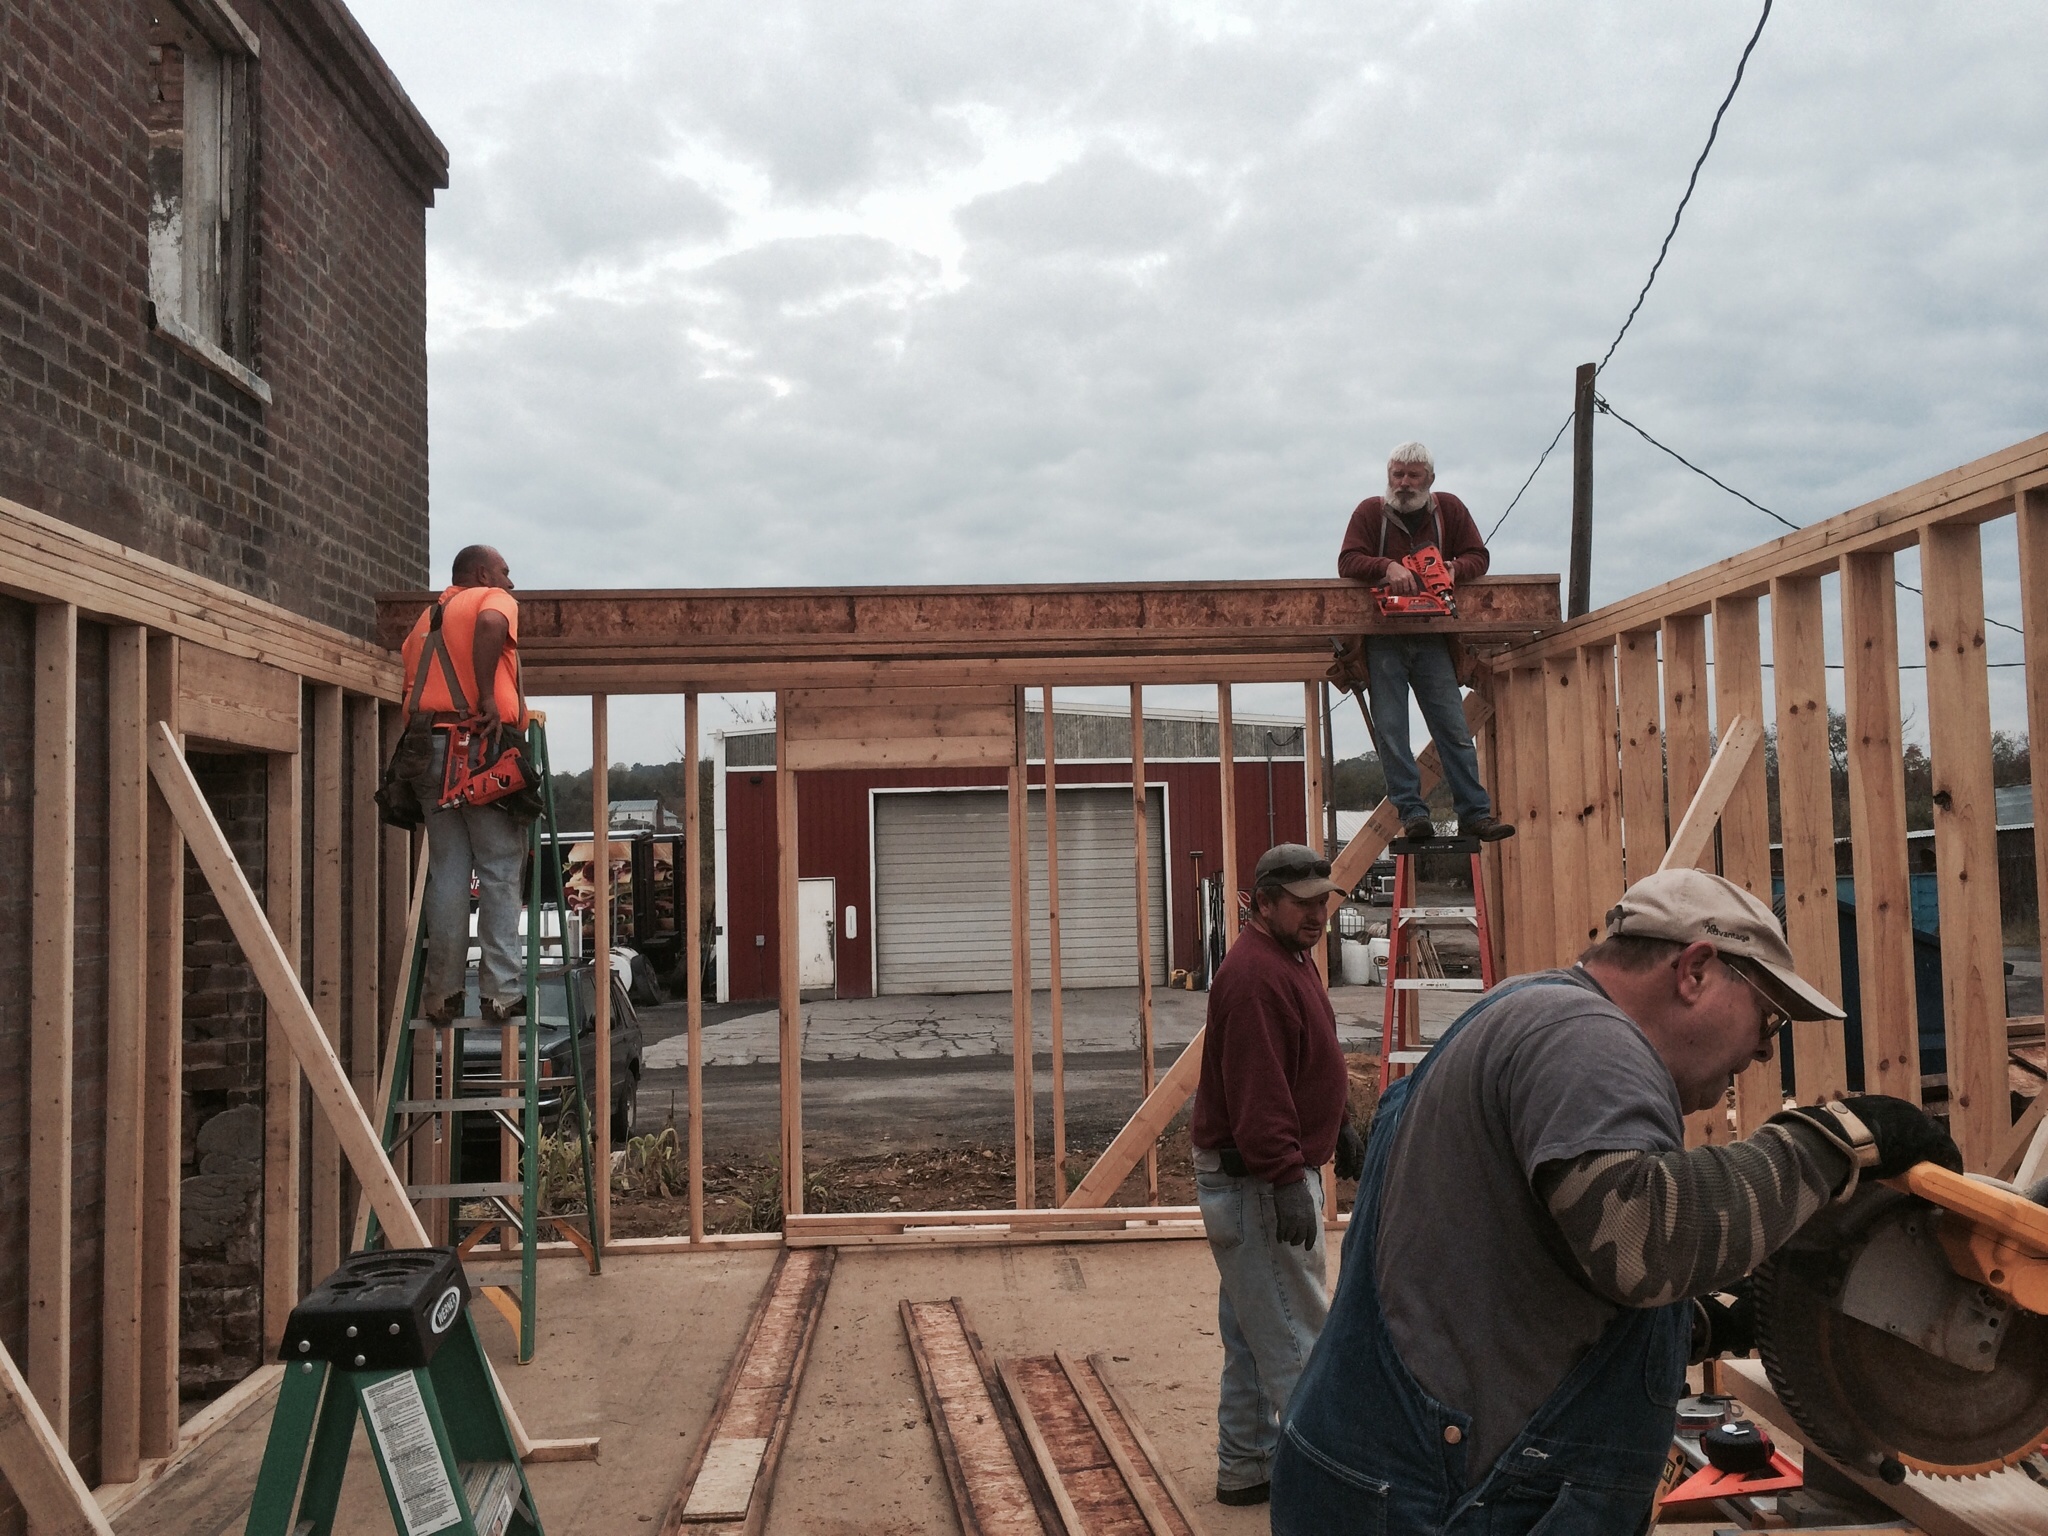
Once all four walls were erected, we then had to make sure the structure was plumb and square. Luckily one of our crew has a bit of experience, and he strung up a line along the rear of the wall with this temporary two by four block.  We then lined up another two by four using the string as a guide, and began adding the temporary braces, keeping everything square.

This part involved a lot of hammering into position.


Finally we were able to begin adding our second story floor joists!
 ]
]

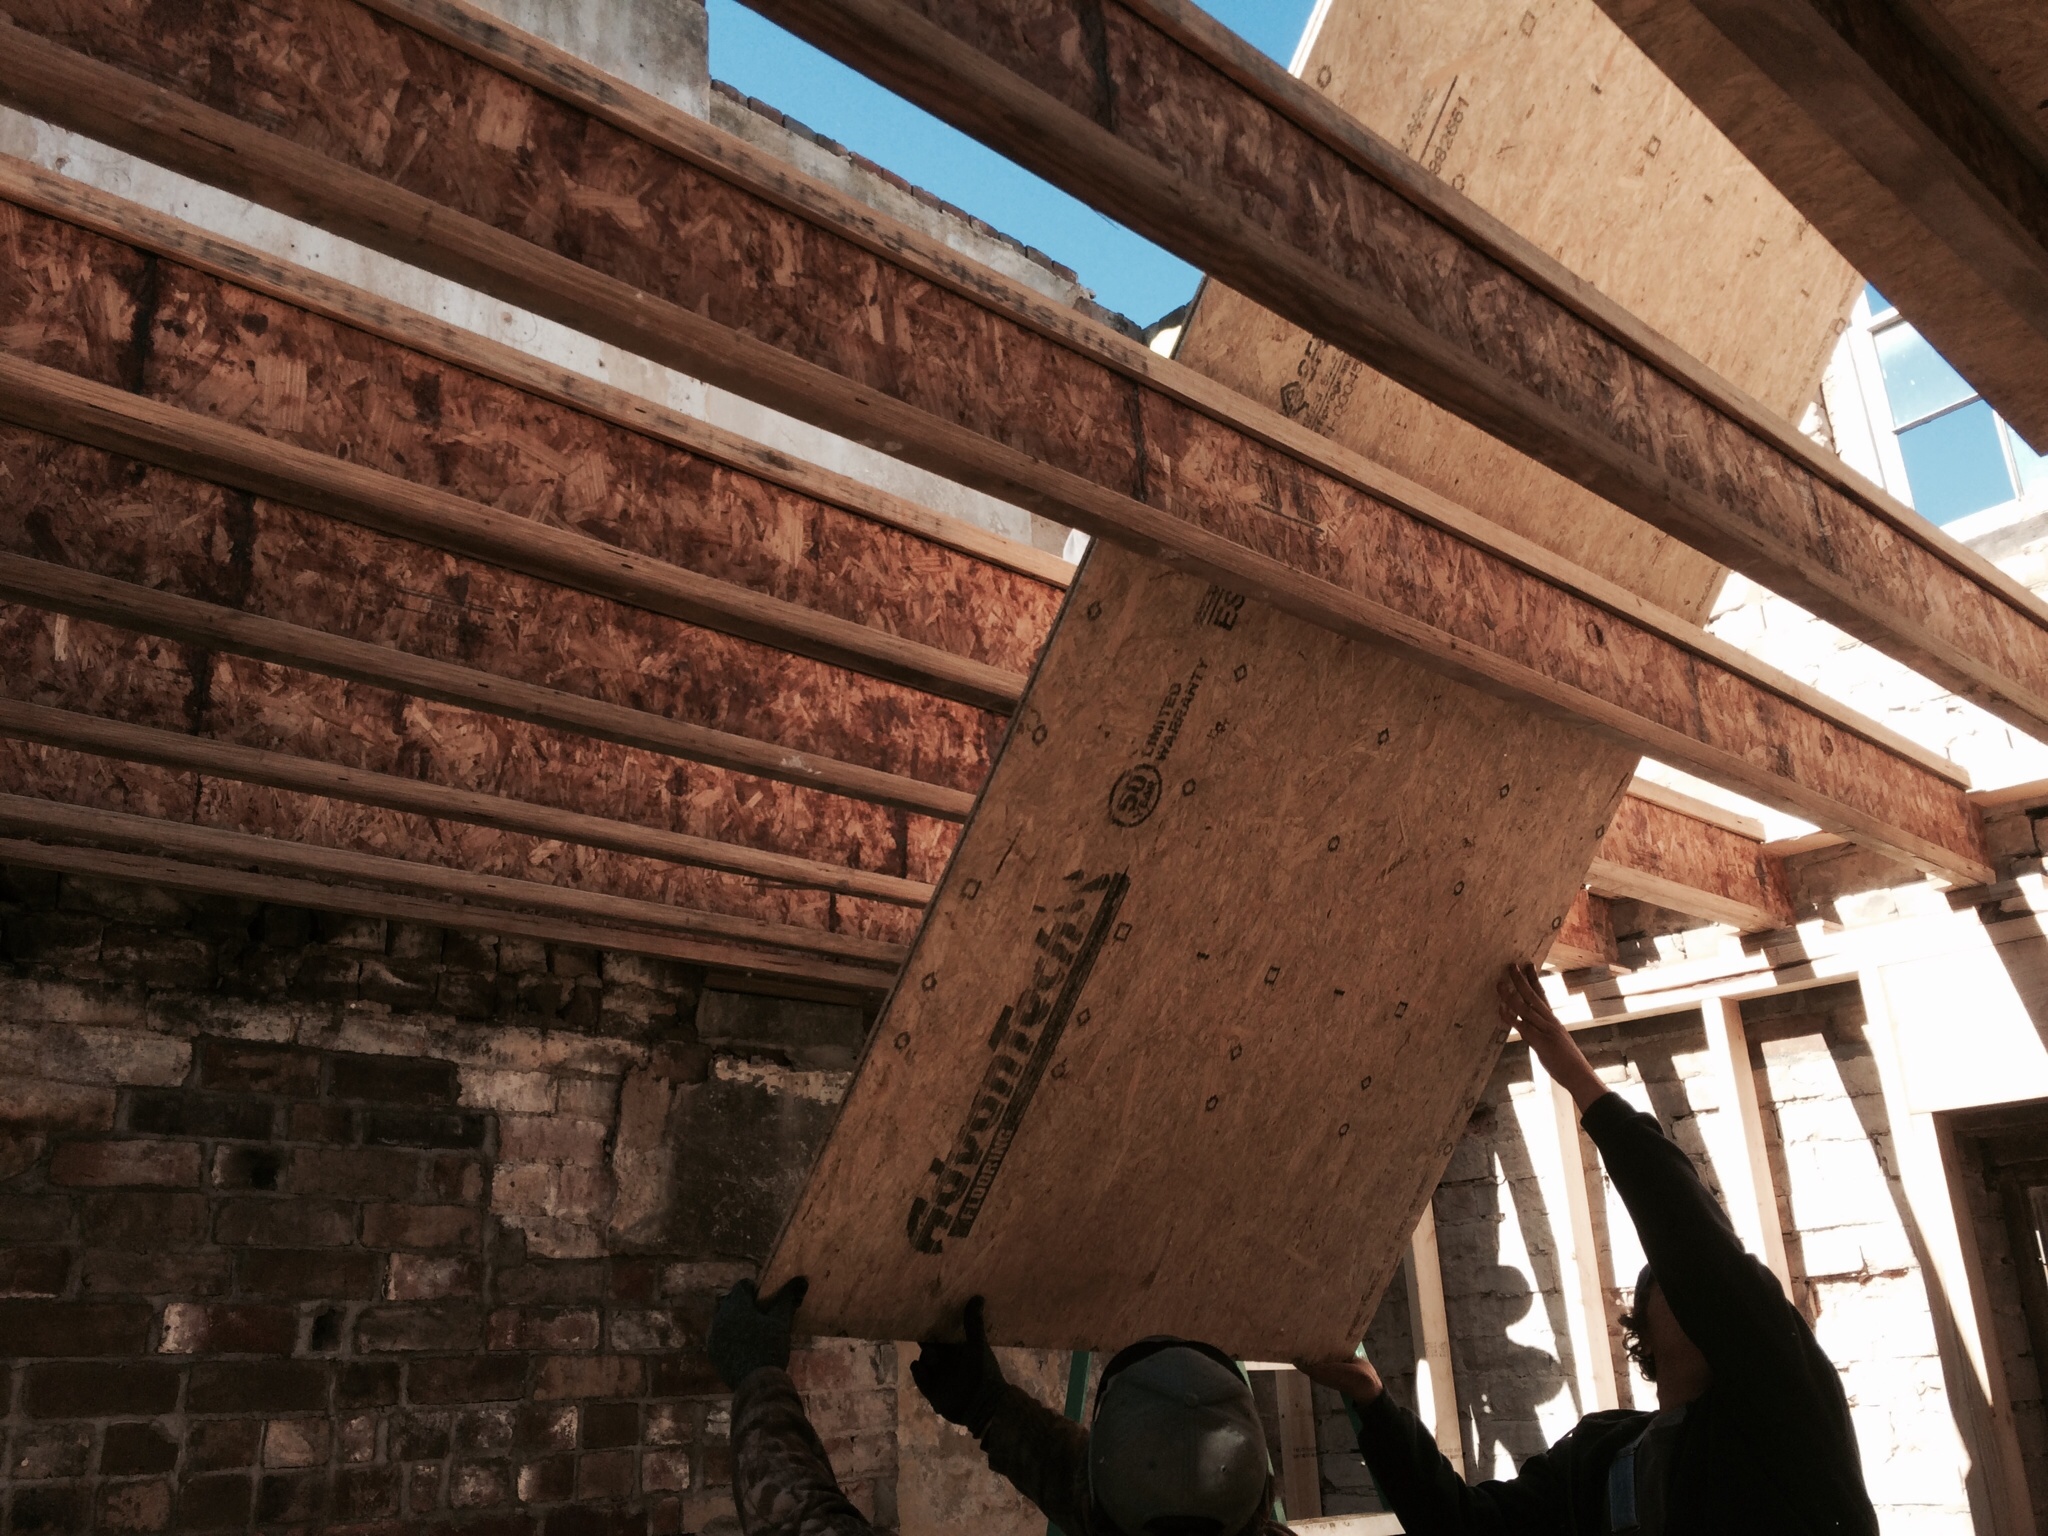
The next step was to put down the sub flooring of the second story. Luckily, a few of the farm tools come in quite handy during the construction phase:

The flooring was installed using nails and glue to make sure we got a good tight fit.

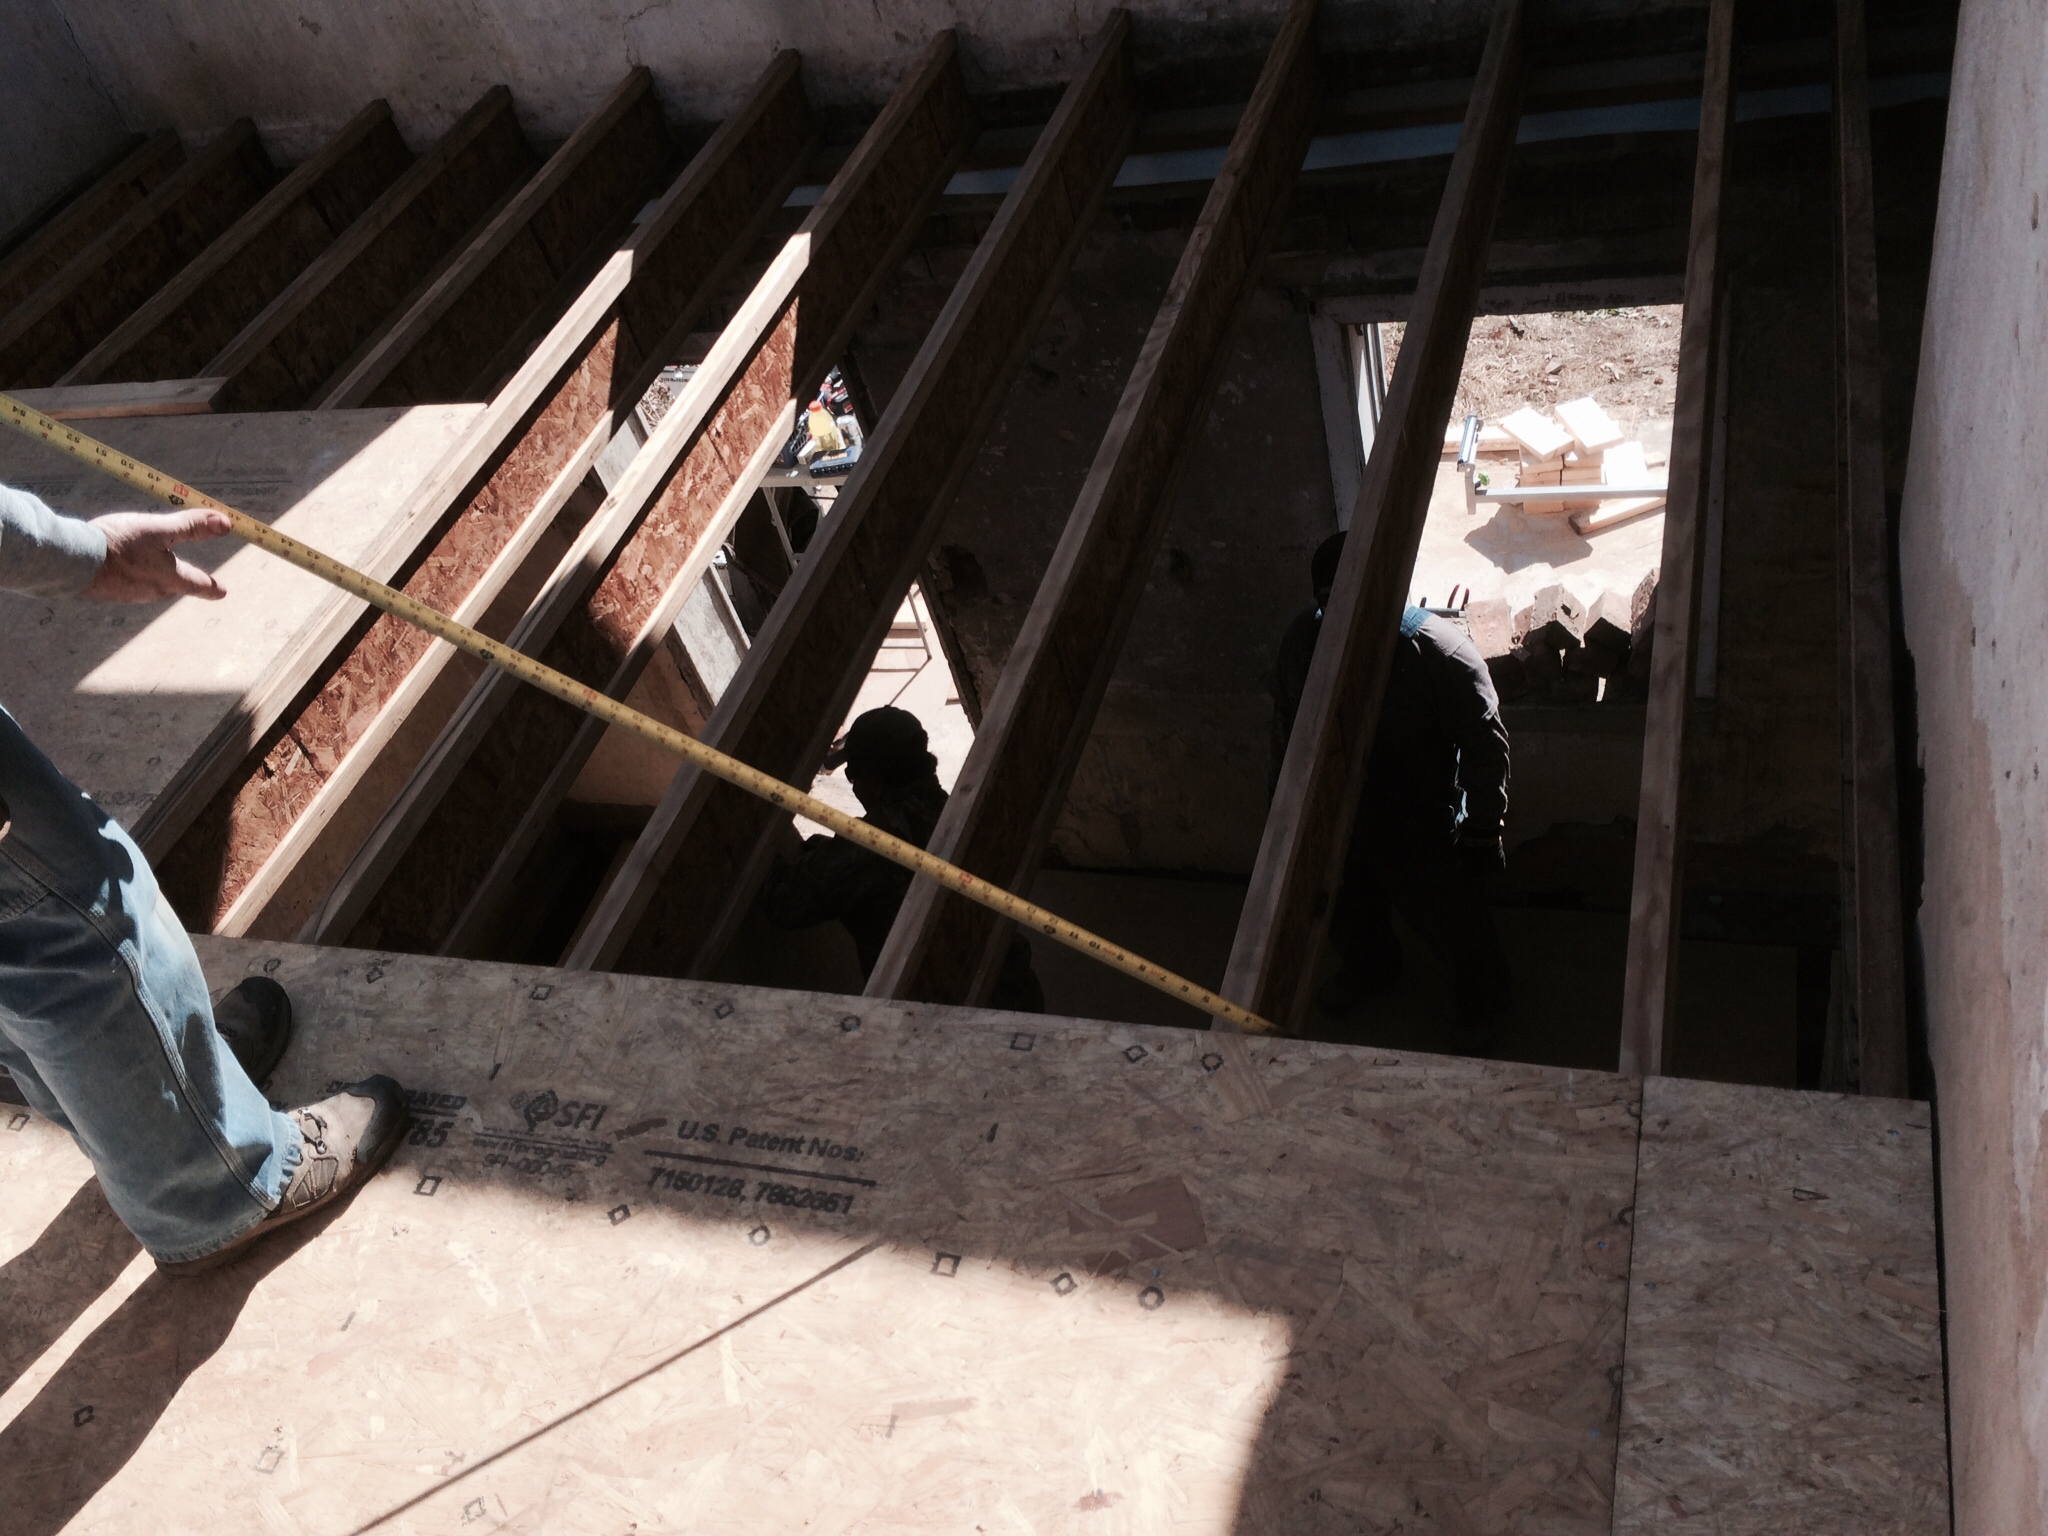
As we neared completion on the sub flooring, we left Dan a “Go-For” hole so he could get the tools up to the second story:
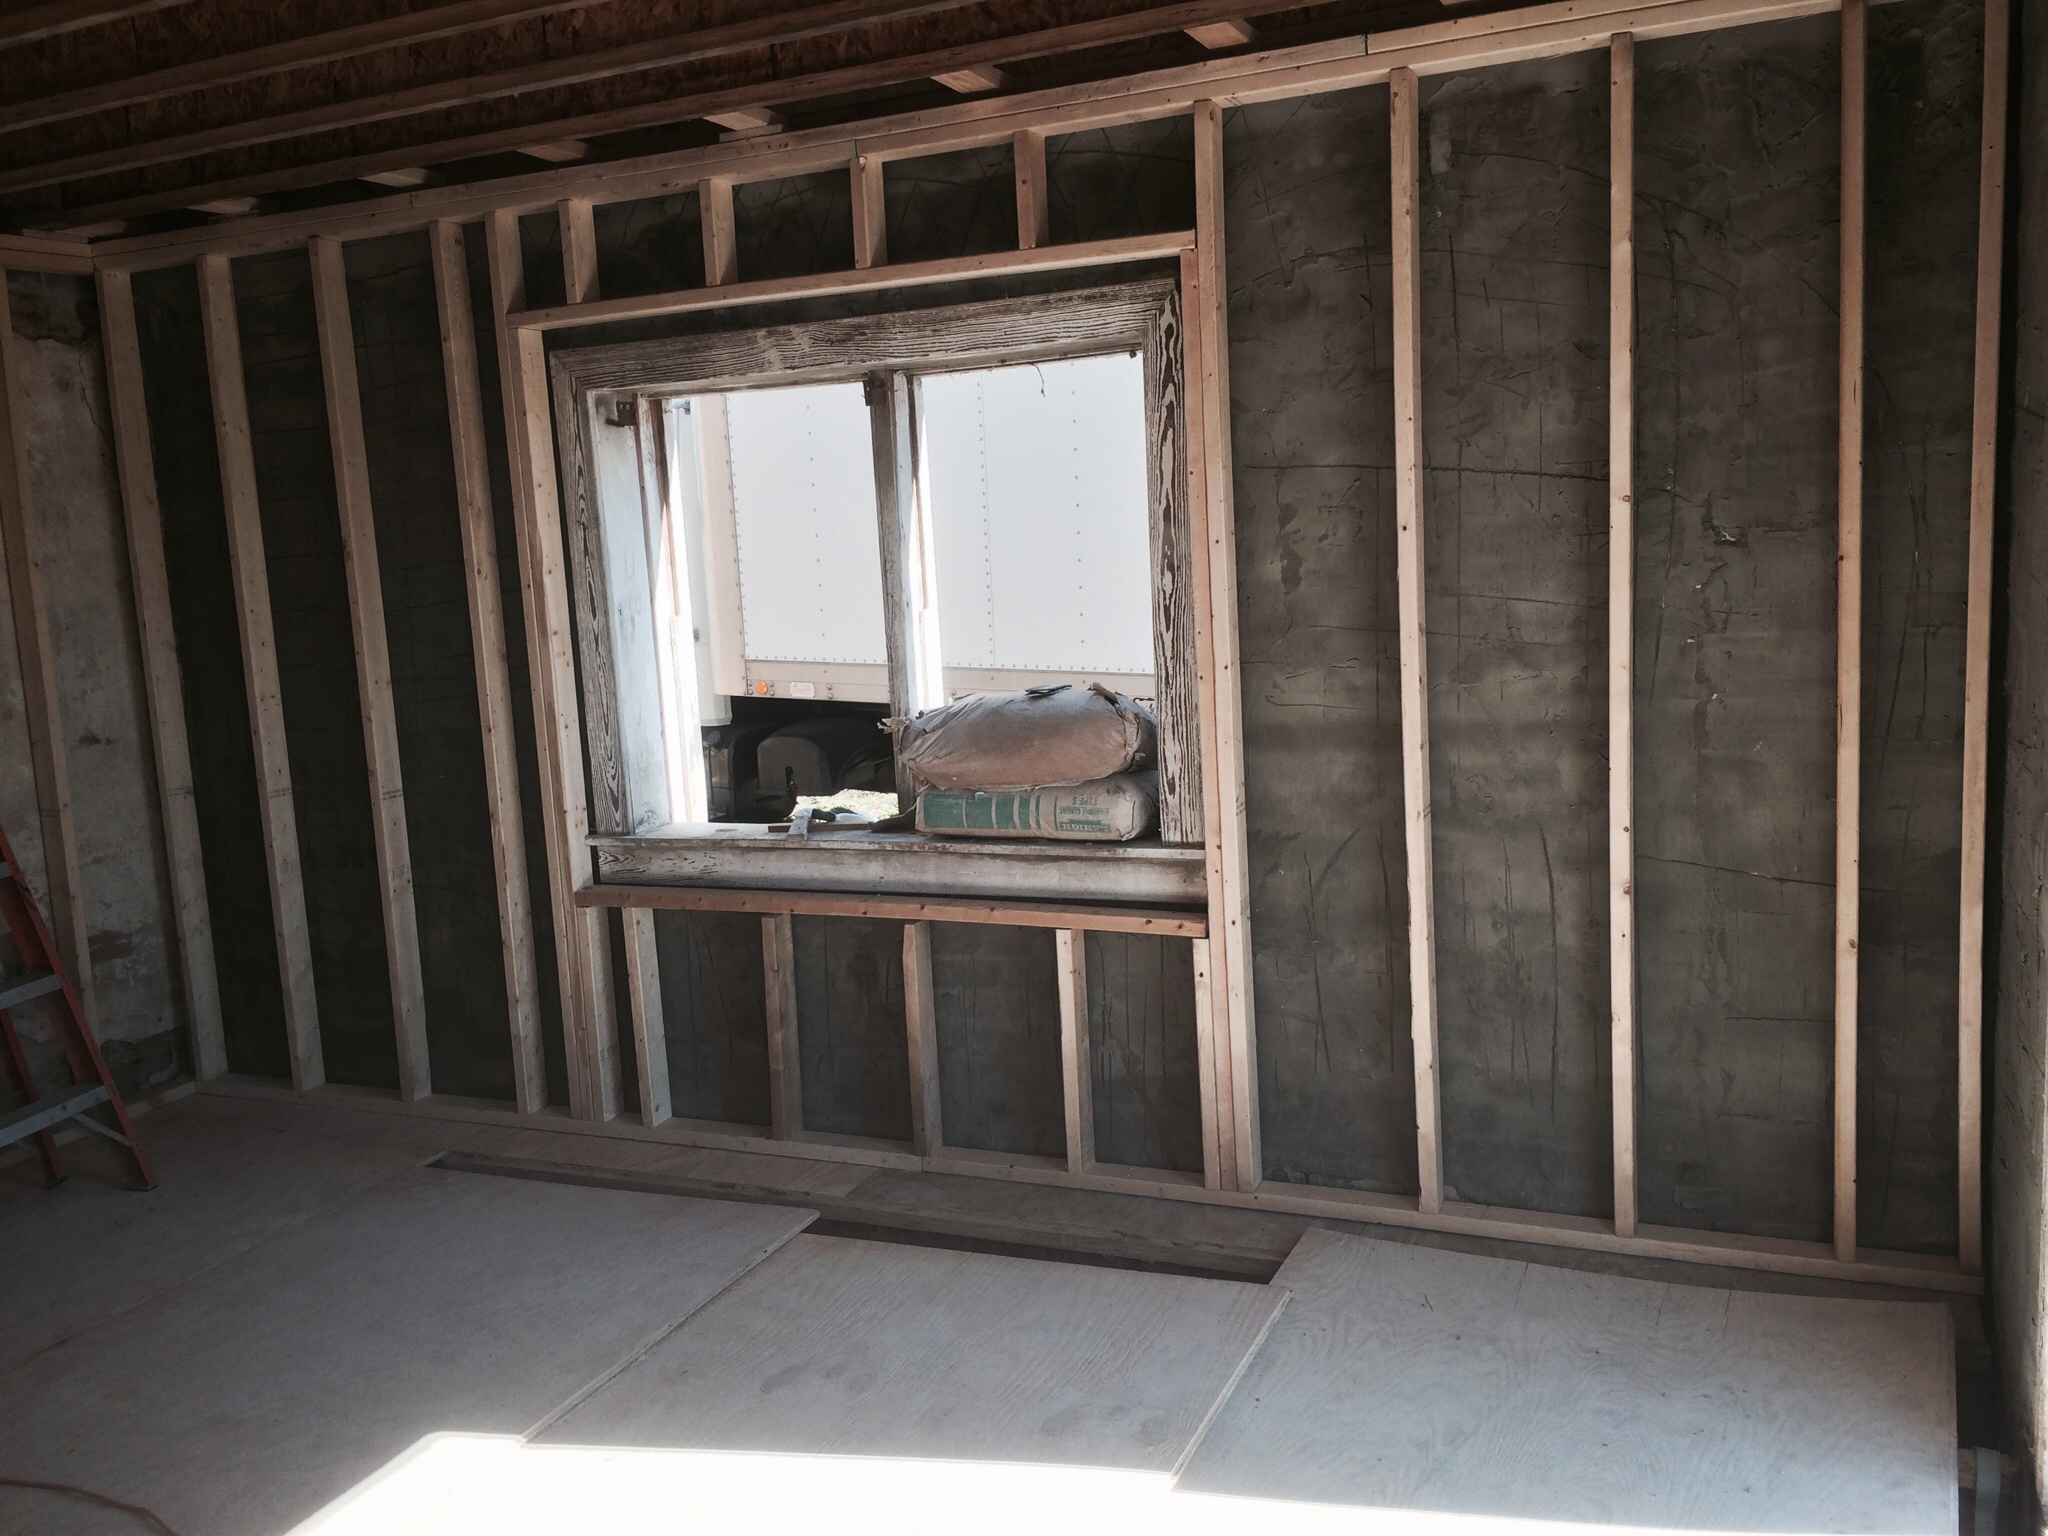
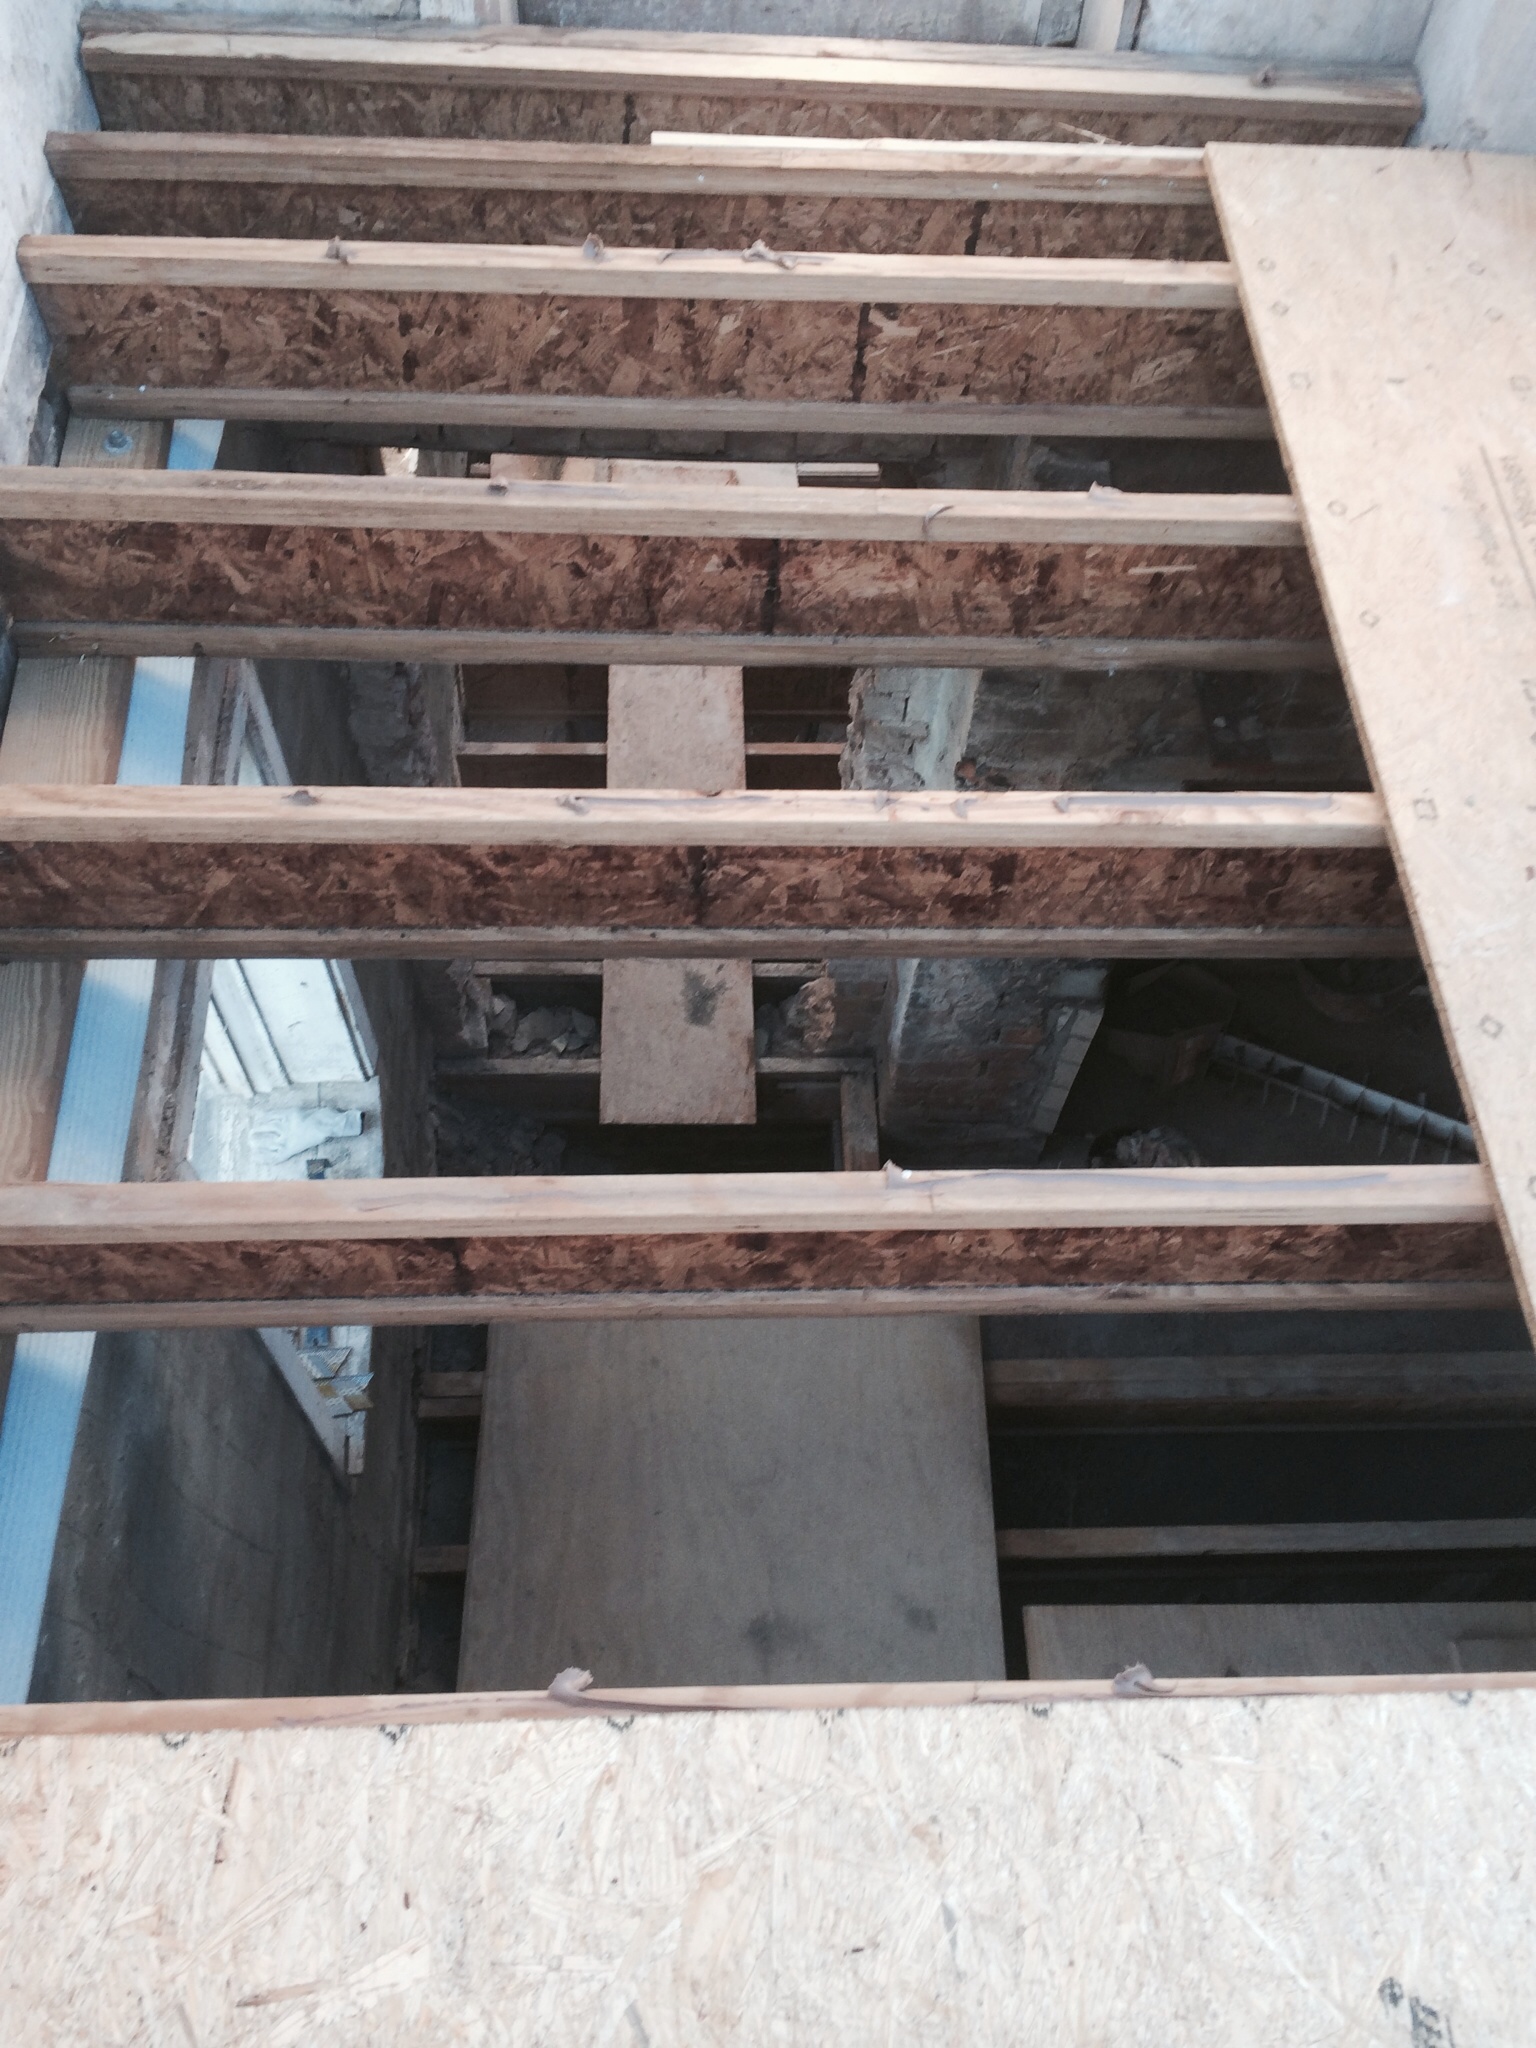
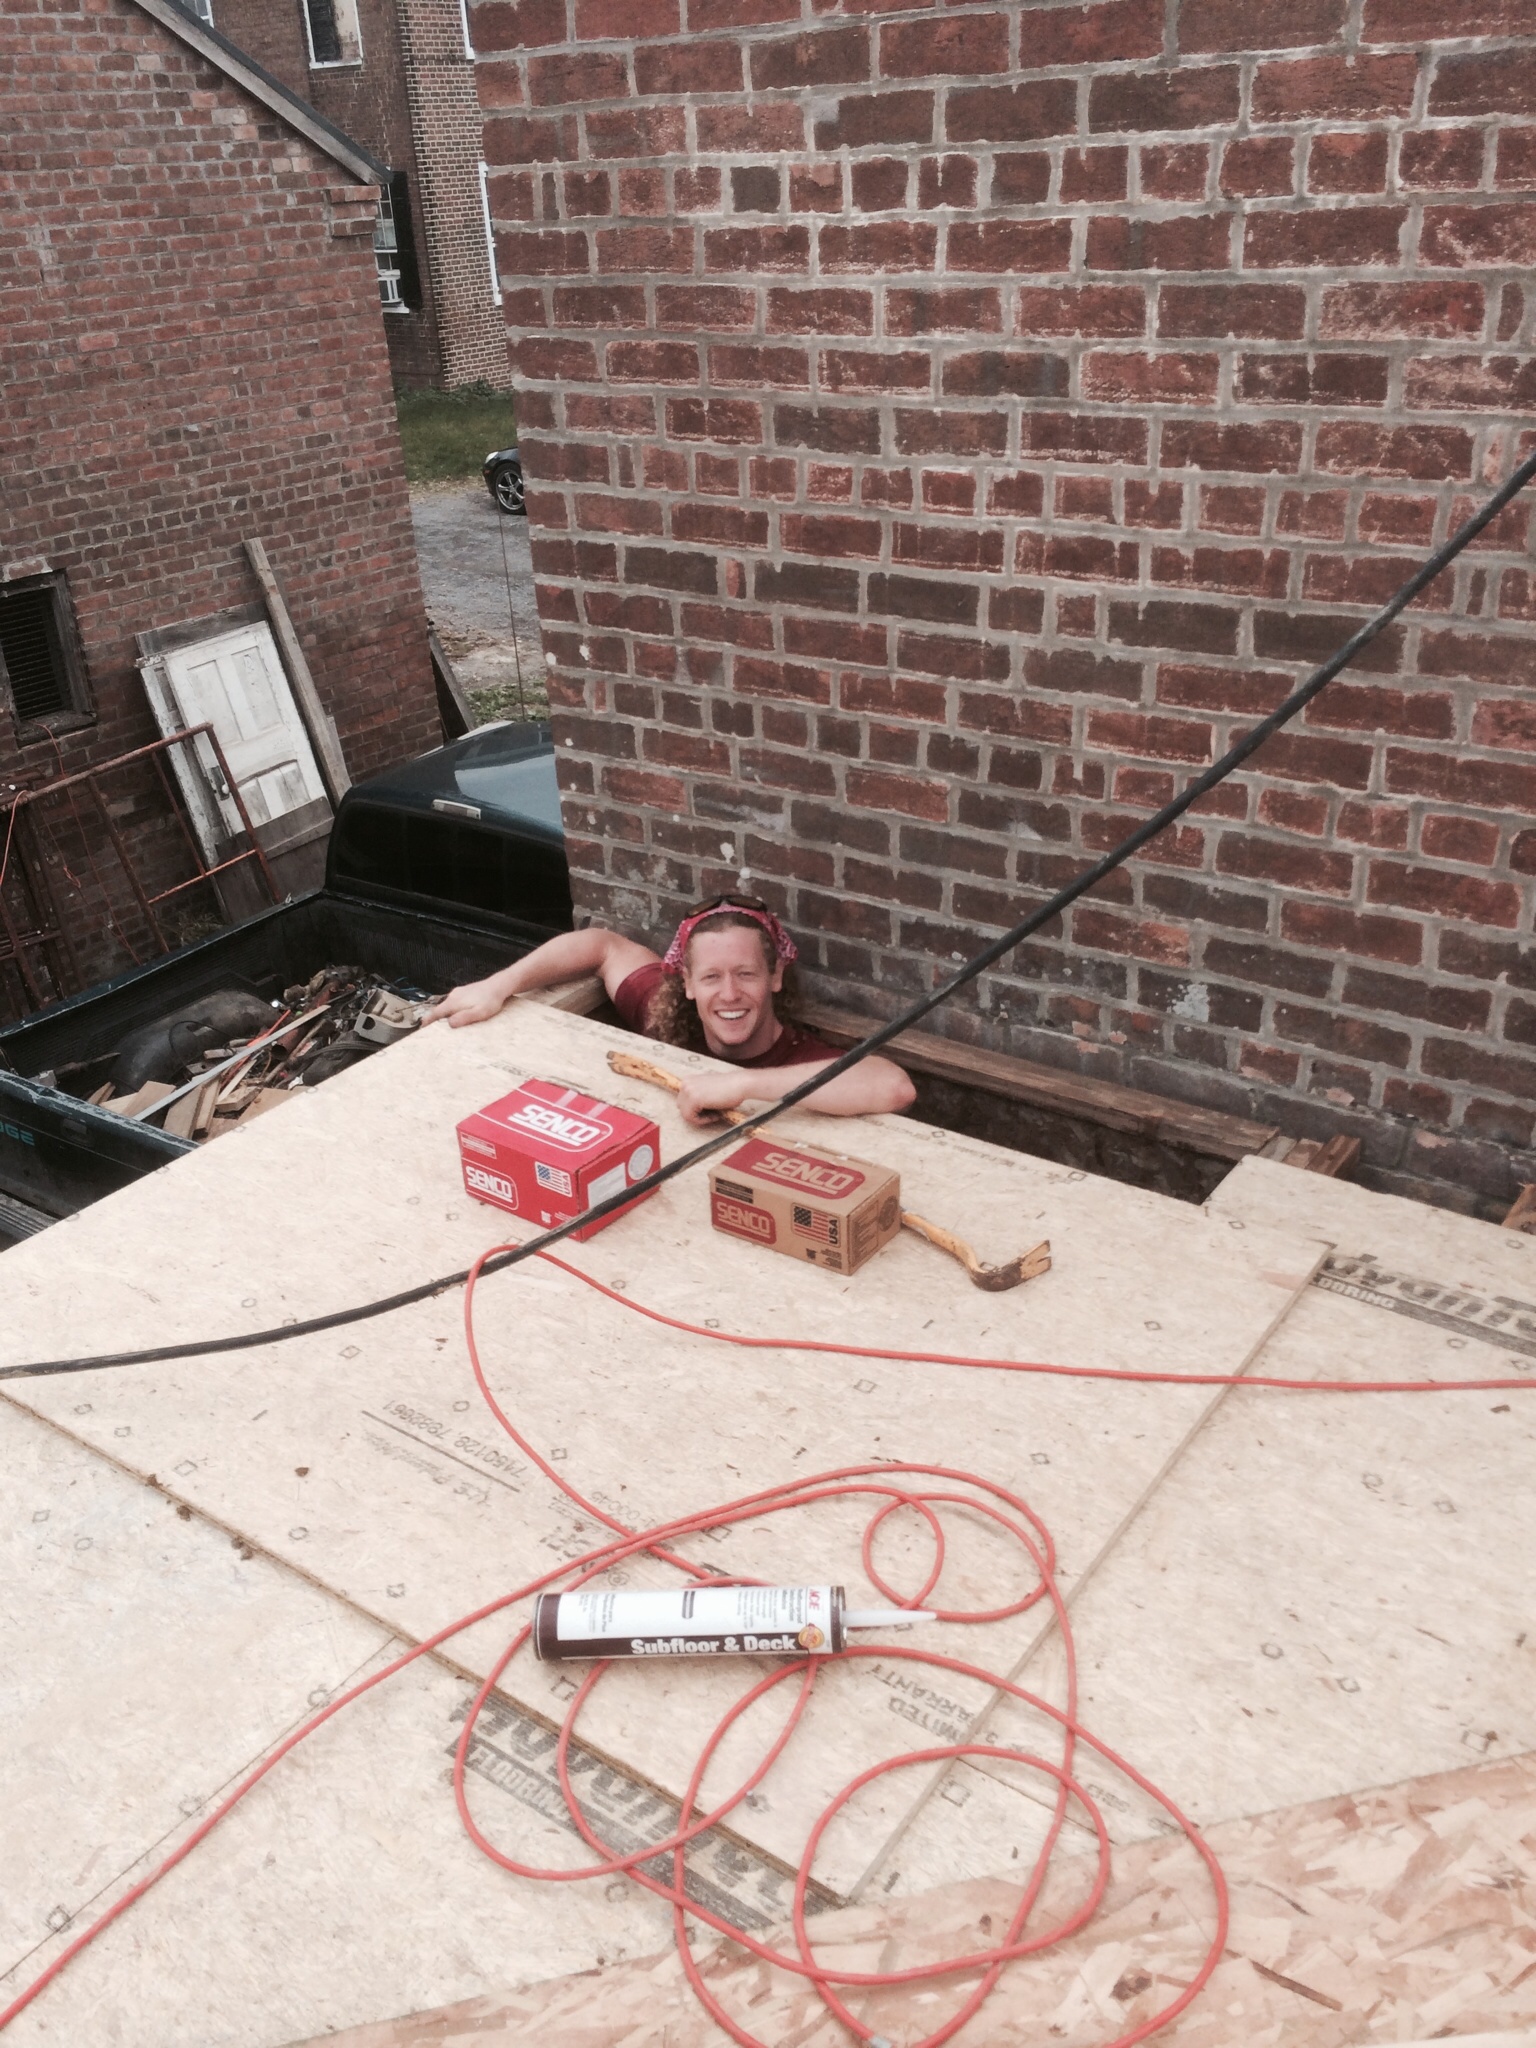 The area around Dan is where our spiral staircase will eventually be installed. After we got the subfloor down for the second story, we went back to the first story and installed plywood sheeting on the exterior walls. We then moved into the house, installing the first floor joists on the new poured concrete and cement block foundation that the masons had previously installed. In the photos below, you can see the framing around the fireplace in what will be our future kitchen:
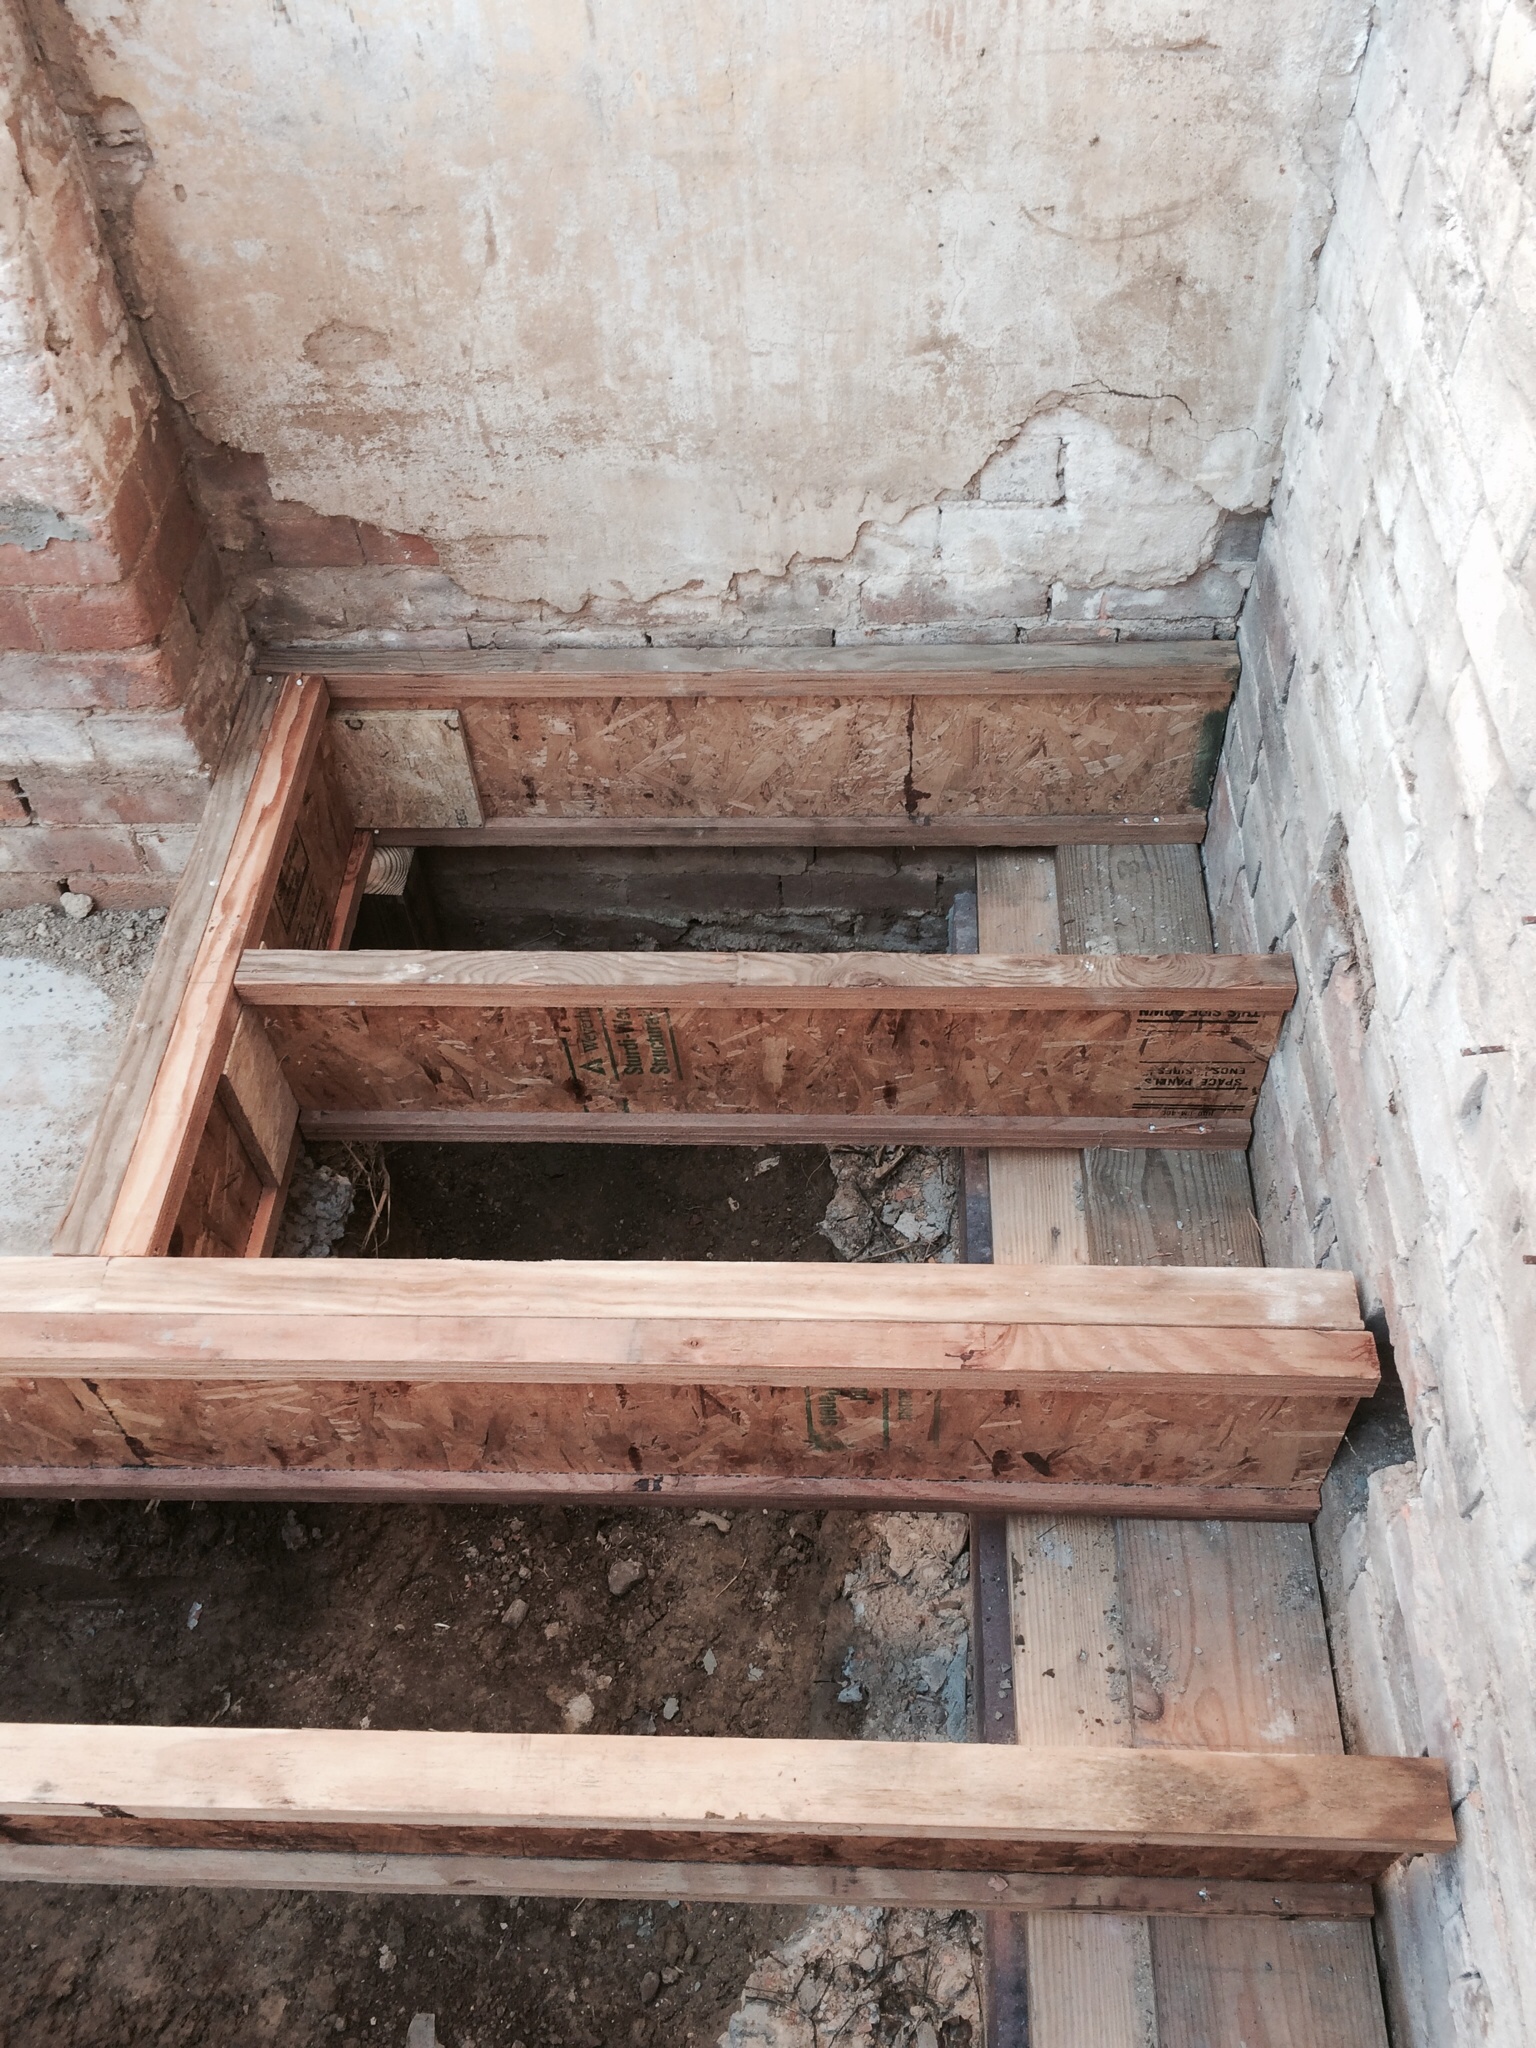

After we installed the floor joists in the main house we went back with vapor barrier, and installed the sheeting underneath the crawl space, stapling everything to the framing:


Once the vapor barrier was down, we debated whether we wanted to frame any interior walls, but ultimately decided to so we can conveniently run wiring and utilities in the few necessary areas. First, we had to install a portion of sub flooring to rest the framed walls upon. We did not install wall to wall sub flooring in the original first floor rooms yet, we still need to run HVAC, plumbing and electric, as we won’t have crawl access to that area once the floors are complete.

Also, you can see how the brick walls have been roughly parged for strength. The exposed walls will get a finish coat of the parging cement, and will be white washed.
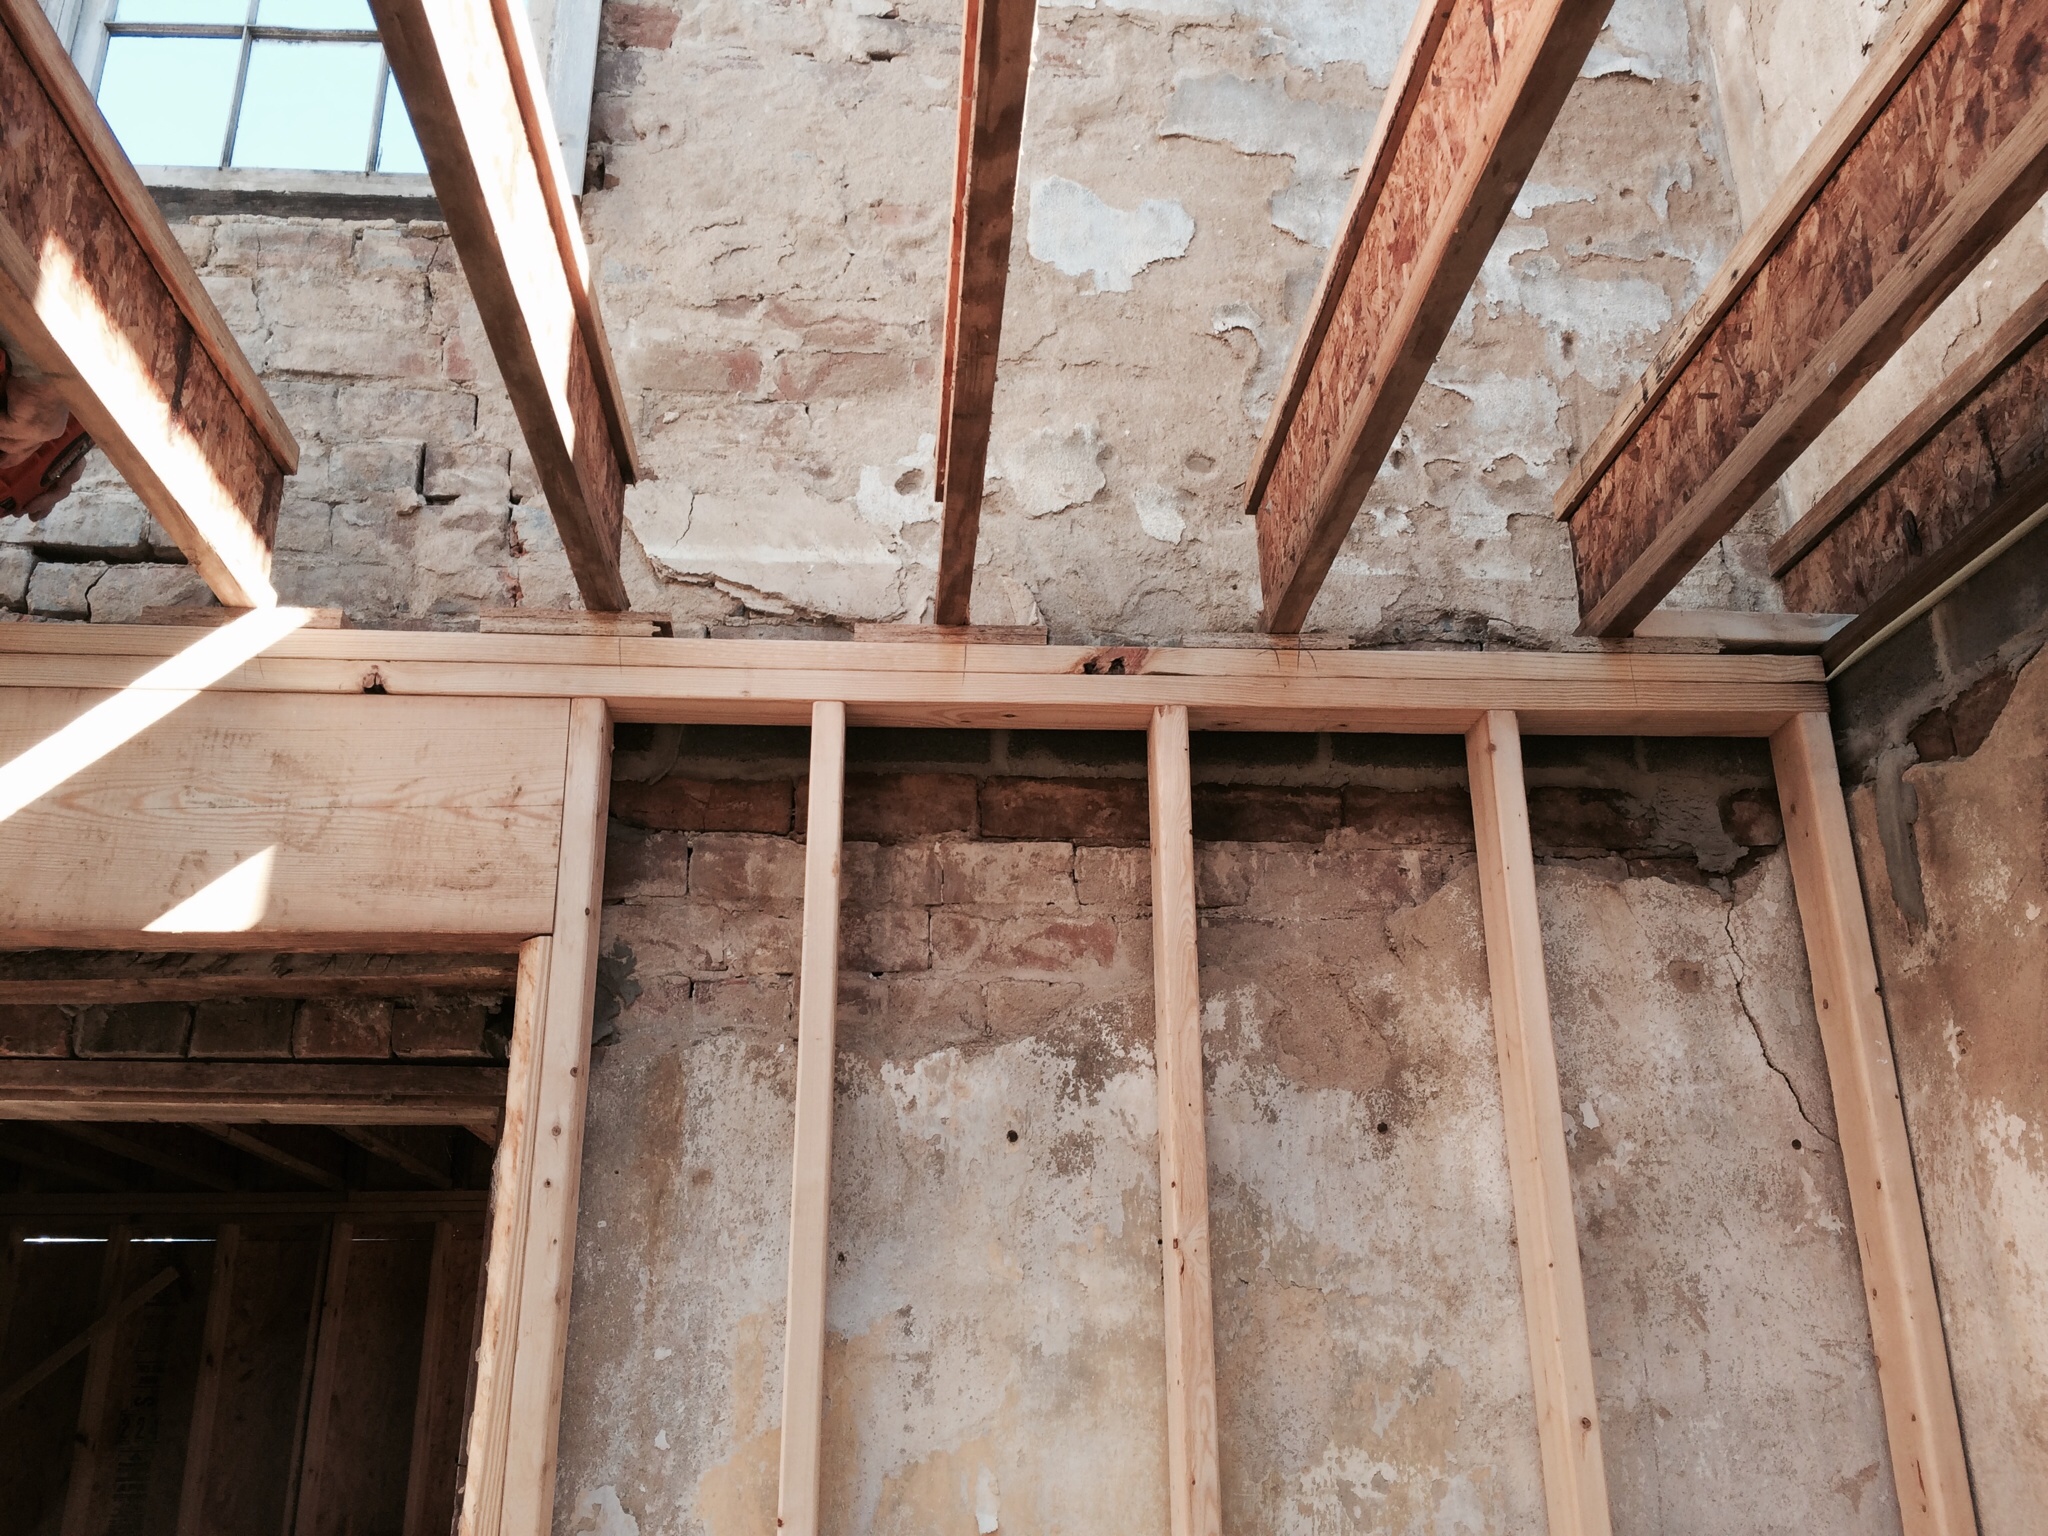
After the interior framing was complete, the second story floor joists were installed inside the main structure:

In the picture below, you can just make out the course of cinder block peaking out from behind the framed wall. During the planning phase we decided to steal five inches of ceiling high from the second story and give ourselves some extra head room on the first floor. With the perspective we now have with the framing, we are so happy we took this extra step! We are planning exposed vaulted ceilings in the second story, so the head room we stole won’t be missed upstairs.

With the floor joists in, we then installed the sub flooring in the second story of the main house.

 Next, we framed up the second story exterior walls and faced them with plywood. Here you can see us making sure the walls are square as they went up:
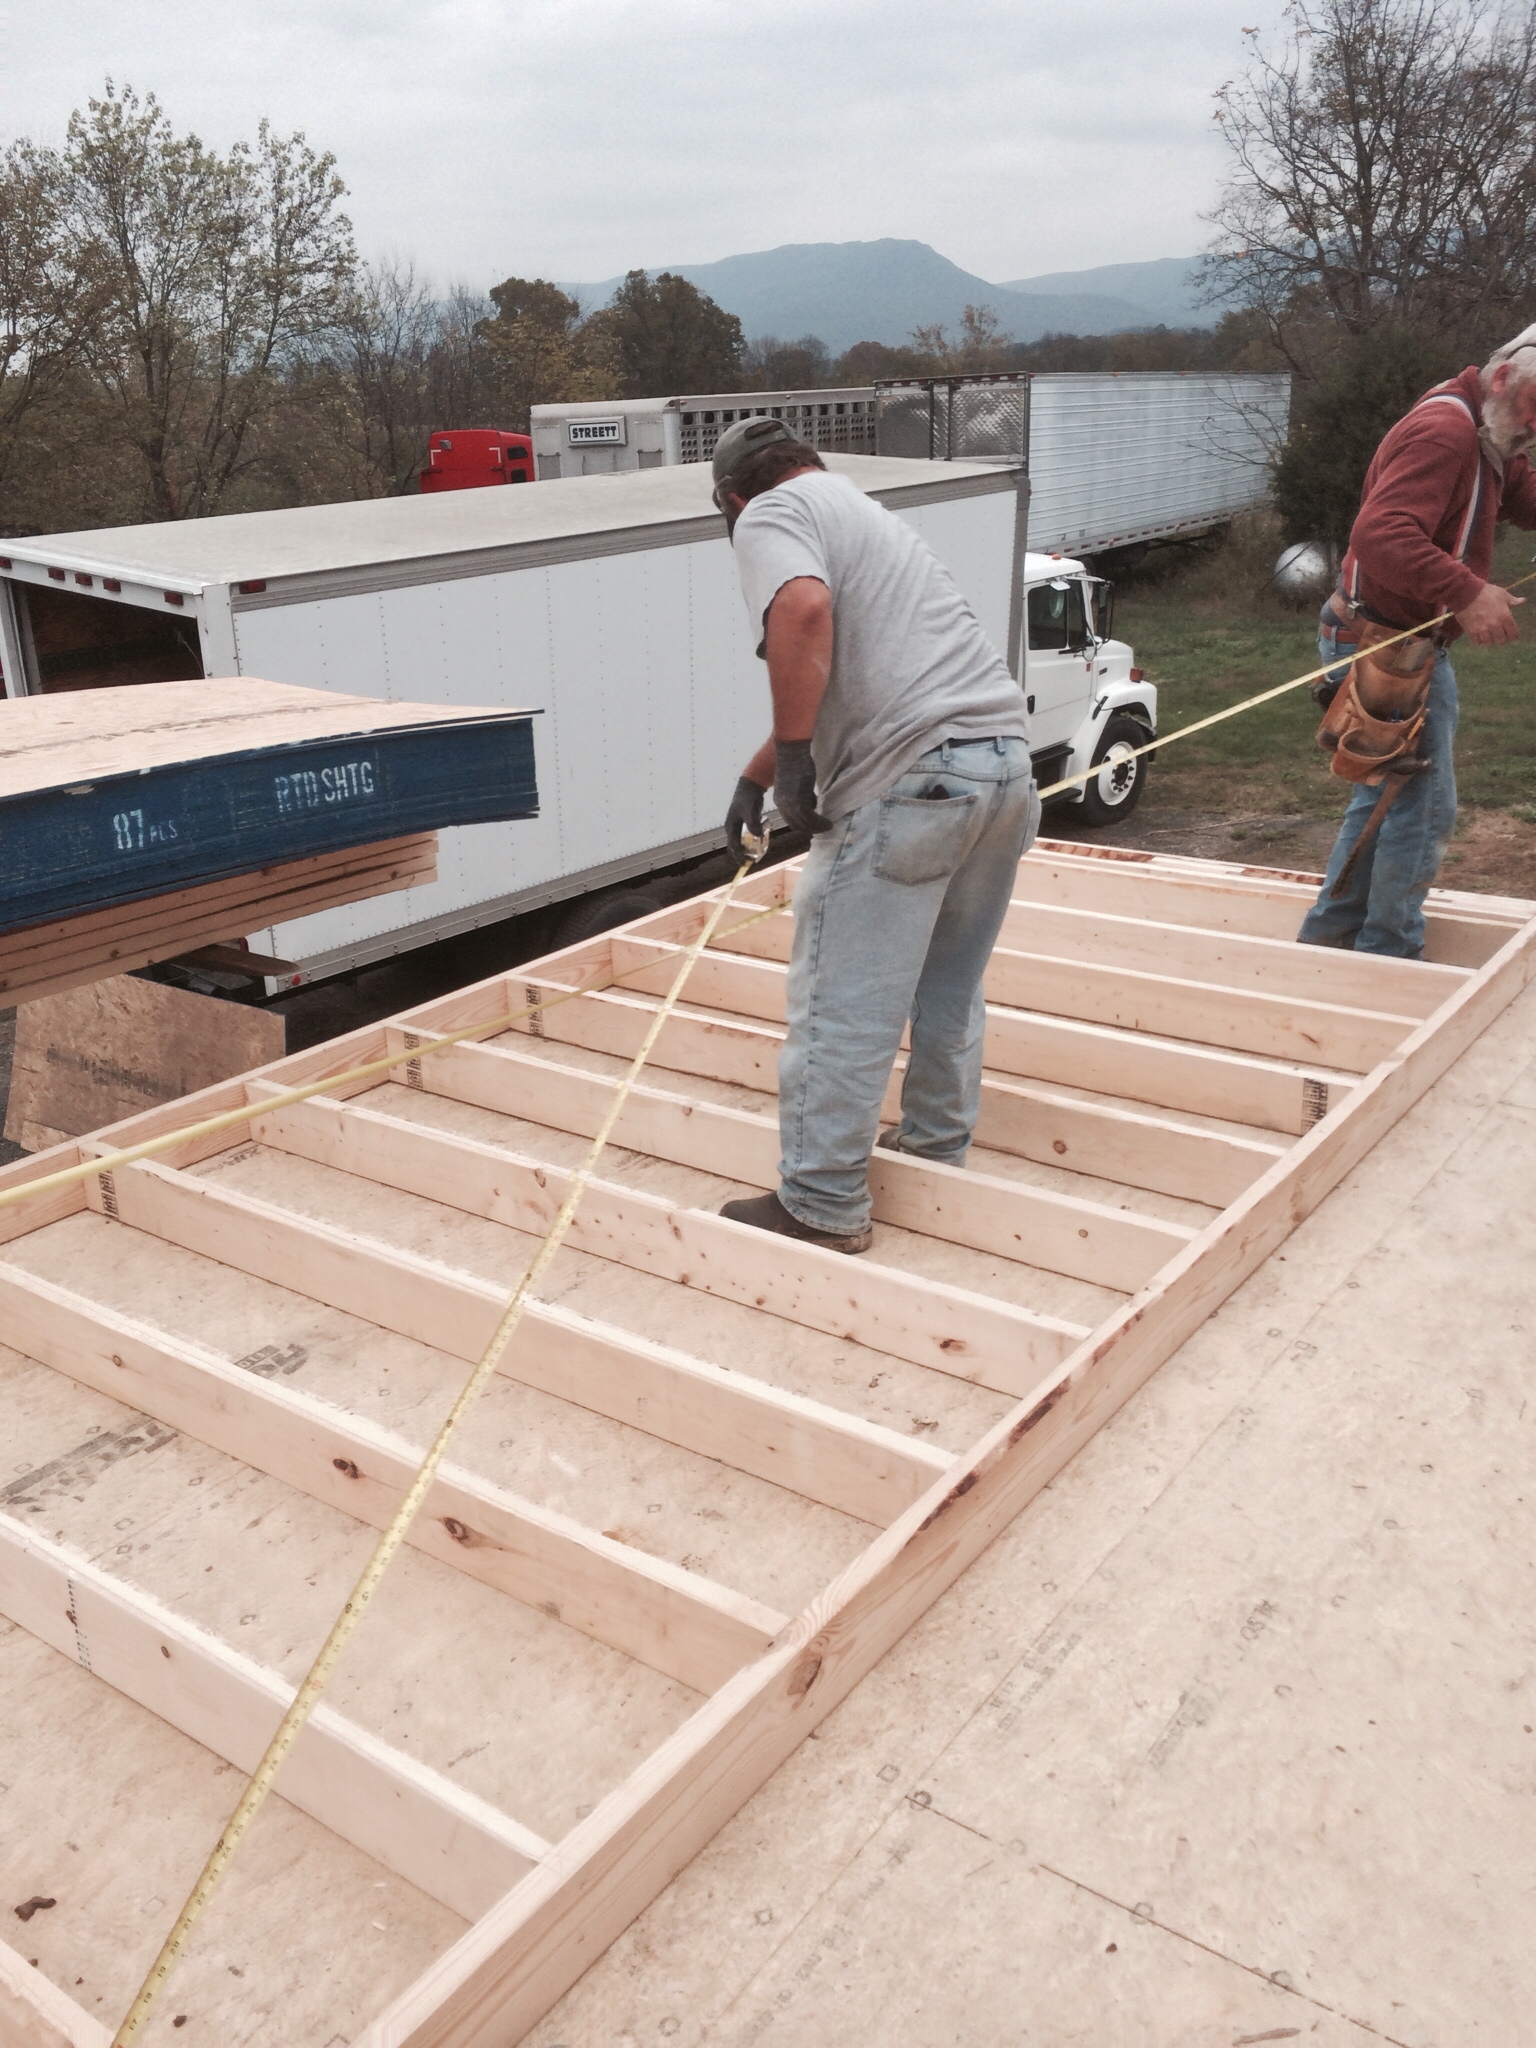

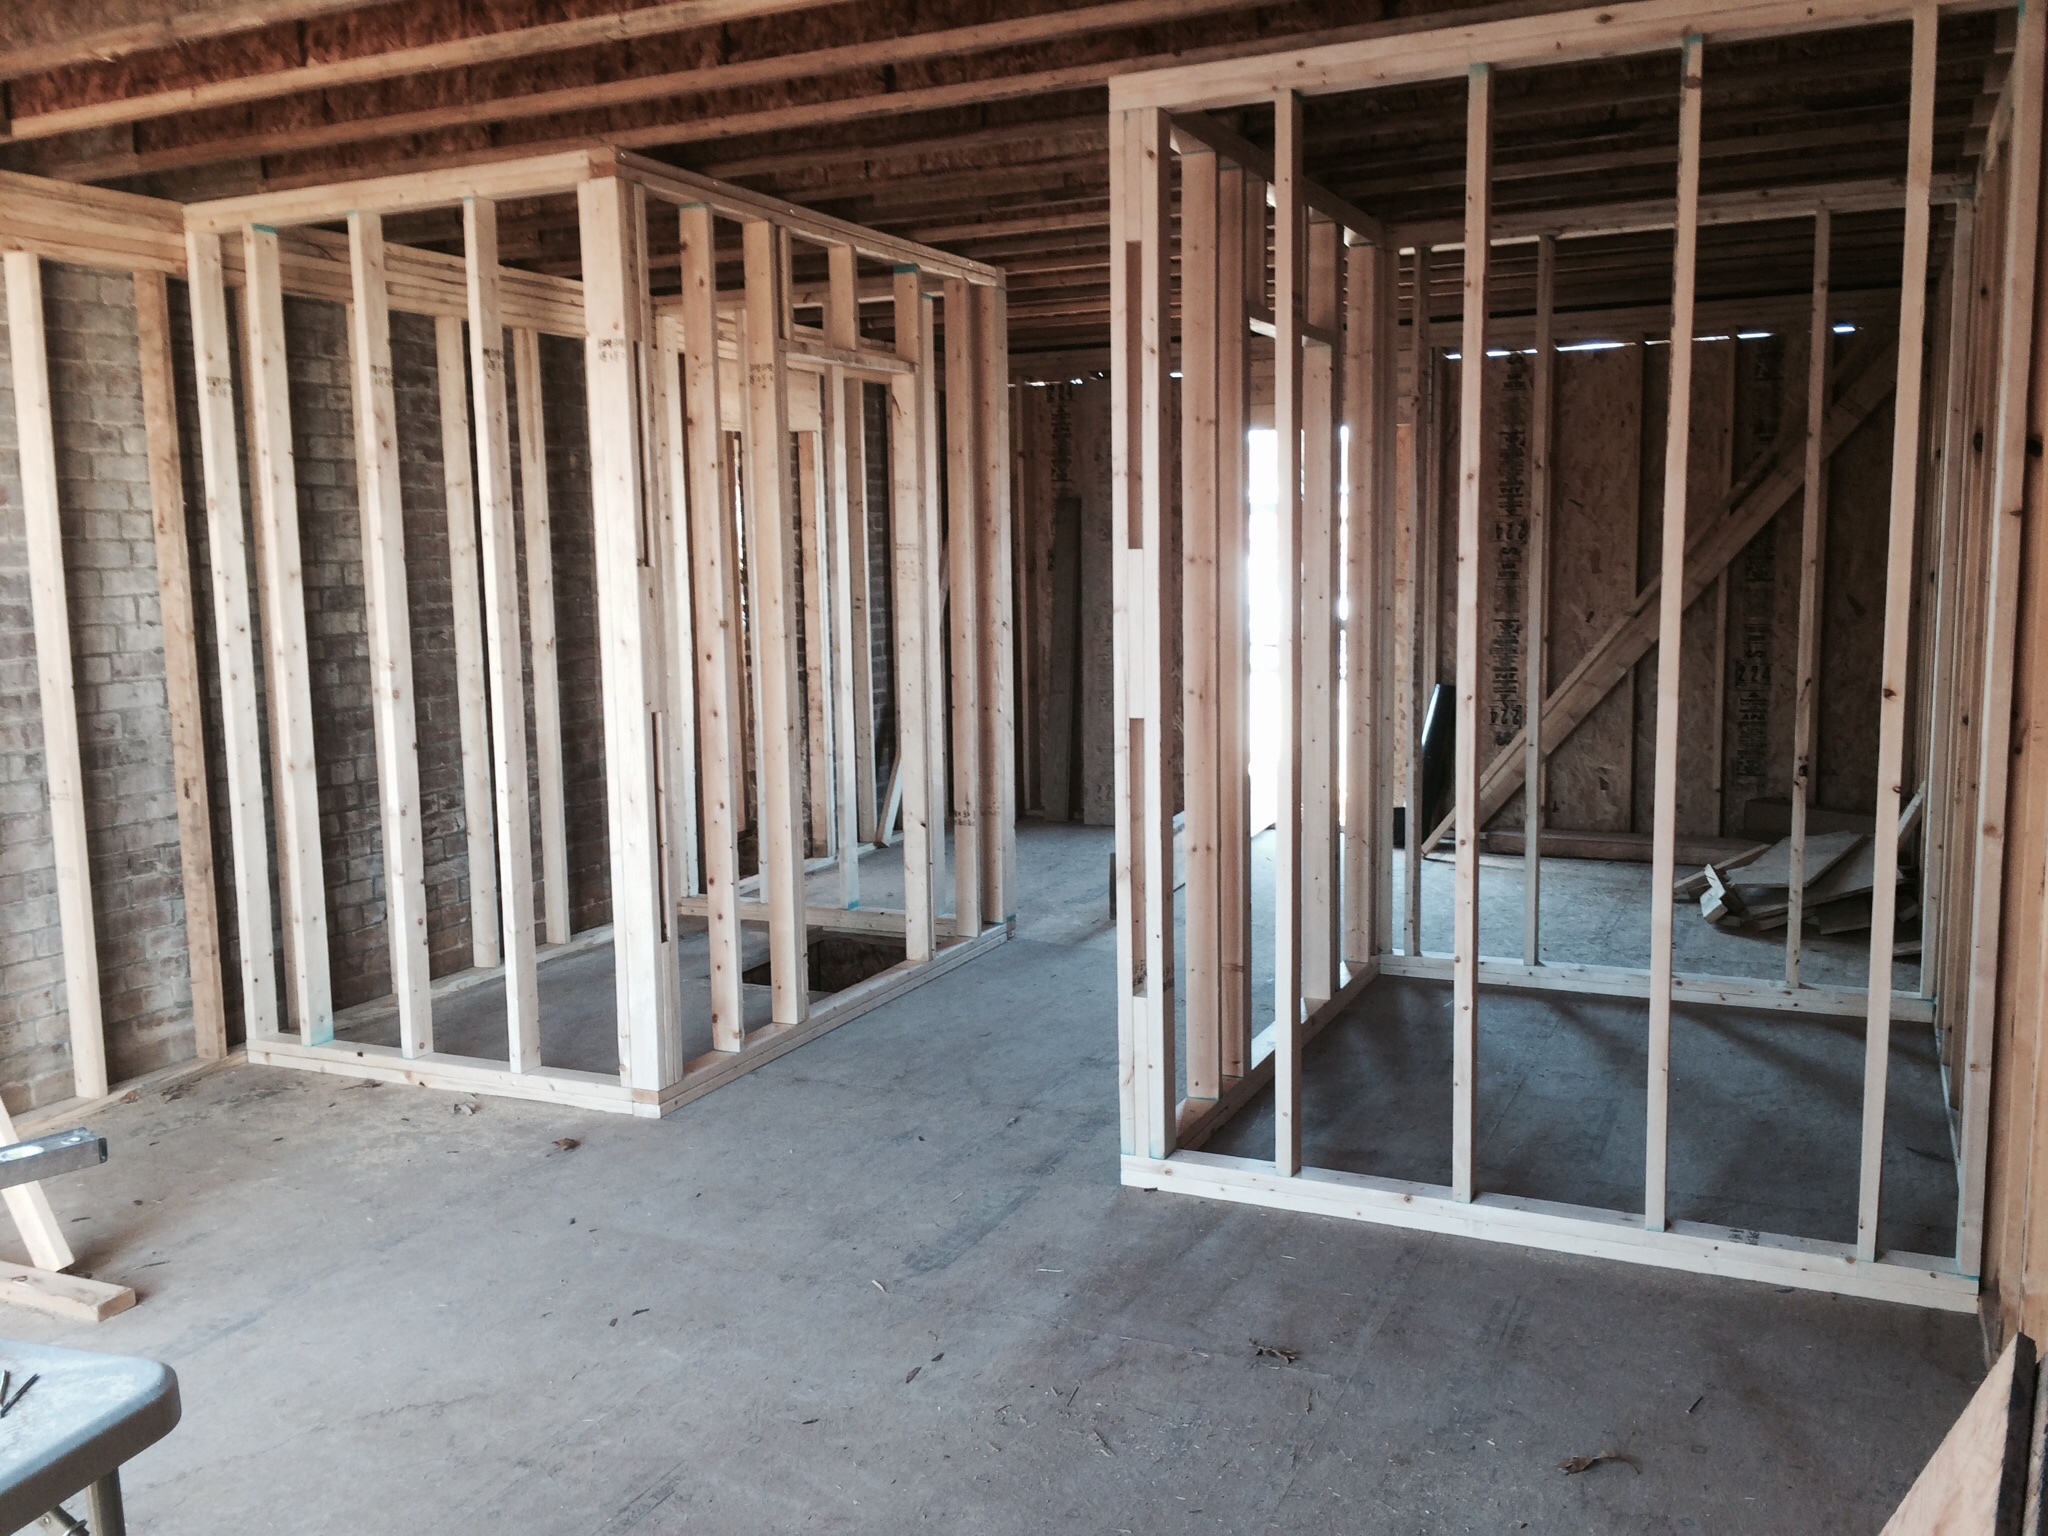
And last, but certainly not least, we framed the interior walls. Well, two walls, a powder room, and a utility room. Everything else is open!
Our upstairs bathroom will go between these two walls, the extra-wide opening is for the installation of pocket doors.

Utility room on the left, downstairs half bath on the right:
ALL FRAMED UP!
Our next post will focus on some of the logistical considerations we have been juggling, and some interesting architectural finds.


